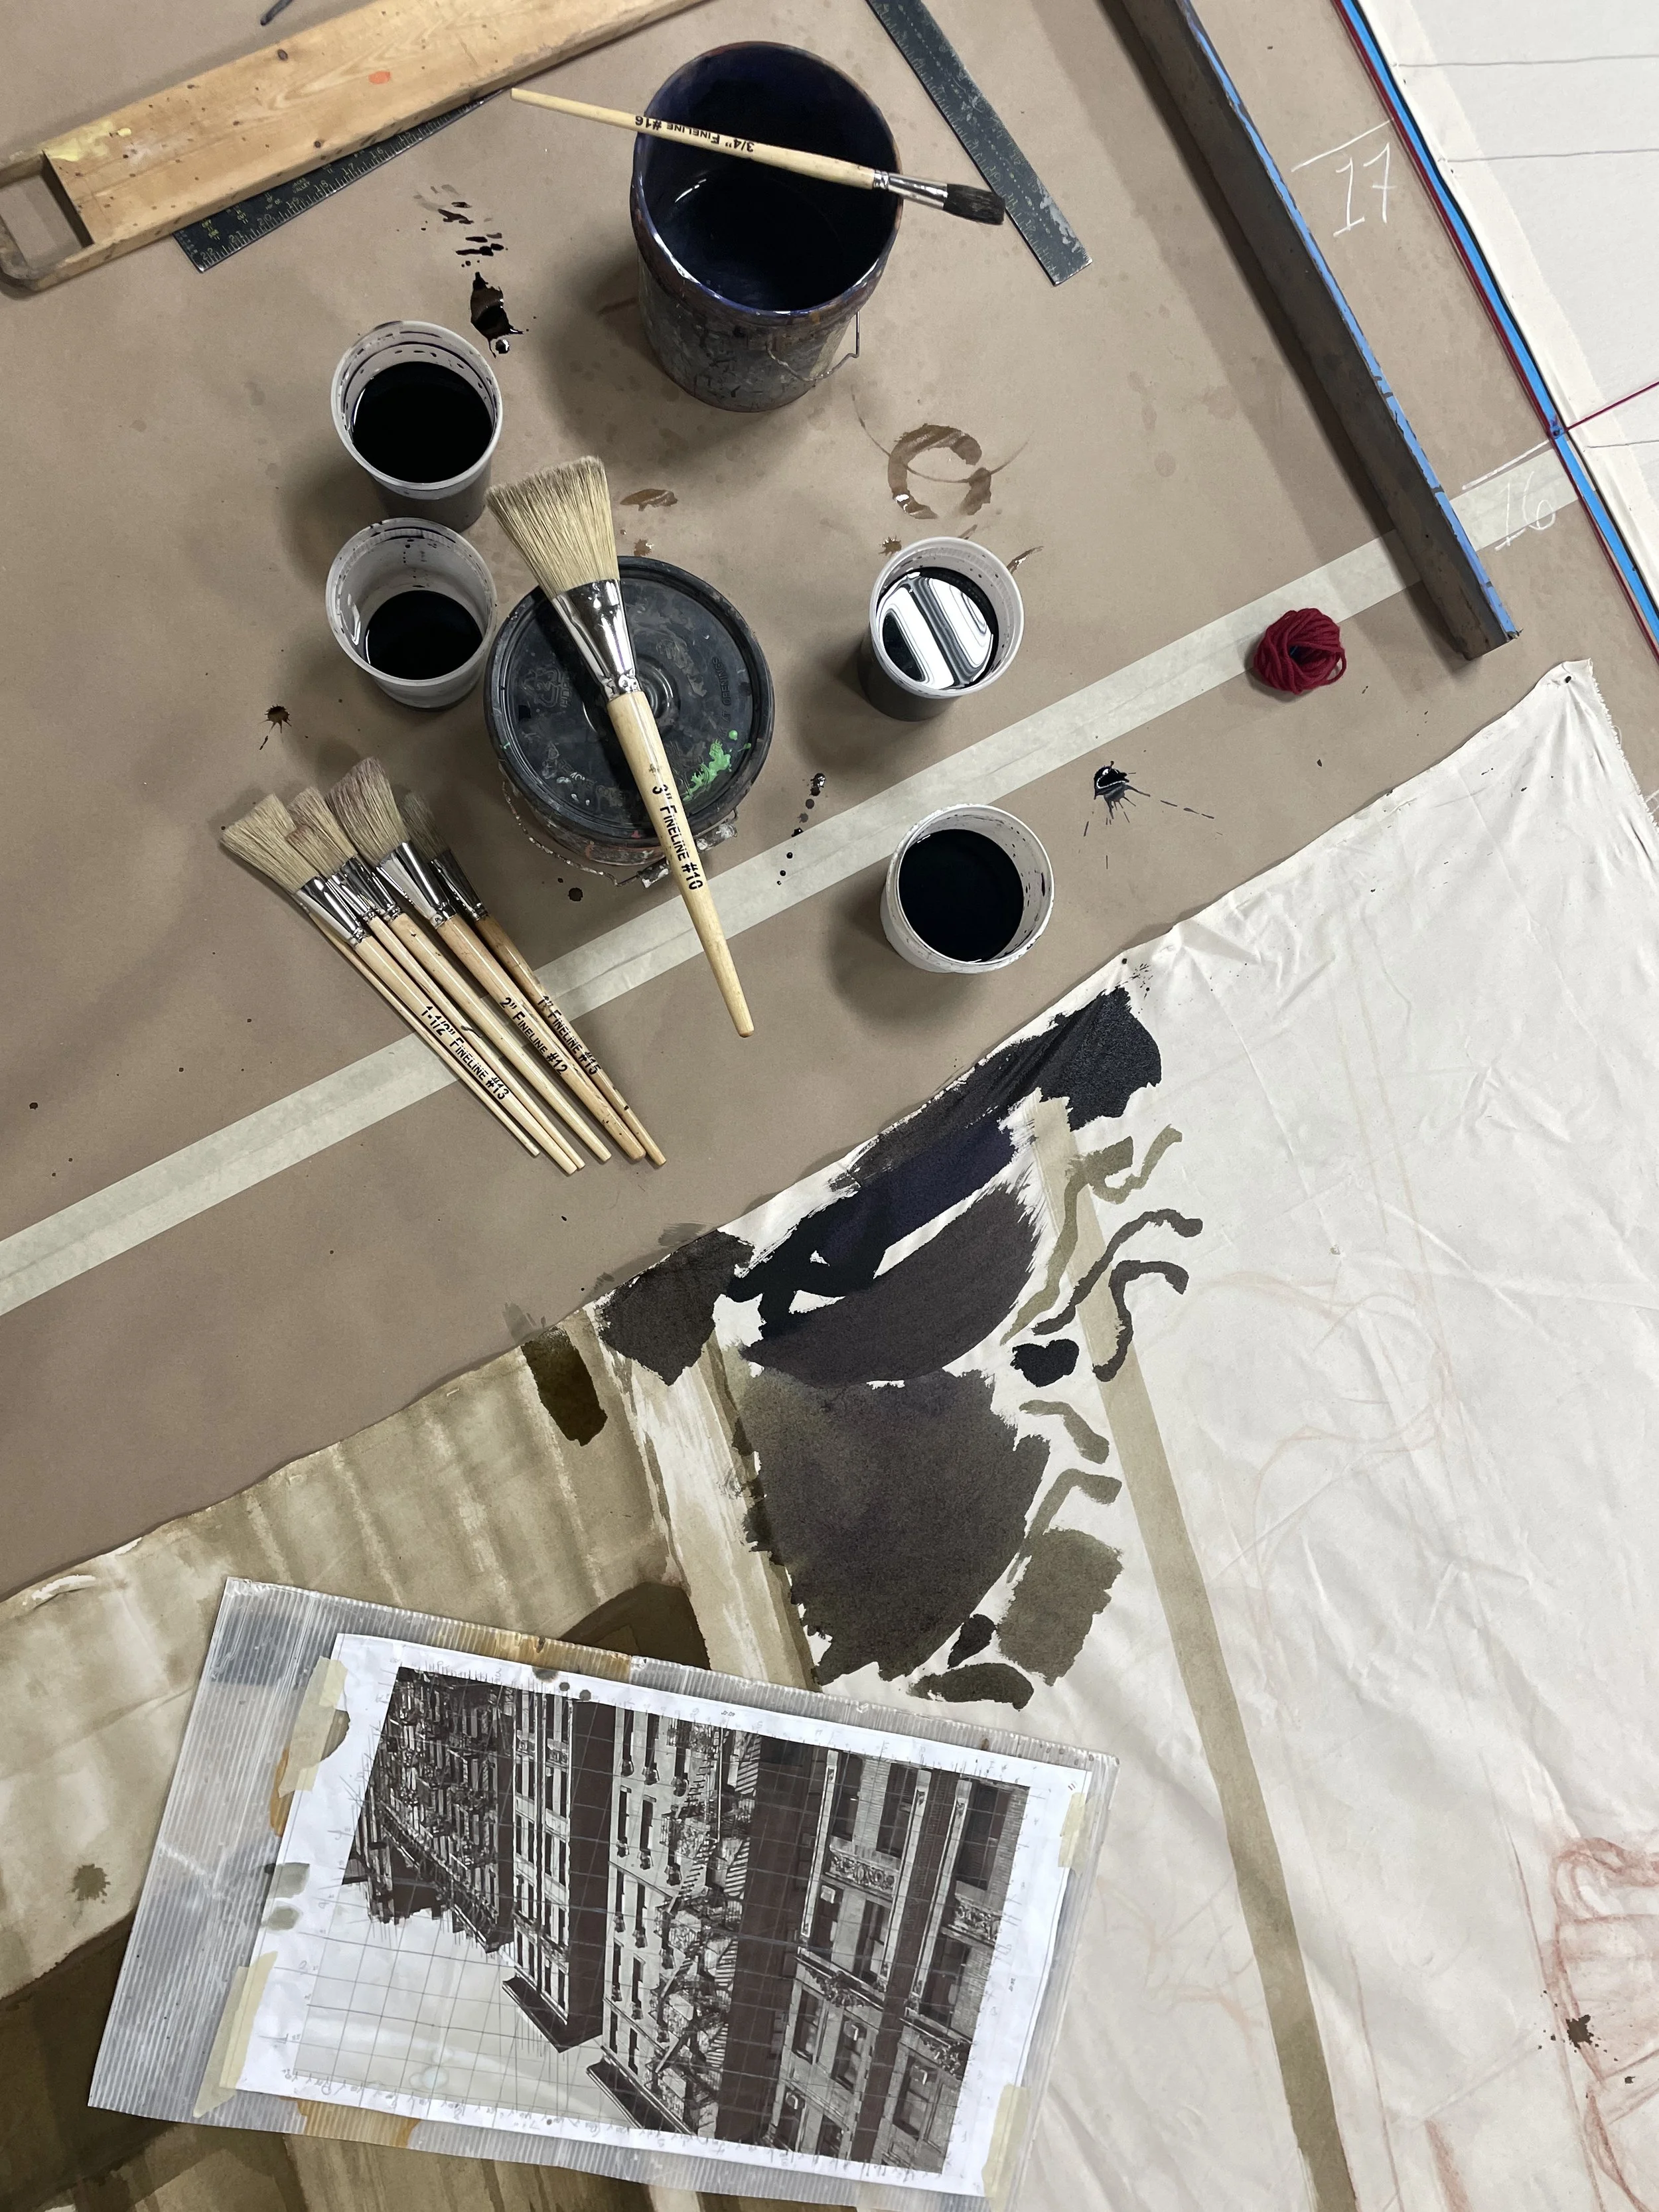
The objective of this drop was to make it rival the durability and flexibility of a printed one. The products that made this drop meet that mark were Pro-Chem Fibre Reactive Dye and Methylcellulose Powder (also from Pro-Chem).
Notice: I did not use dye correctly in this project. In order to properly fix to fabric, dye needs a mordant and good amount of time soaking. Heat also helps.
This was my first time dyeing a drop, and I wanted to make sure I did it right. Enter: a quick stint at Cobalt.
From Rachel Keebler, I learned more about the ways they prep and paint drops at Cobalt. I got to play around with a number of sizes and colorants, as well as meet a shop cat, dog and several lovely humans.
Looking at size, we wanted something that was very flexible and sealed the fabric well.
Animal Glue: sealed the fabric beautifully, but felt a bit stiff. Needs soaking and cooking. Spoils.
Corn Starch: more flexible, and sealed, but still noticeably stiffer than a printed drop. Needs cooking. Spoils.
Liquid Laundry Starch: about the same as Corn Starch, but more expensive. Ready out of the bottle. Doesn’t Spoil.
Methyl Cellulose: Much softer/more flexible than starch. The mystery brand we used at Cobalt sealed the fabric (though not as well as the others) but the Pro-Chem stuff I used in the shop did not seal as well. I am currently searching for a better brand, we think Cobalt may have used Aljo’s. Needs hot water, but no cooking. Does not spoil if kept in air tight container.
Looking at color, we wanted something that was flexible We also wanted to play with transparency, because I had stained glass on the horizon.
FEV: Leather dye mixed with thin shellac. This only kept its vibrant color when applied to animal glue sized fabric. otherwise, the shellac soaked into the fabric and darkened the color. It is as stiff as any normal paint. Vaporous and irritates skin.
Pro-Silk fabric paint: pigment based, so it’s lightfast. Nice flow, but still a bit stiff. On the more expensive side, ready to use out of the bottle.
Fibre Reactive Dye: not lightfast, about as durable as watercolor. lovely flow and does not stiffen the fabric.
I chose to size the drop with Methyl Cellulose and paint it with Fibre Reactive dye, thickened with Methyl Cellulose. The drop was finished with a spatter of white paint and some touchups with white paint.
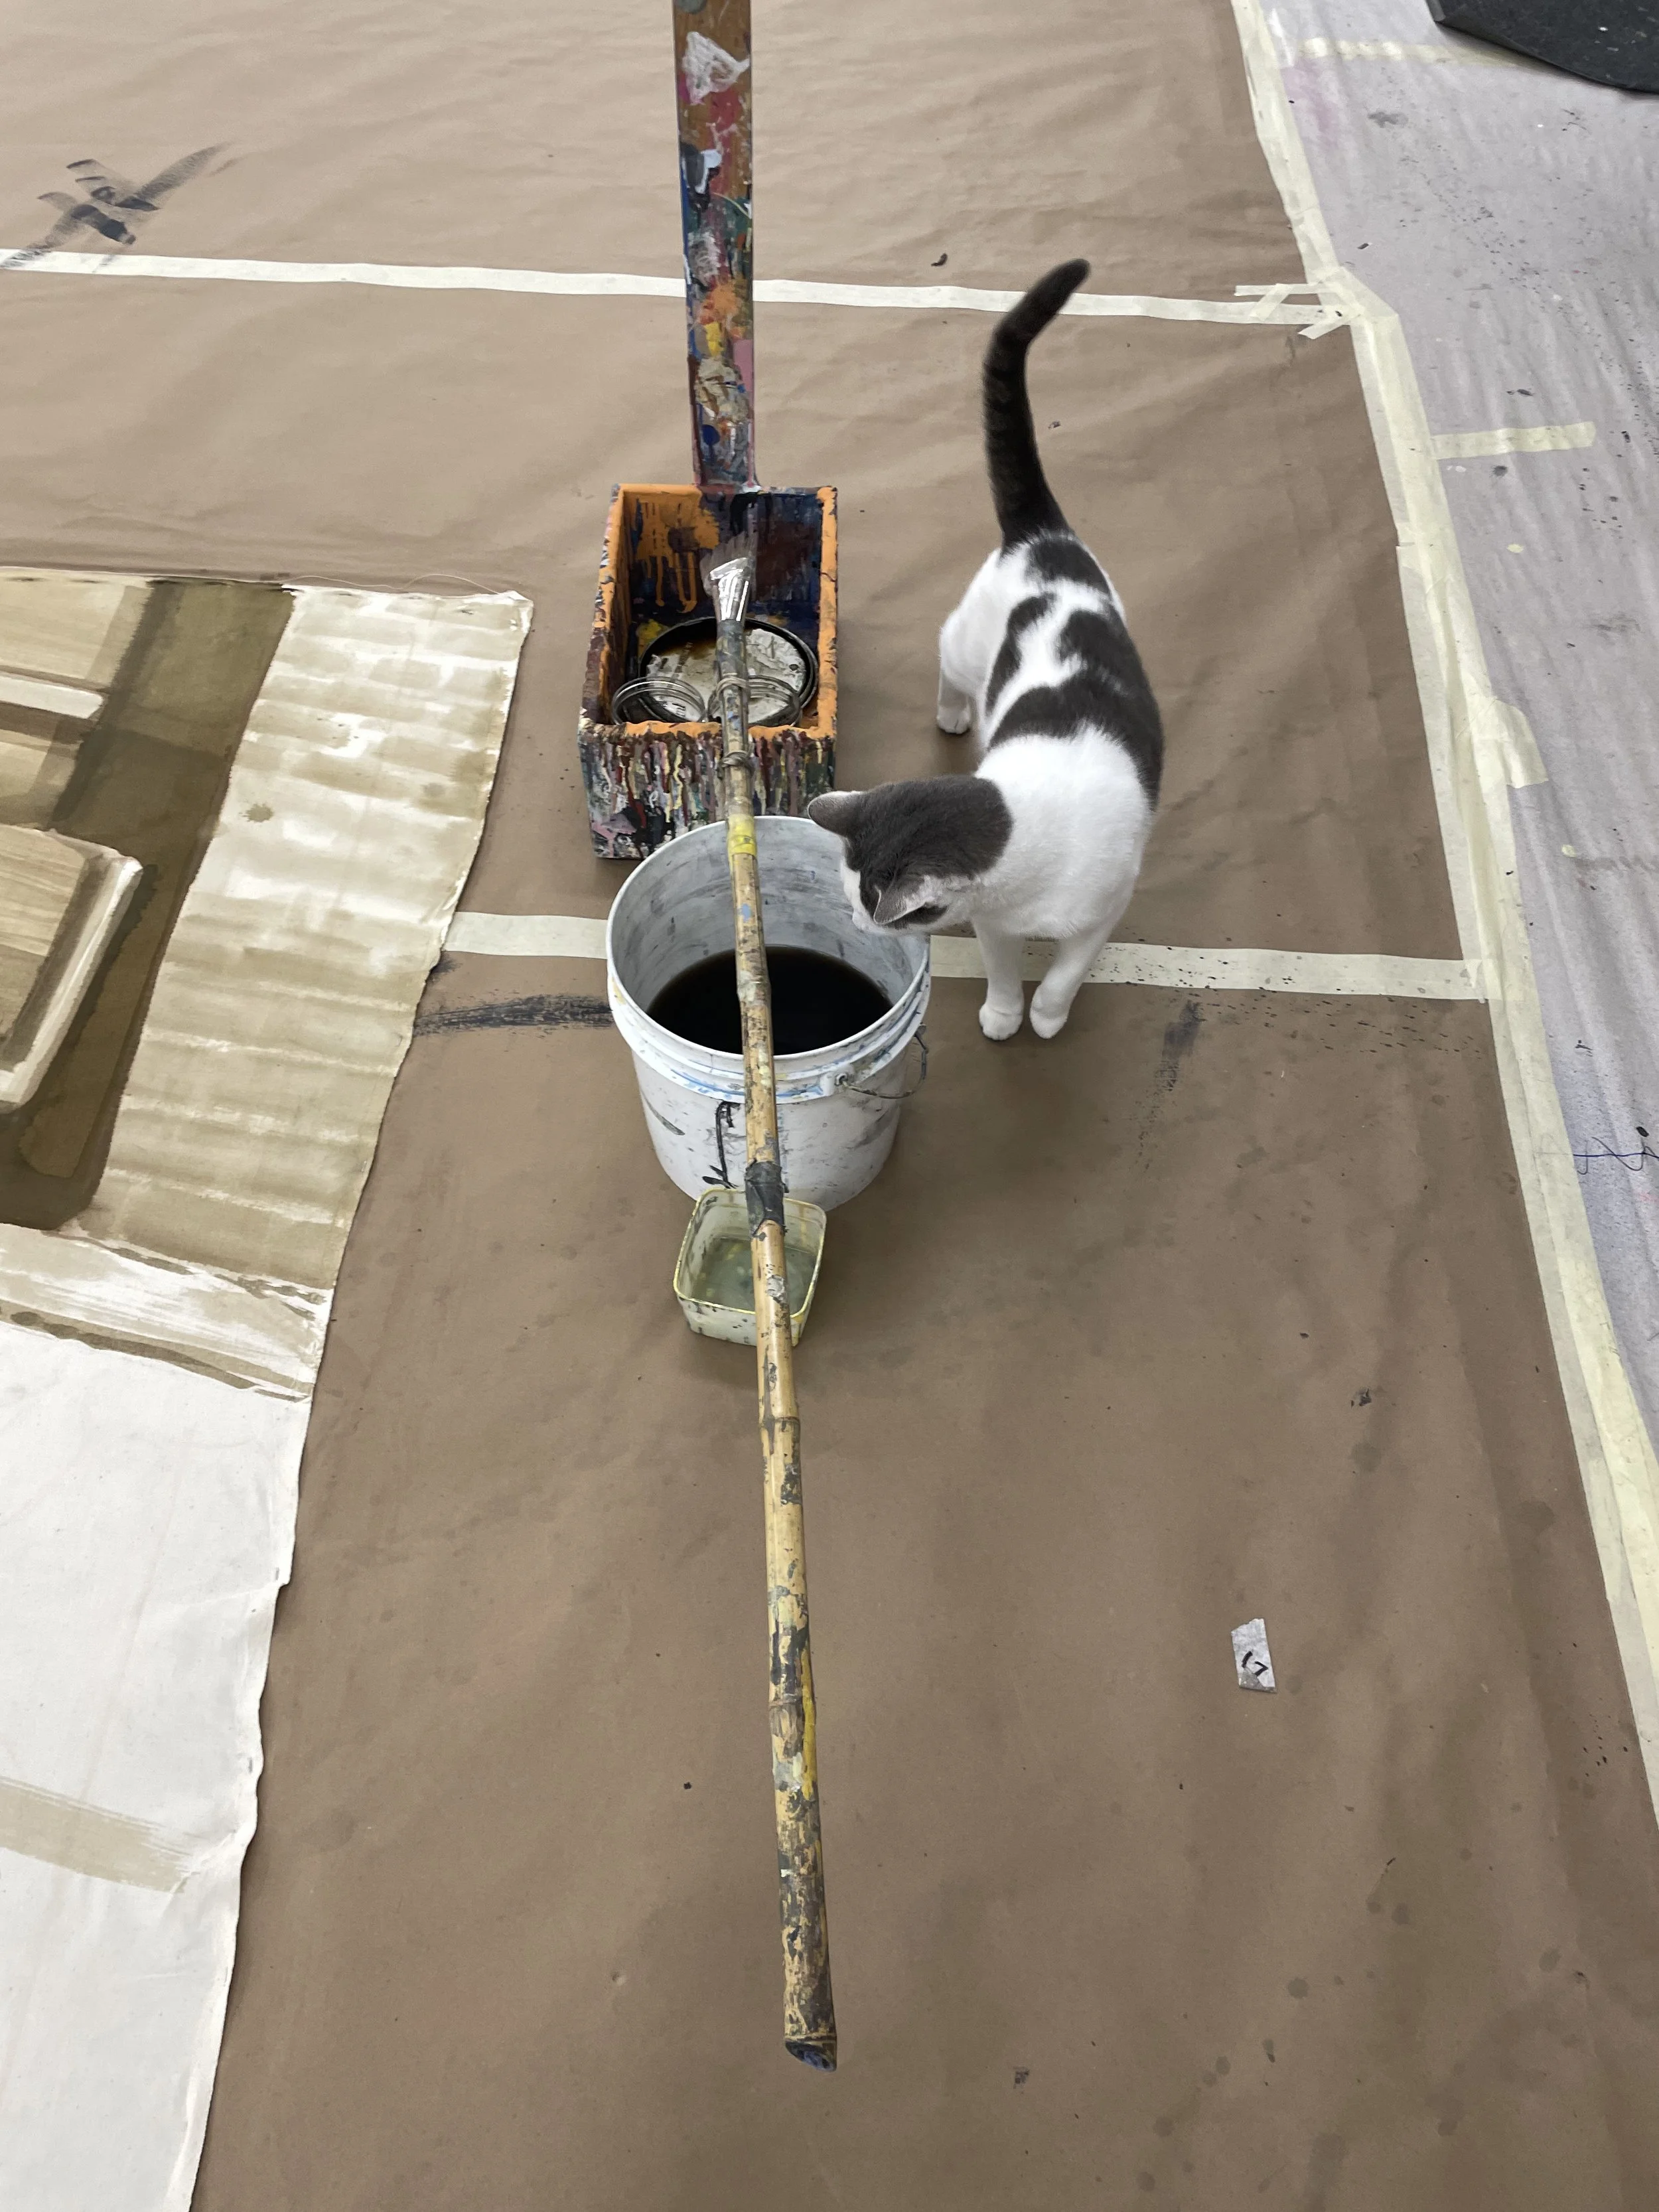
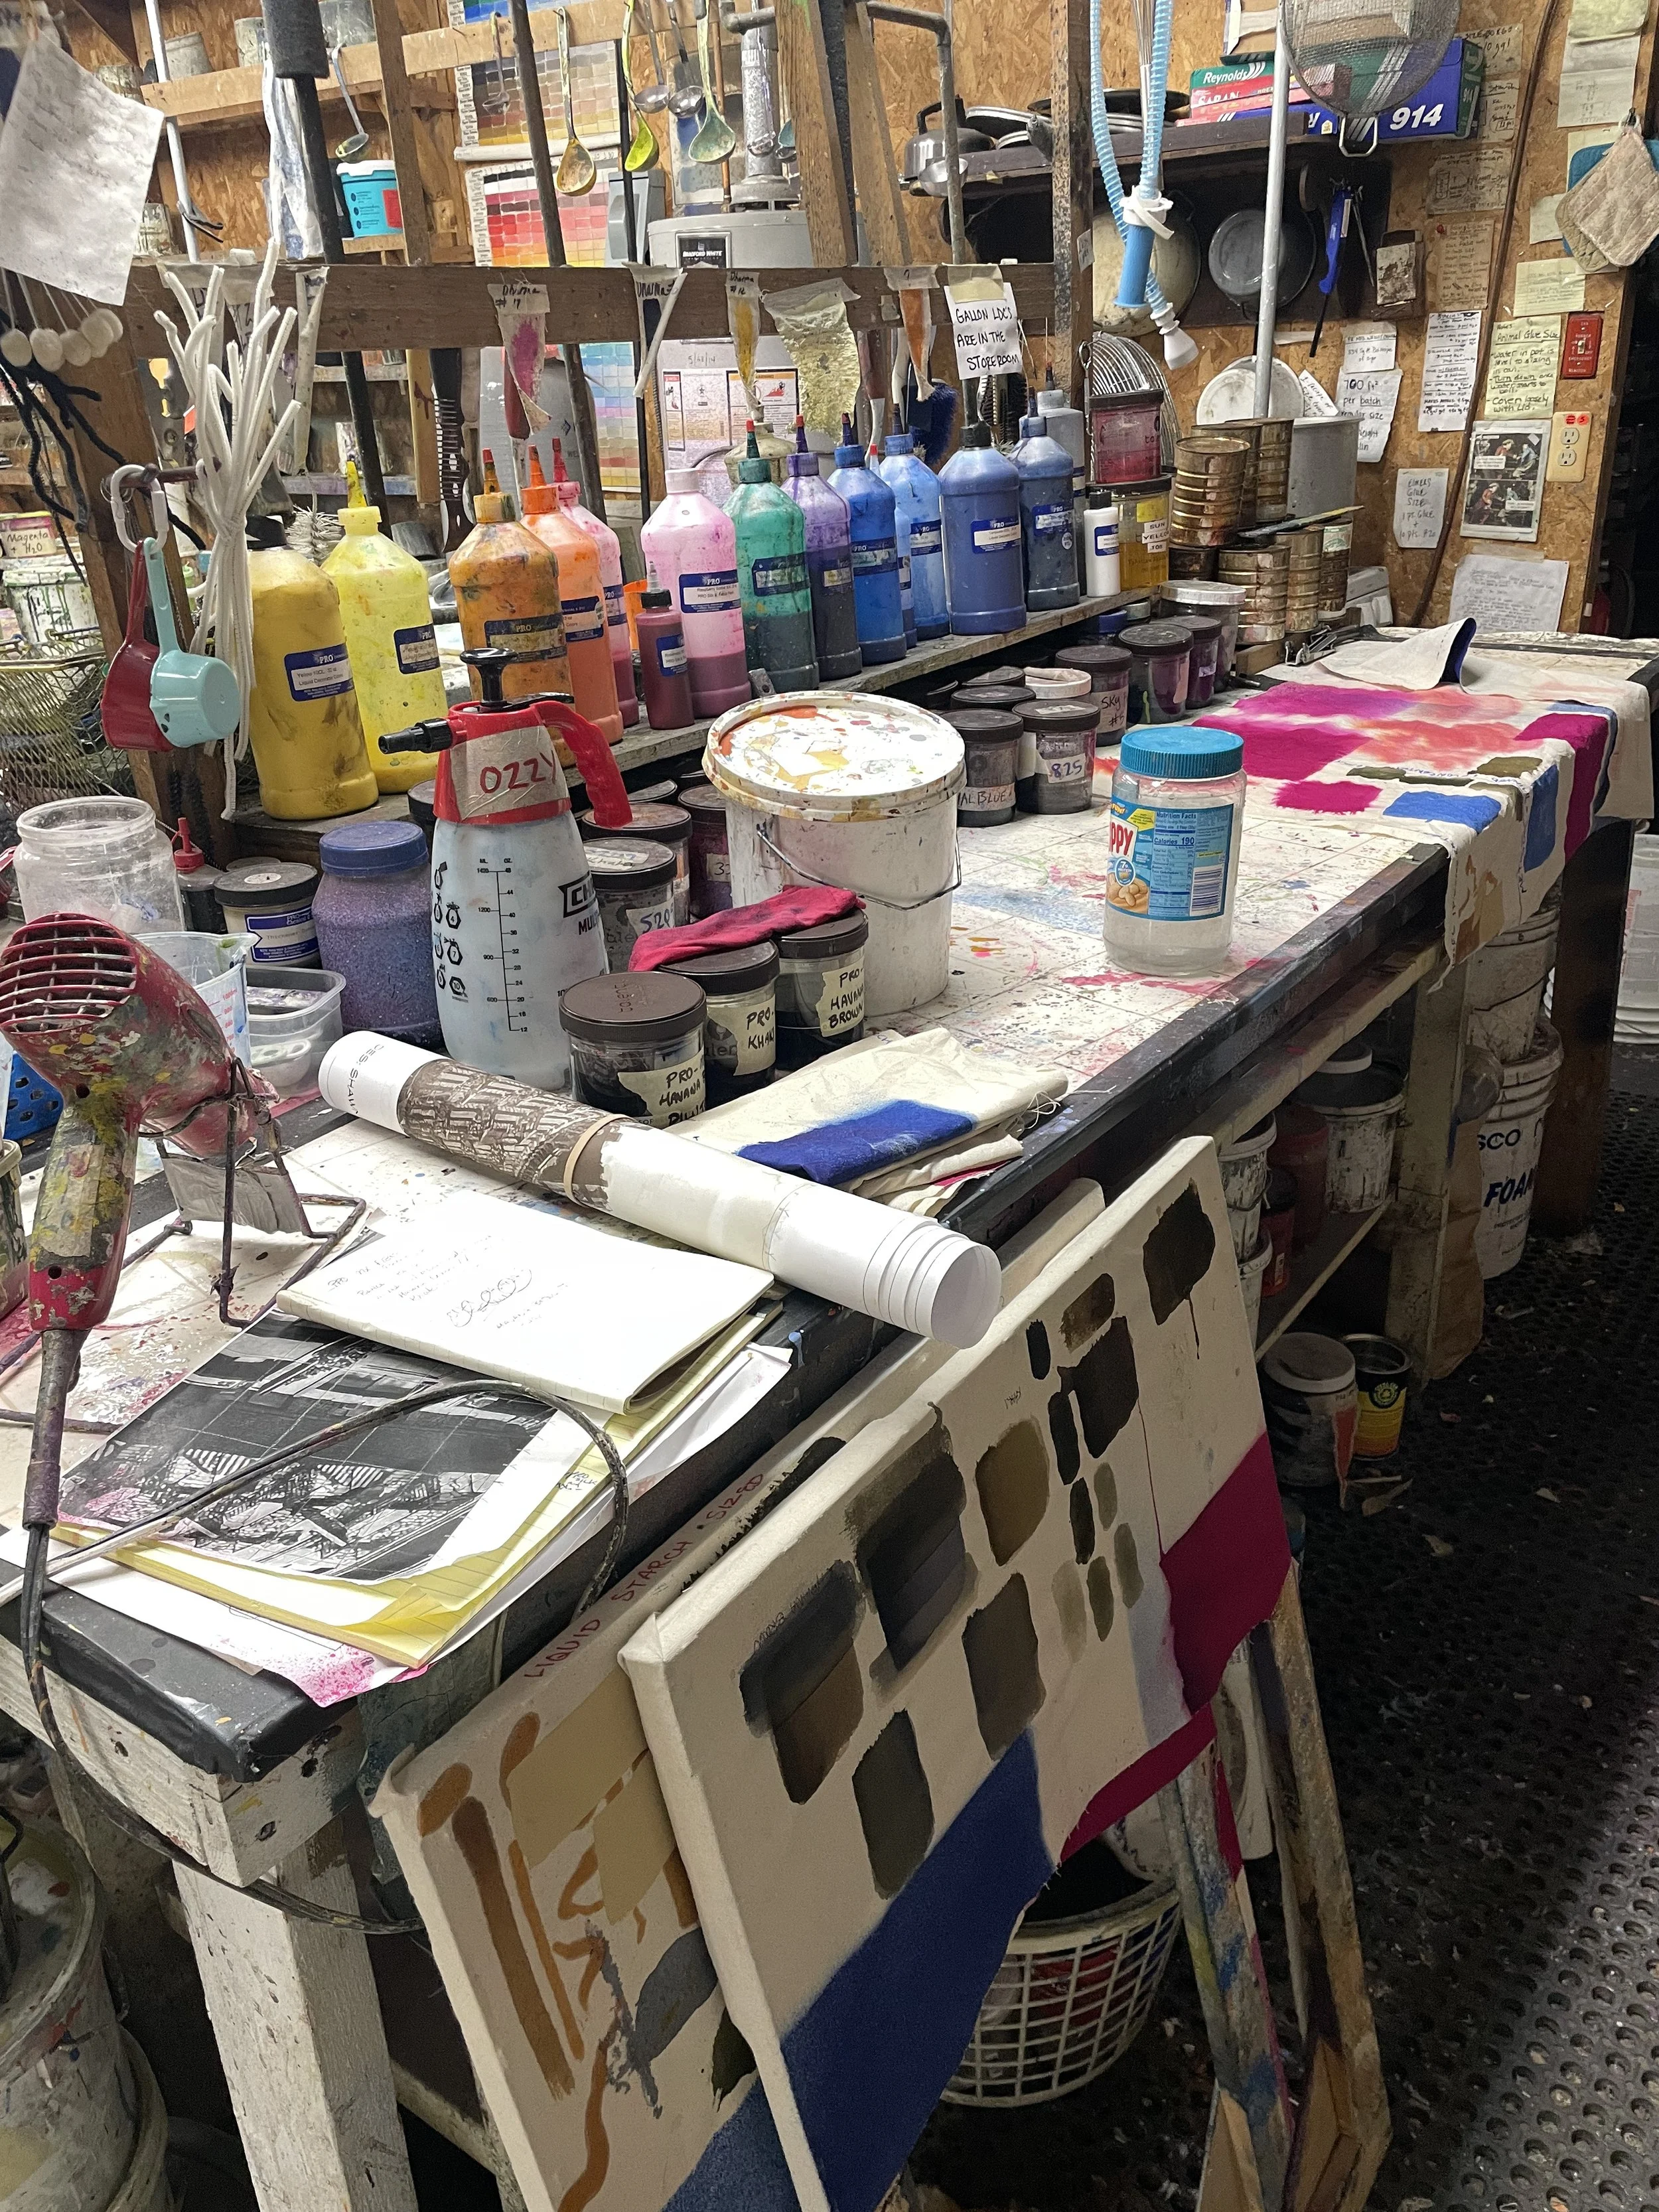
Note: The areas of the drop that were a bit wavy-wonky were those with a higher concentration of white paint. The fabric warps when surface thickness varies.
A note on mixing dye: it’s harder than paint
If you are purchasing powdered pigment, you’re getting one solid, reliable color. Pigment will not surprise you. Dye crystals are capricious beings full of tricks.
Different dye colors have different chemical structures. They won’t mix uniformly unless they are dissolved in water. The colors also look very different when dry, sometimes getting significantly lighter or darker when wet. When the dye dries on fabric, it stays it’s wet color.
Fibre Reactive Dyes are sold as Ice Dye. Crystals will be mixed and sprinkled over ice so that the colors separate and make lovely effects on the fabric. It’s a gorgeous technique. For our purposes, it is evil.
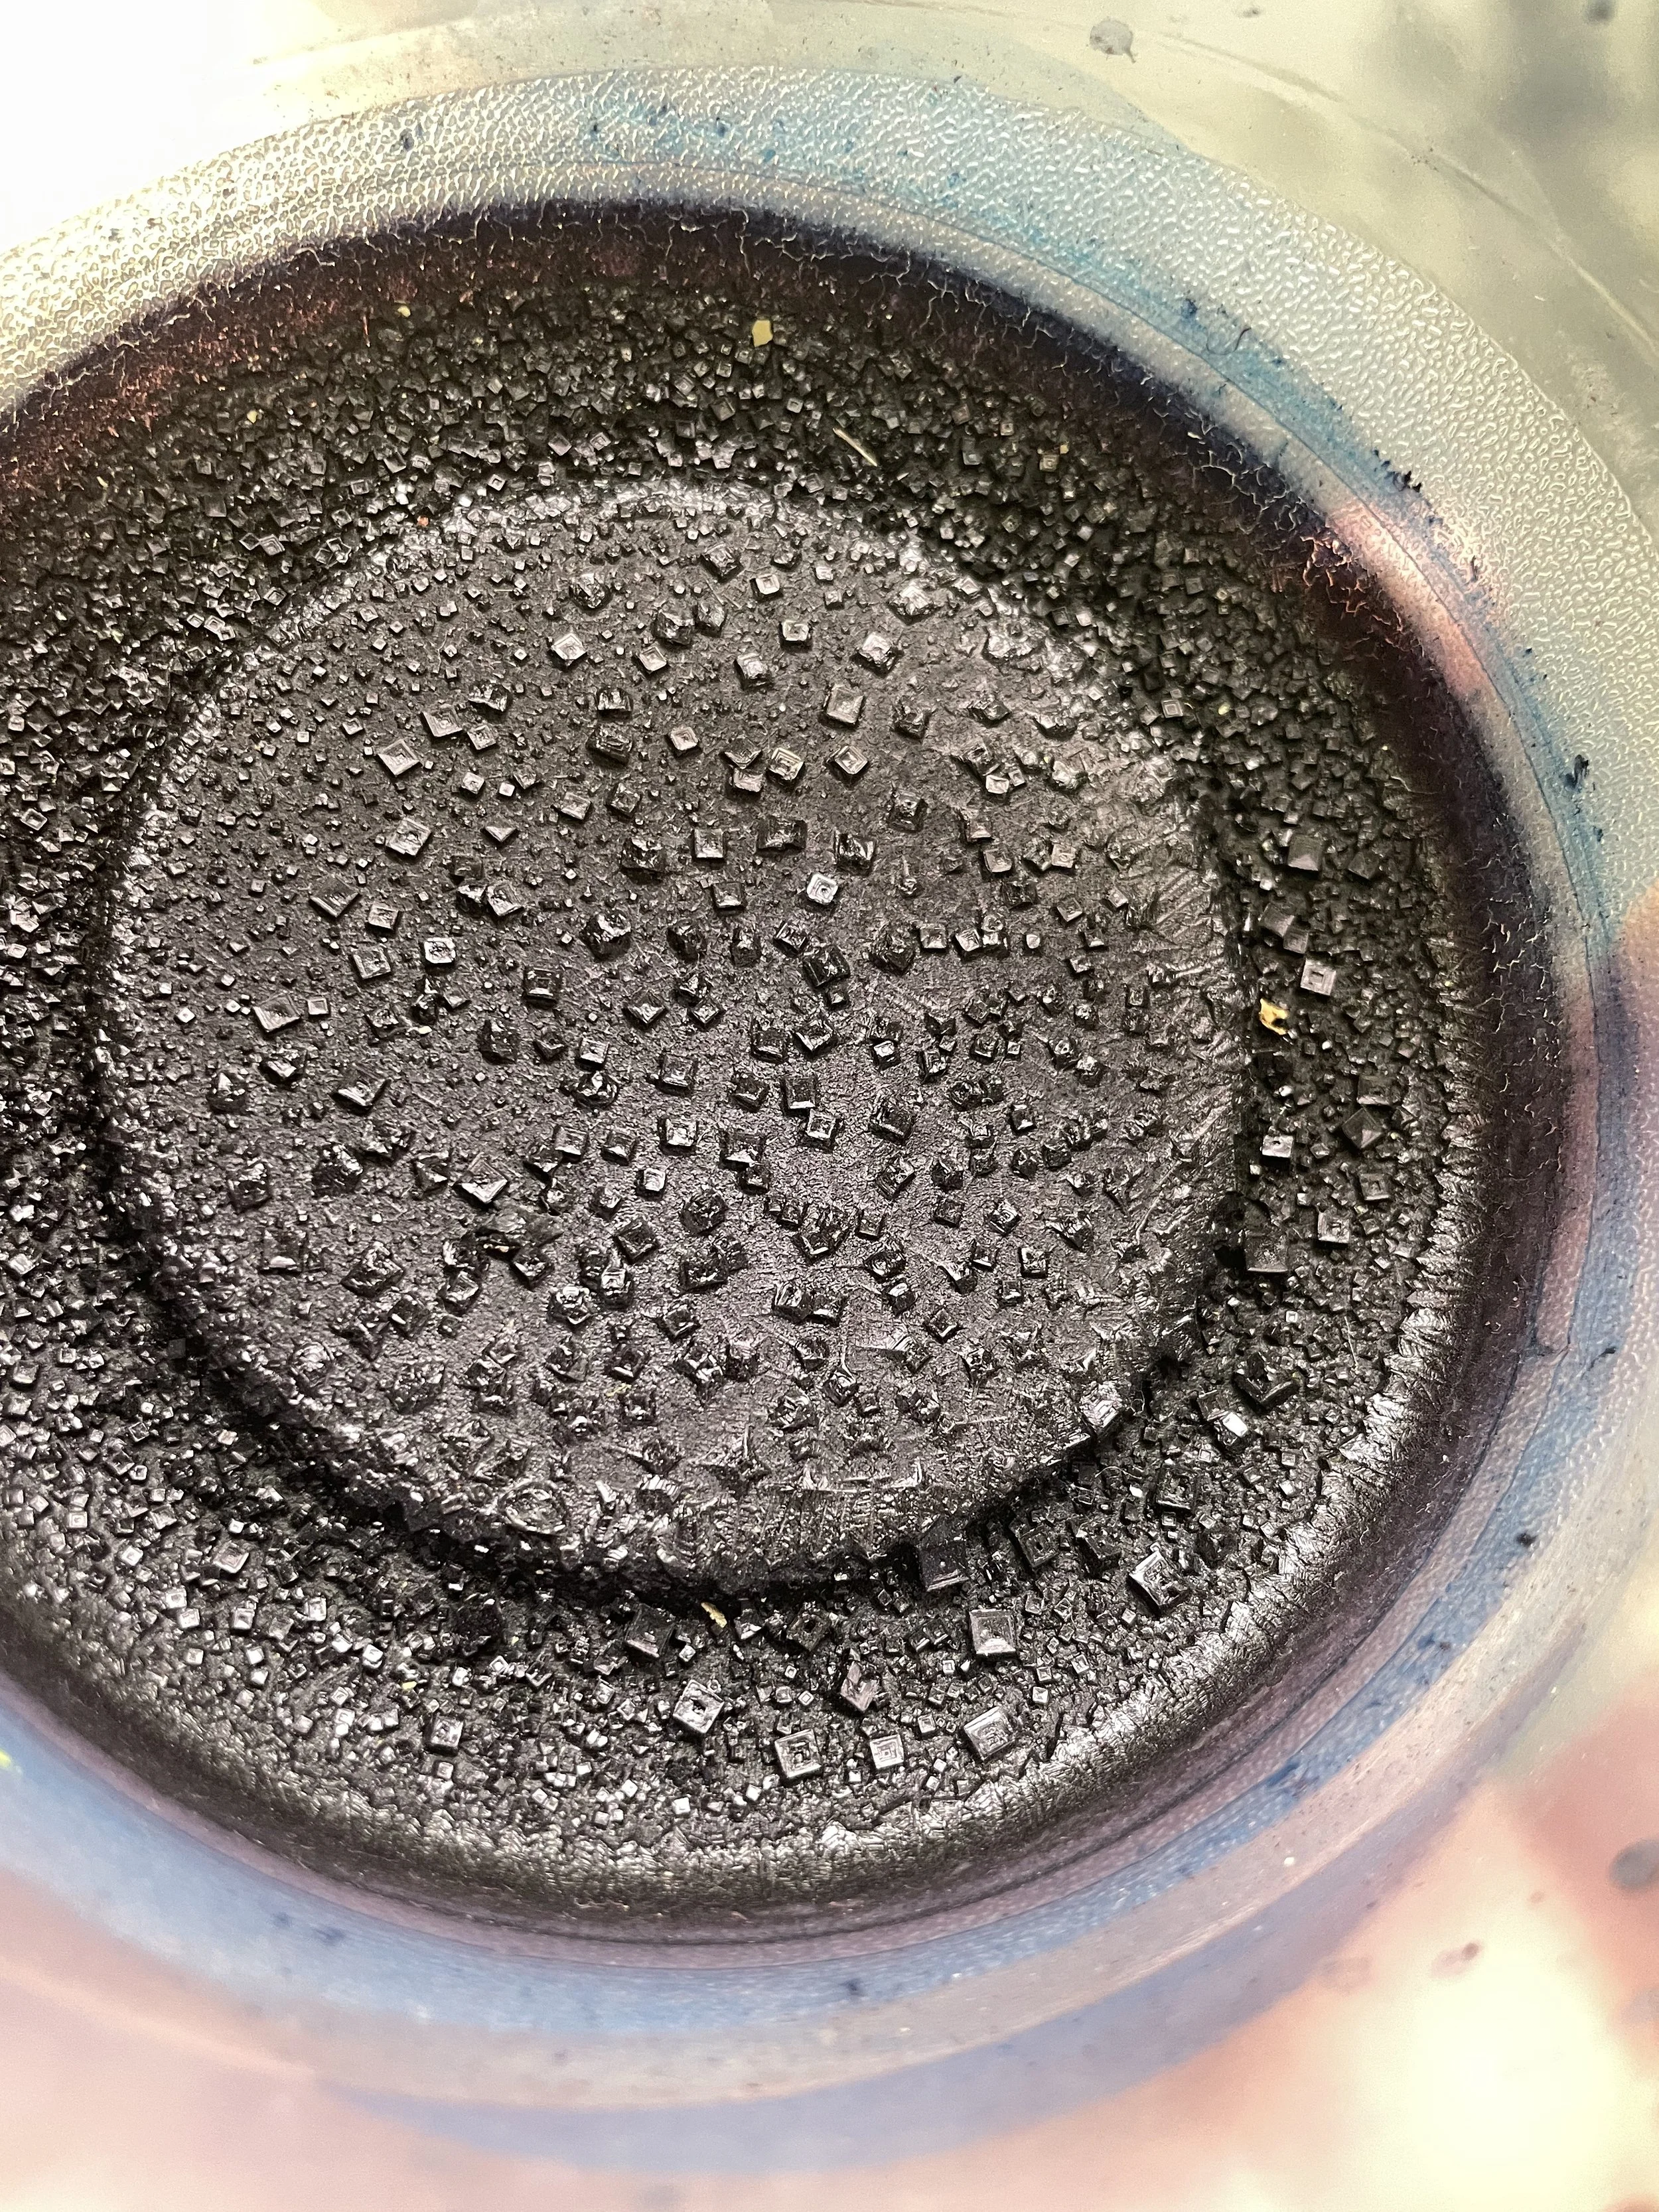
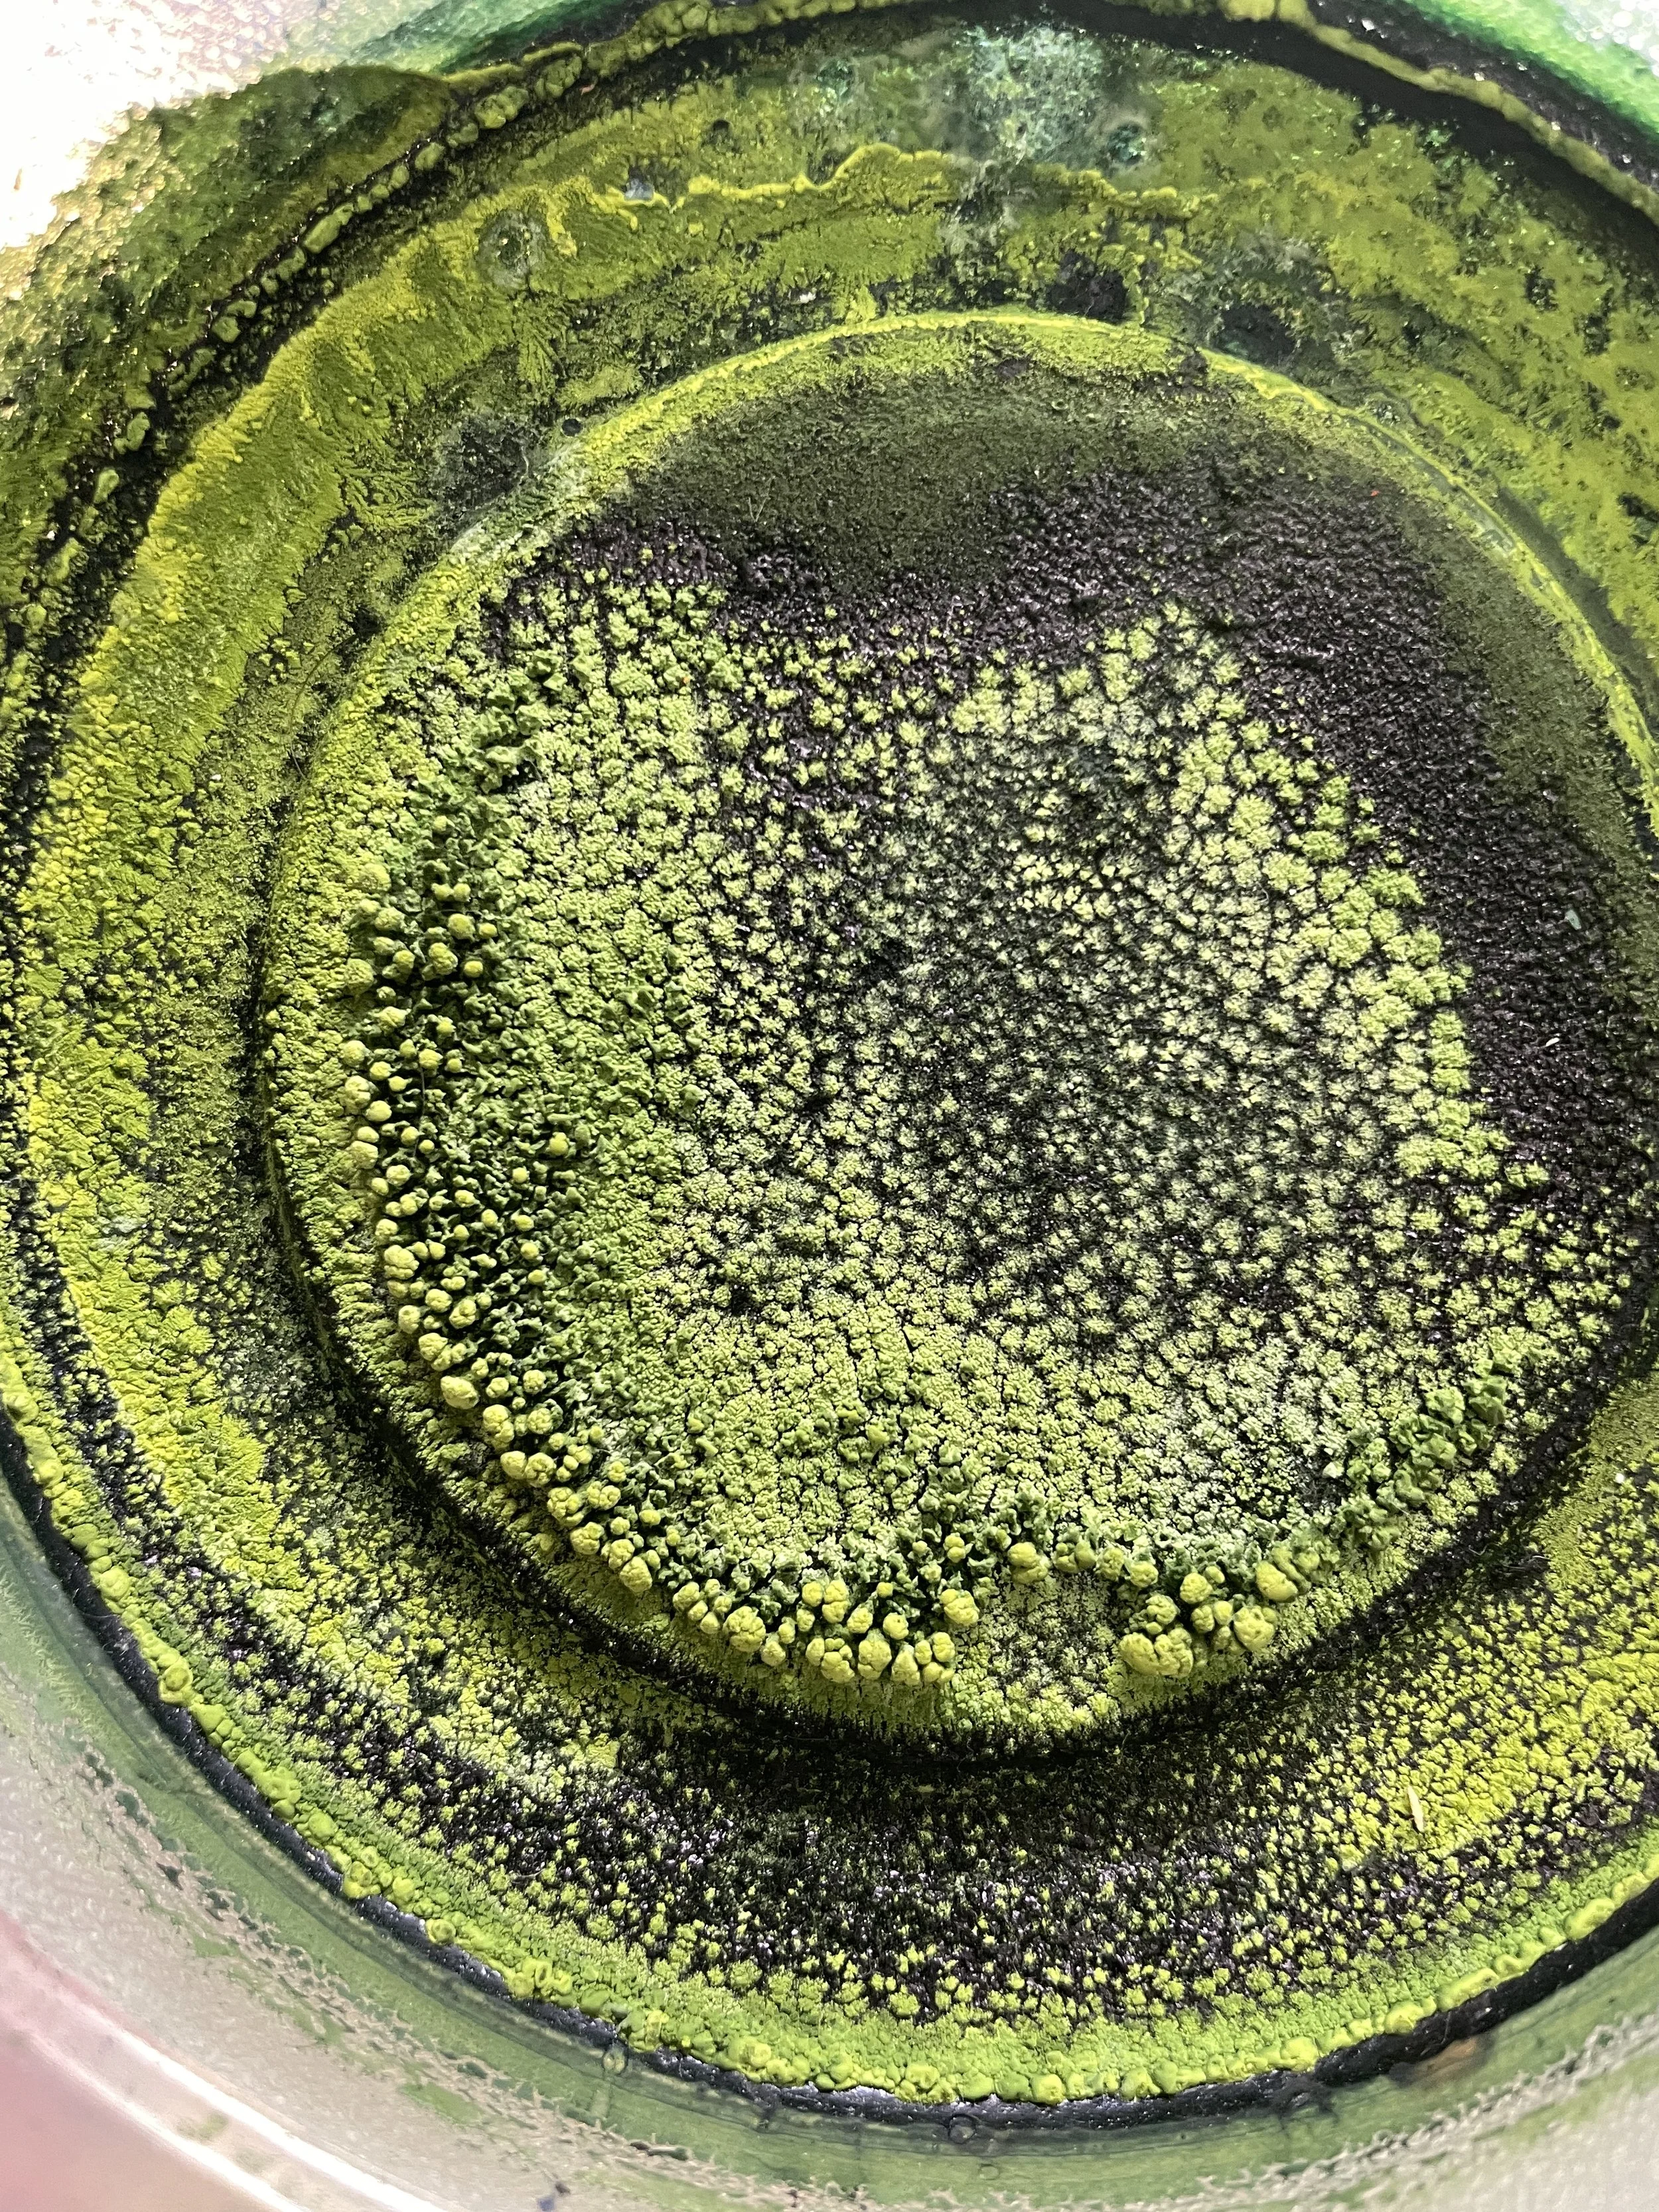
Depending on how uniformly the crystals are mixed in the container, you can end up with different ratios of color in every spoonful, leading to unpredictable color mixing. A way to work around this is to check the swatches on the website. The most boring ice dye swatches will be easier to mix.
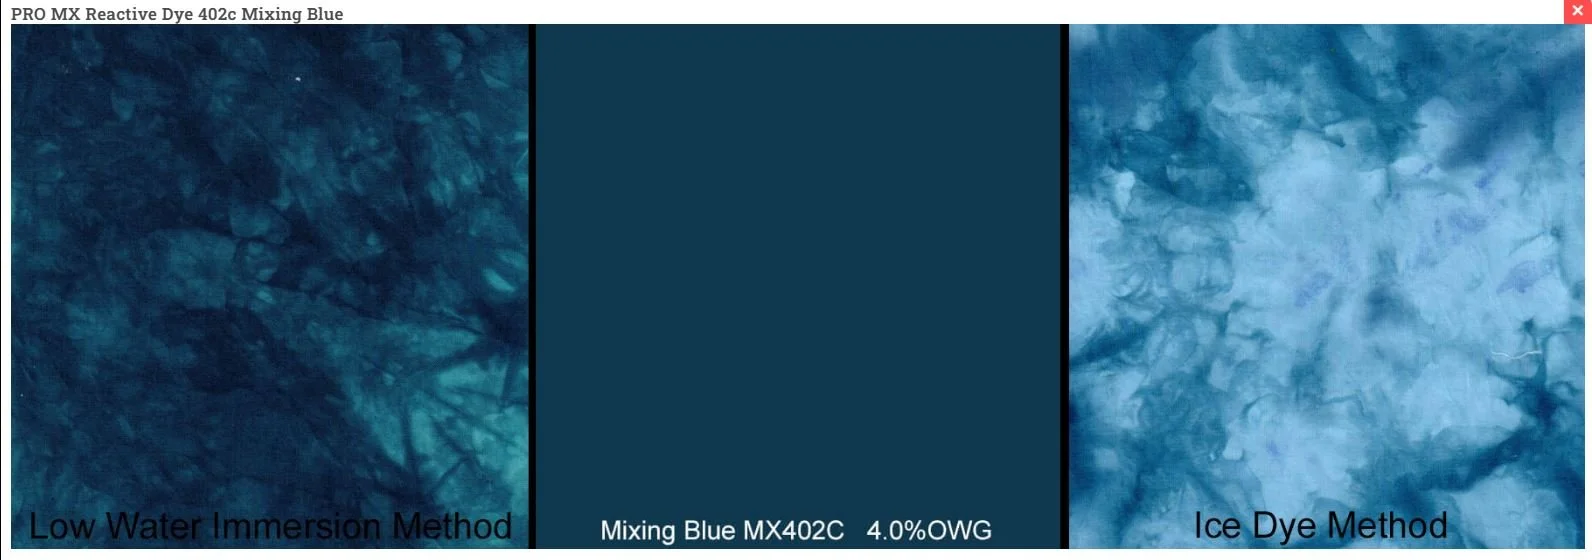
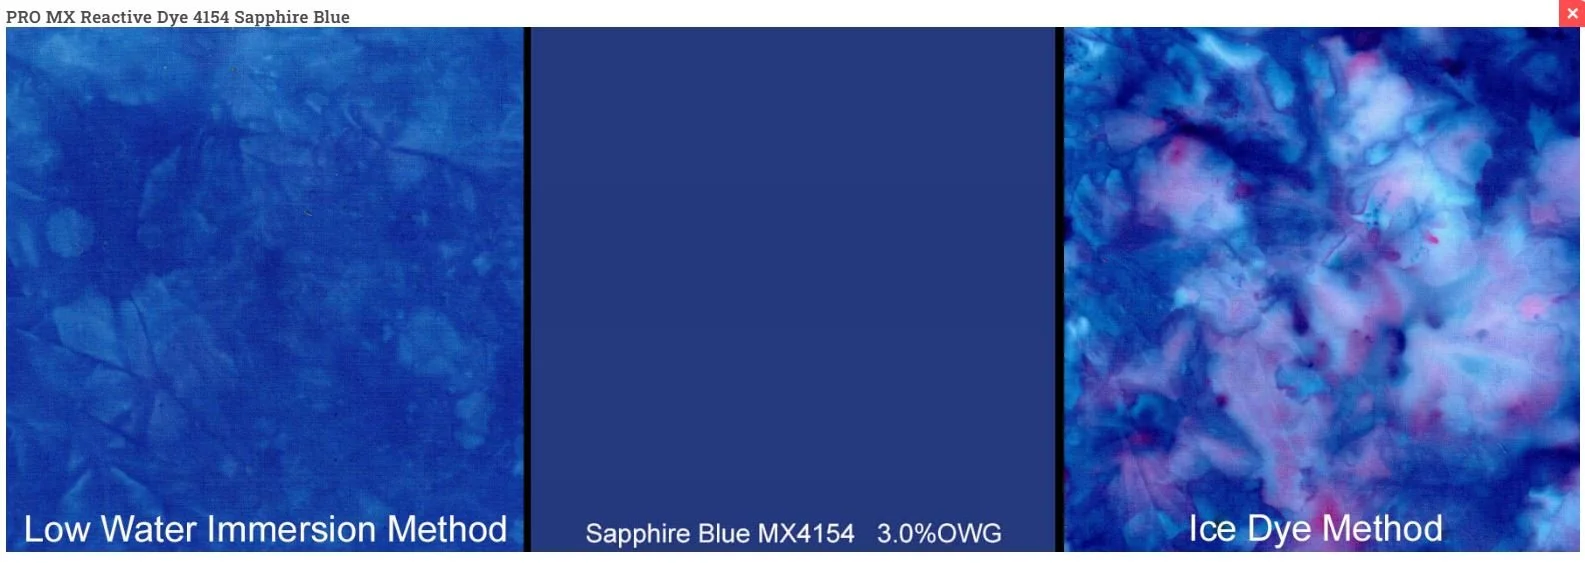
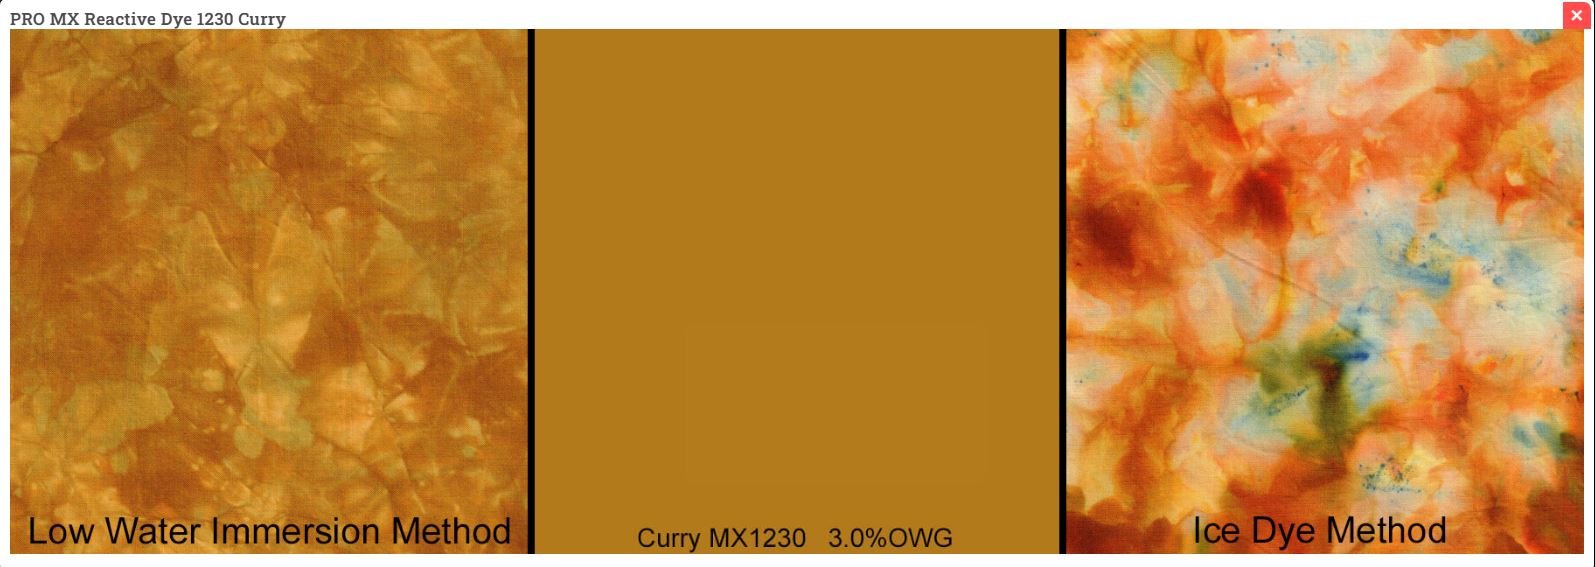
Another Fun Problem: mixing concentrated batches.
I found that when trying to make a dark greenish brown, the very concentrated dye would look purple, but thinned further into green. I had to have a clean cup of water to drip some dye into to check my work as I mixed.
A boon? This changeable nature can make for dynamic renderings. I only used one color on the whole drop, but some areas looked more green or more brown and gave a nice subtle variation.
Mapping out the elevation
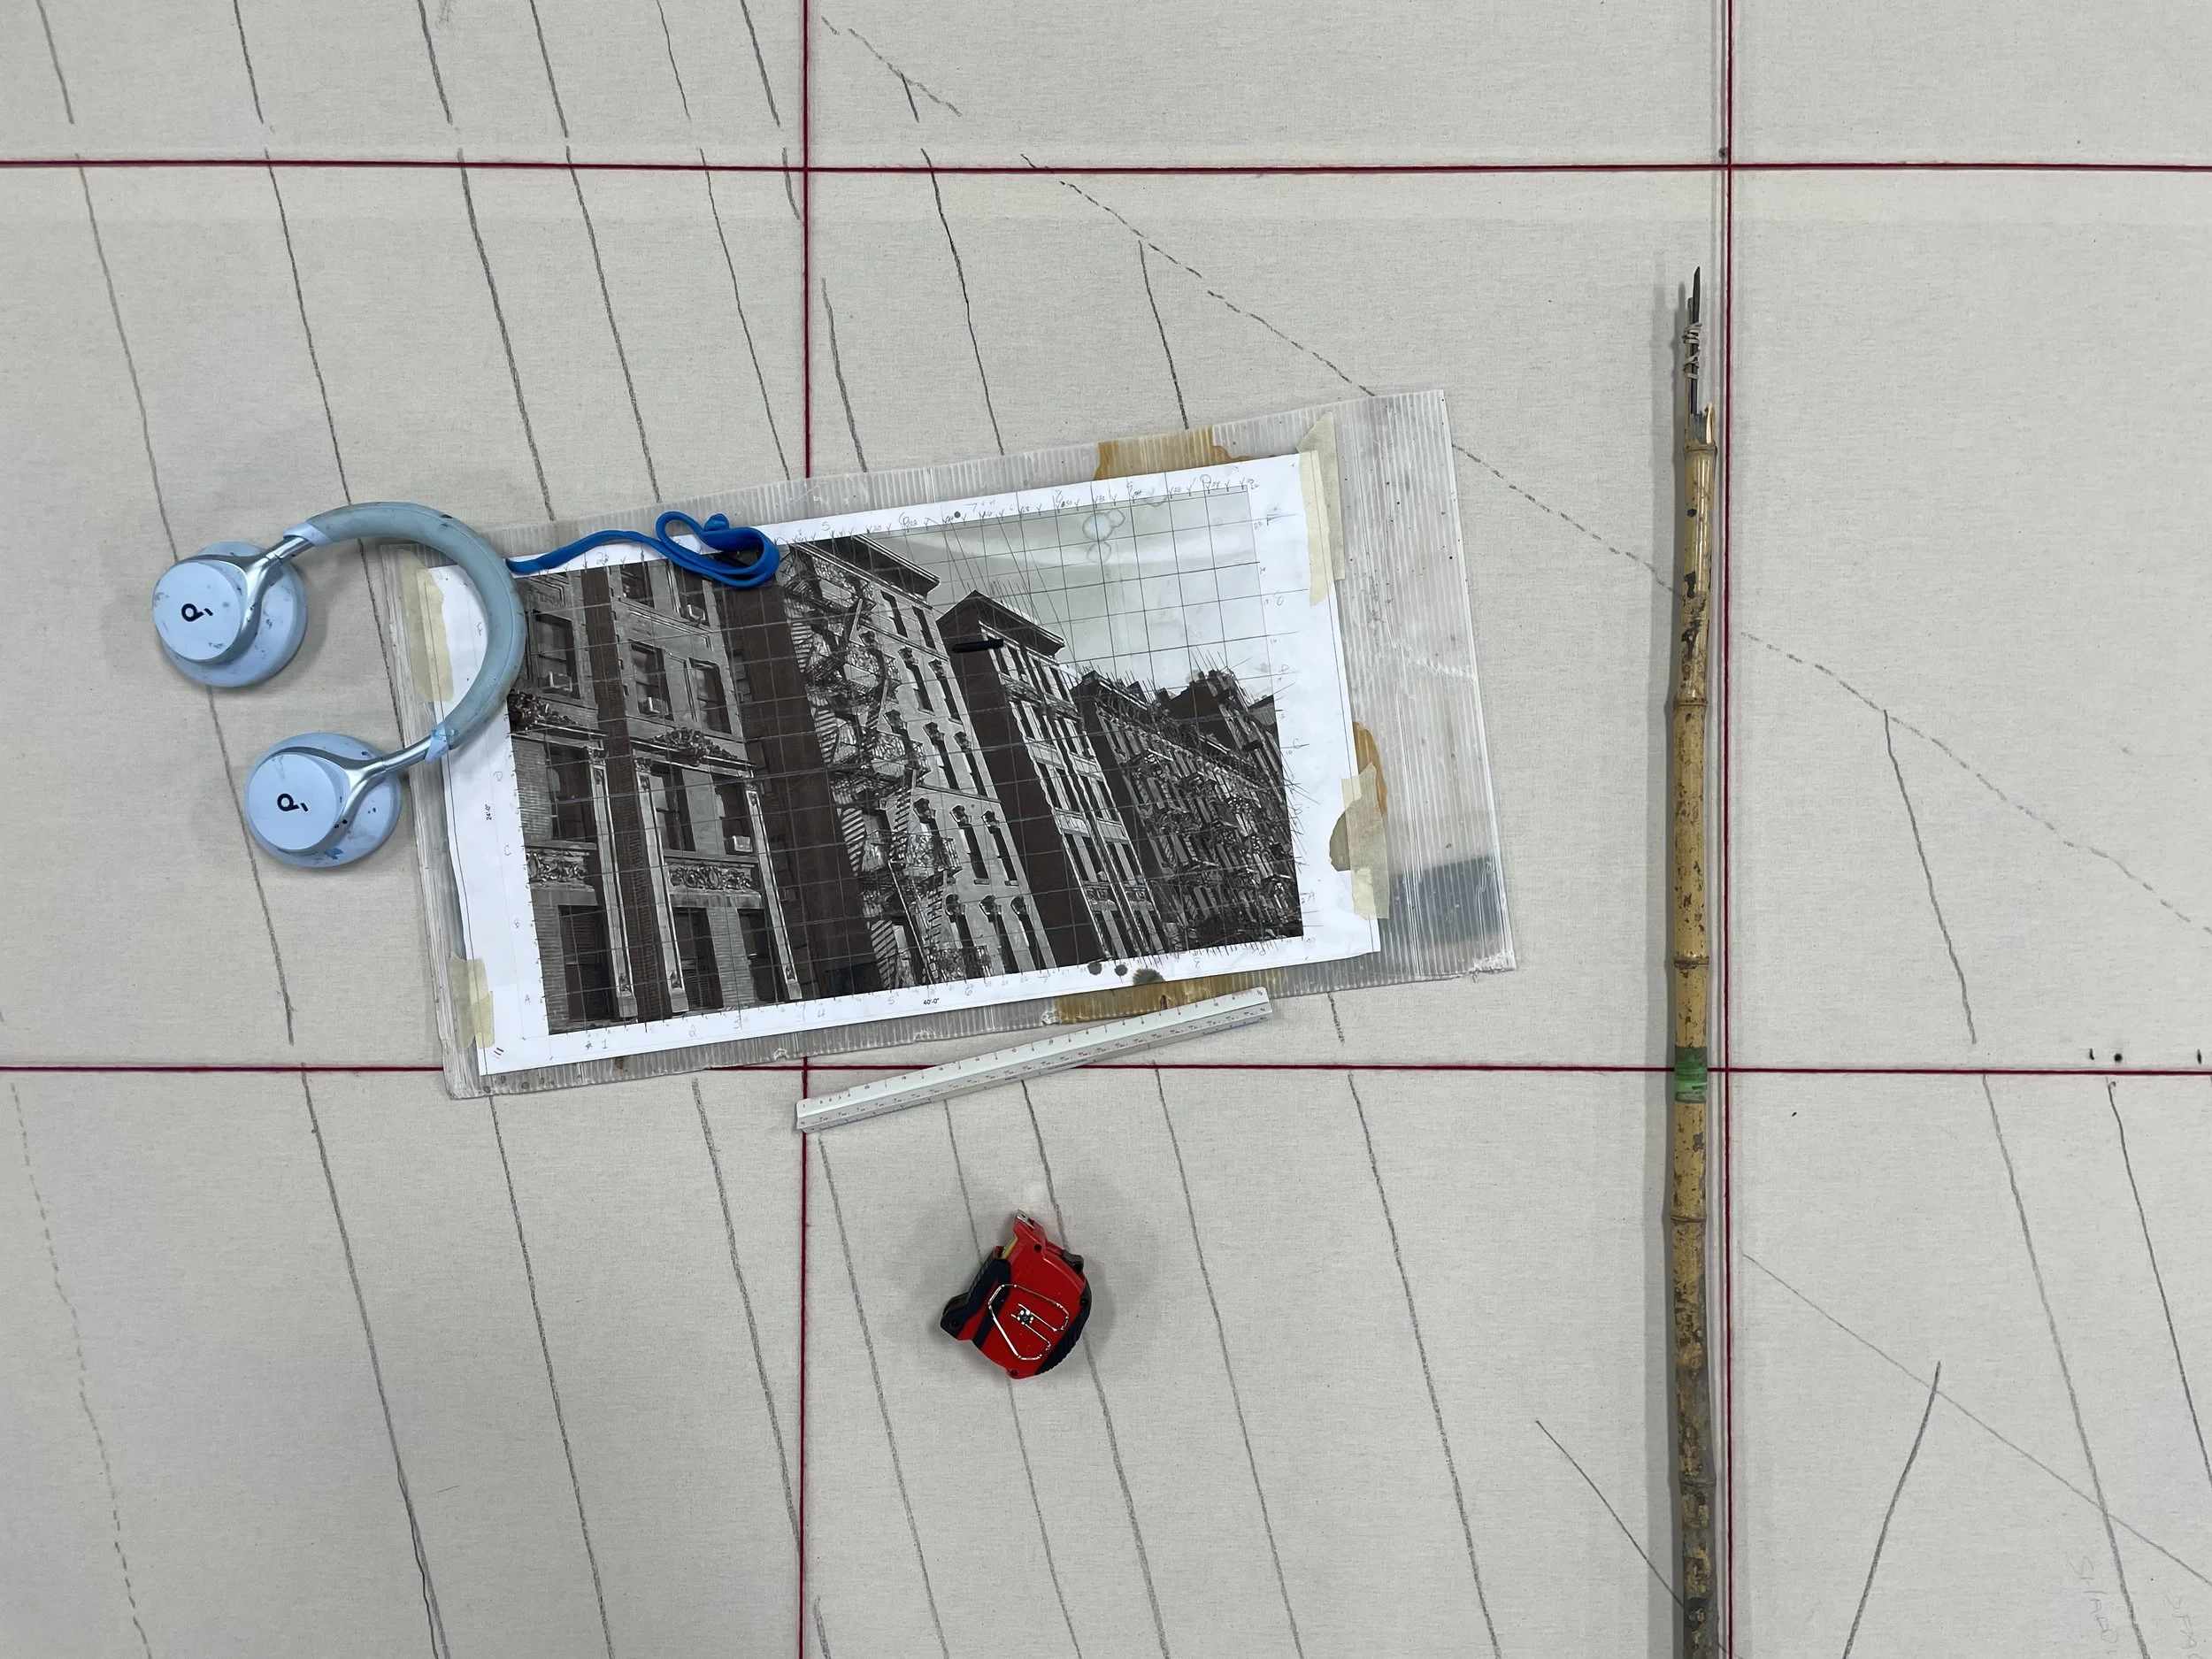
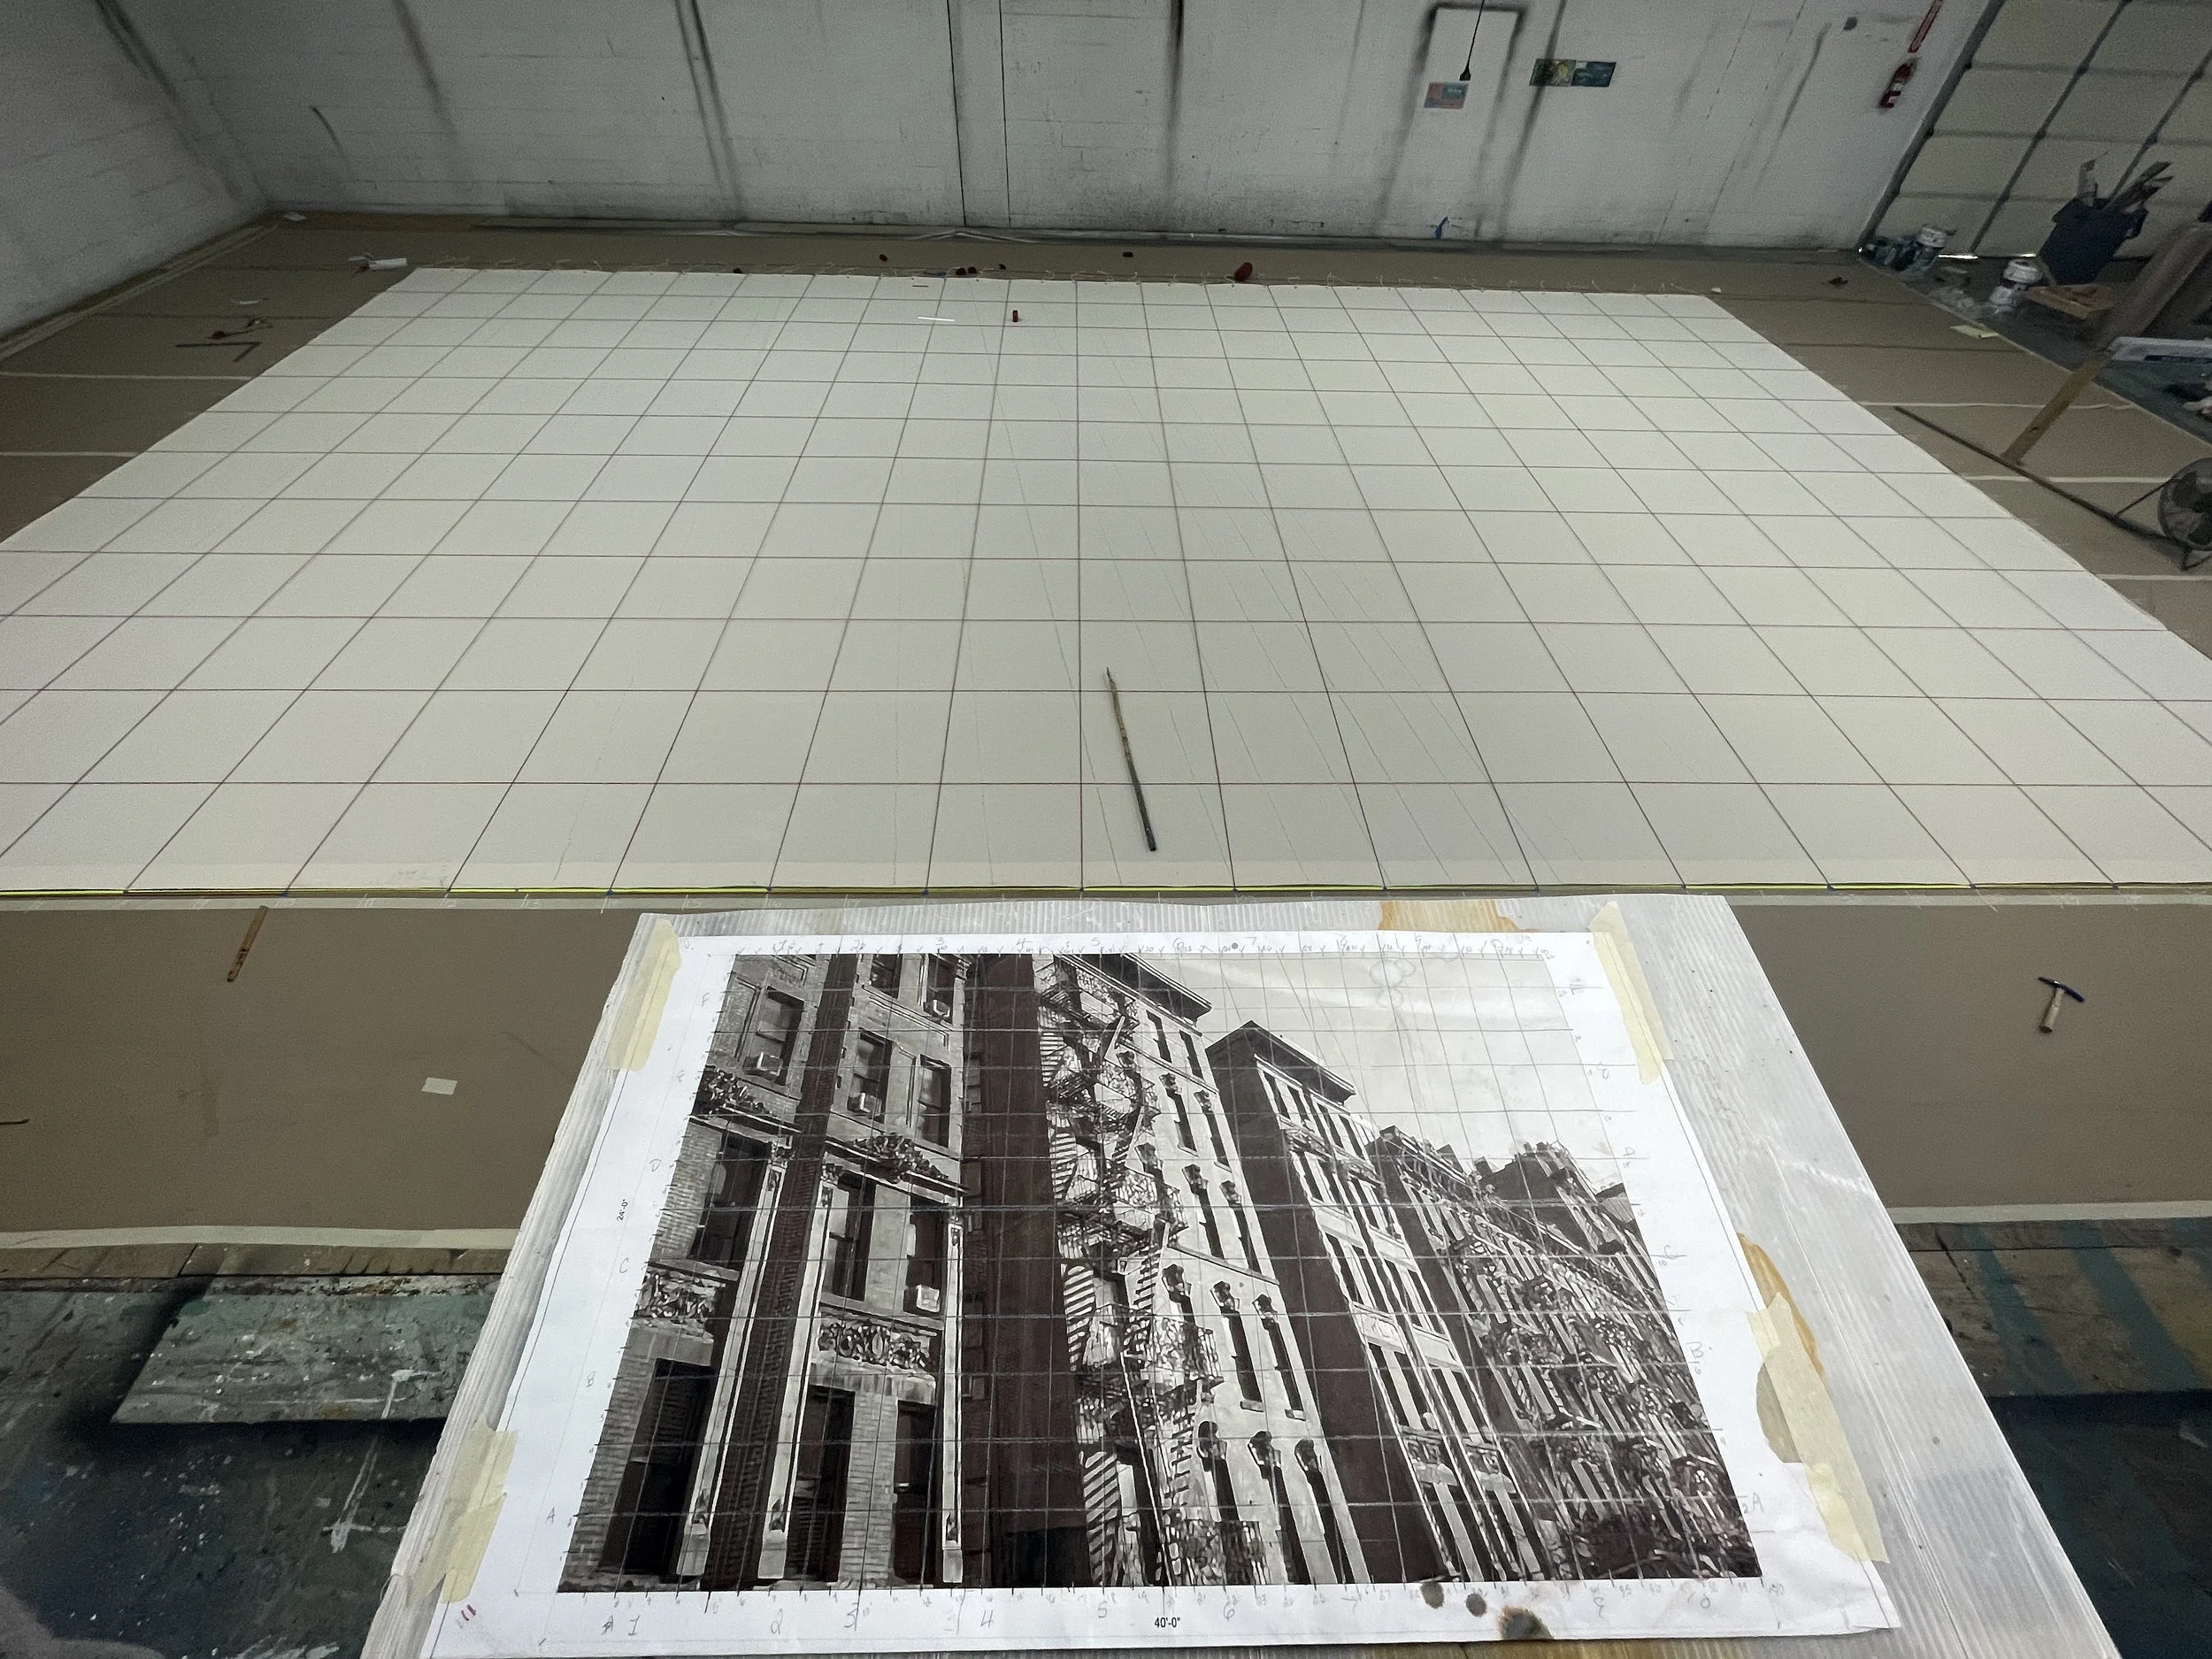
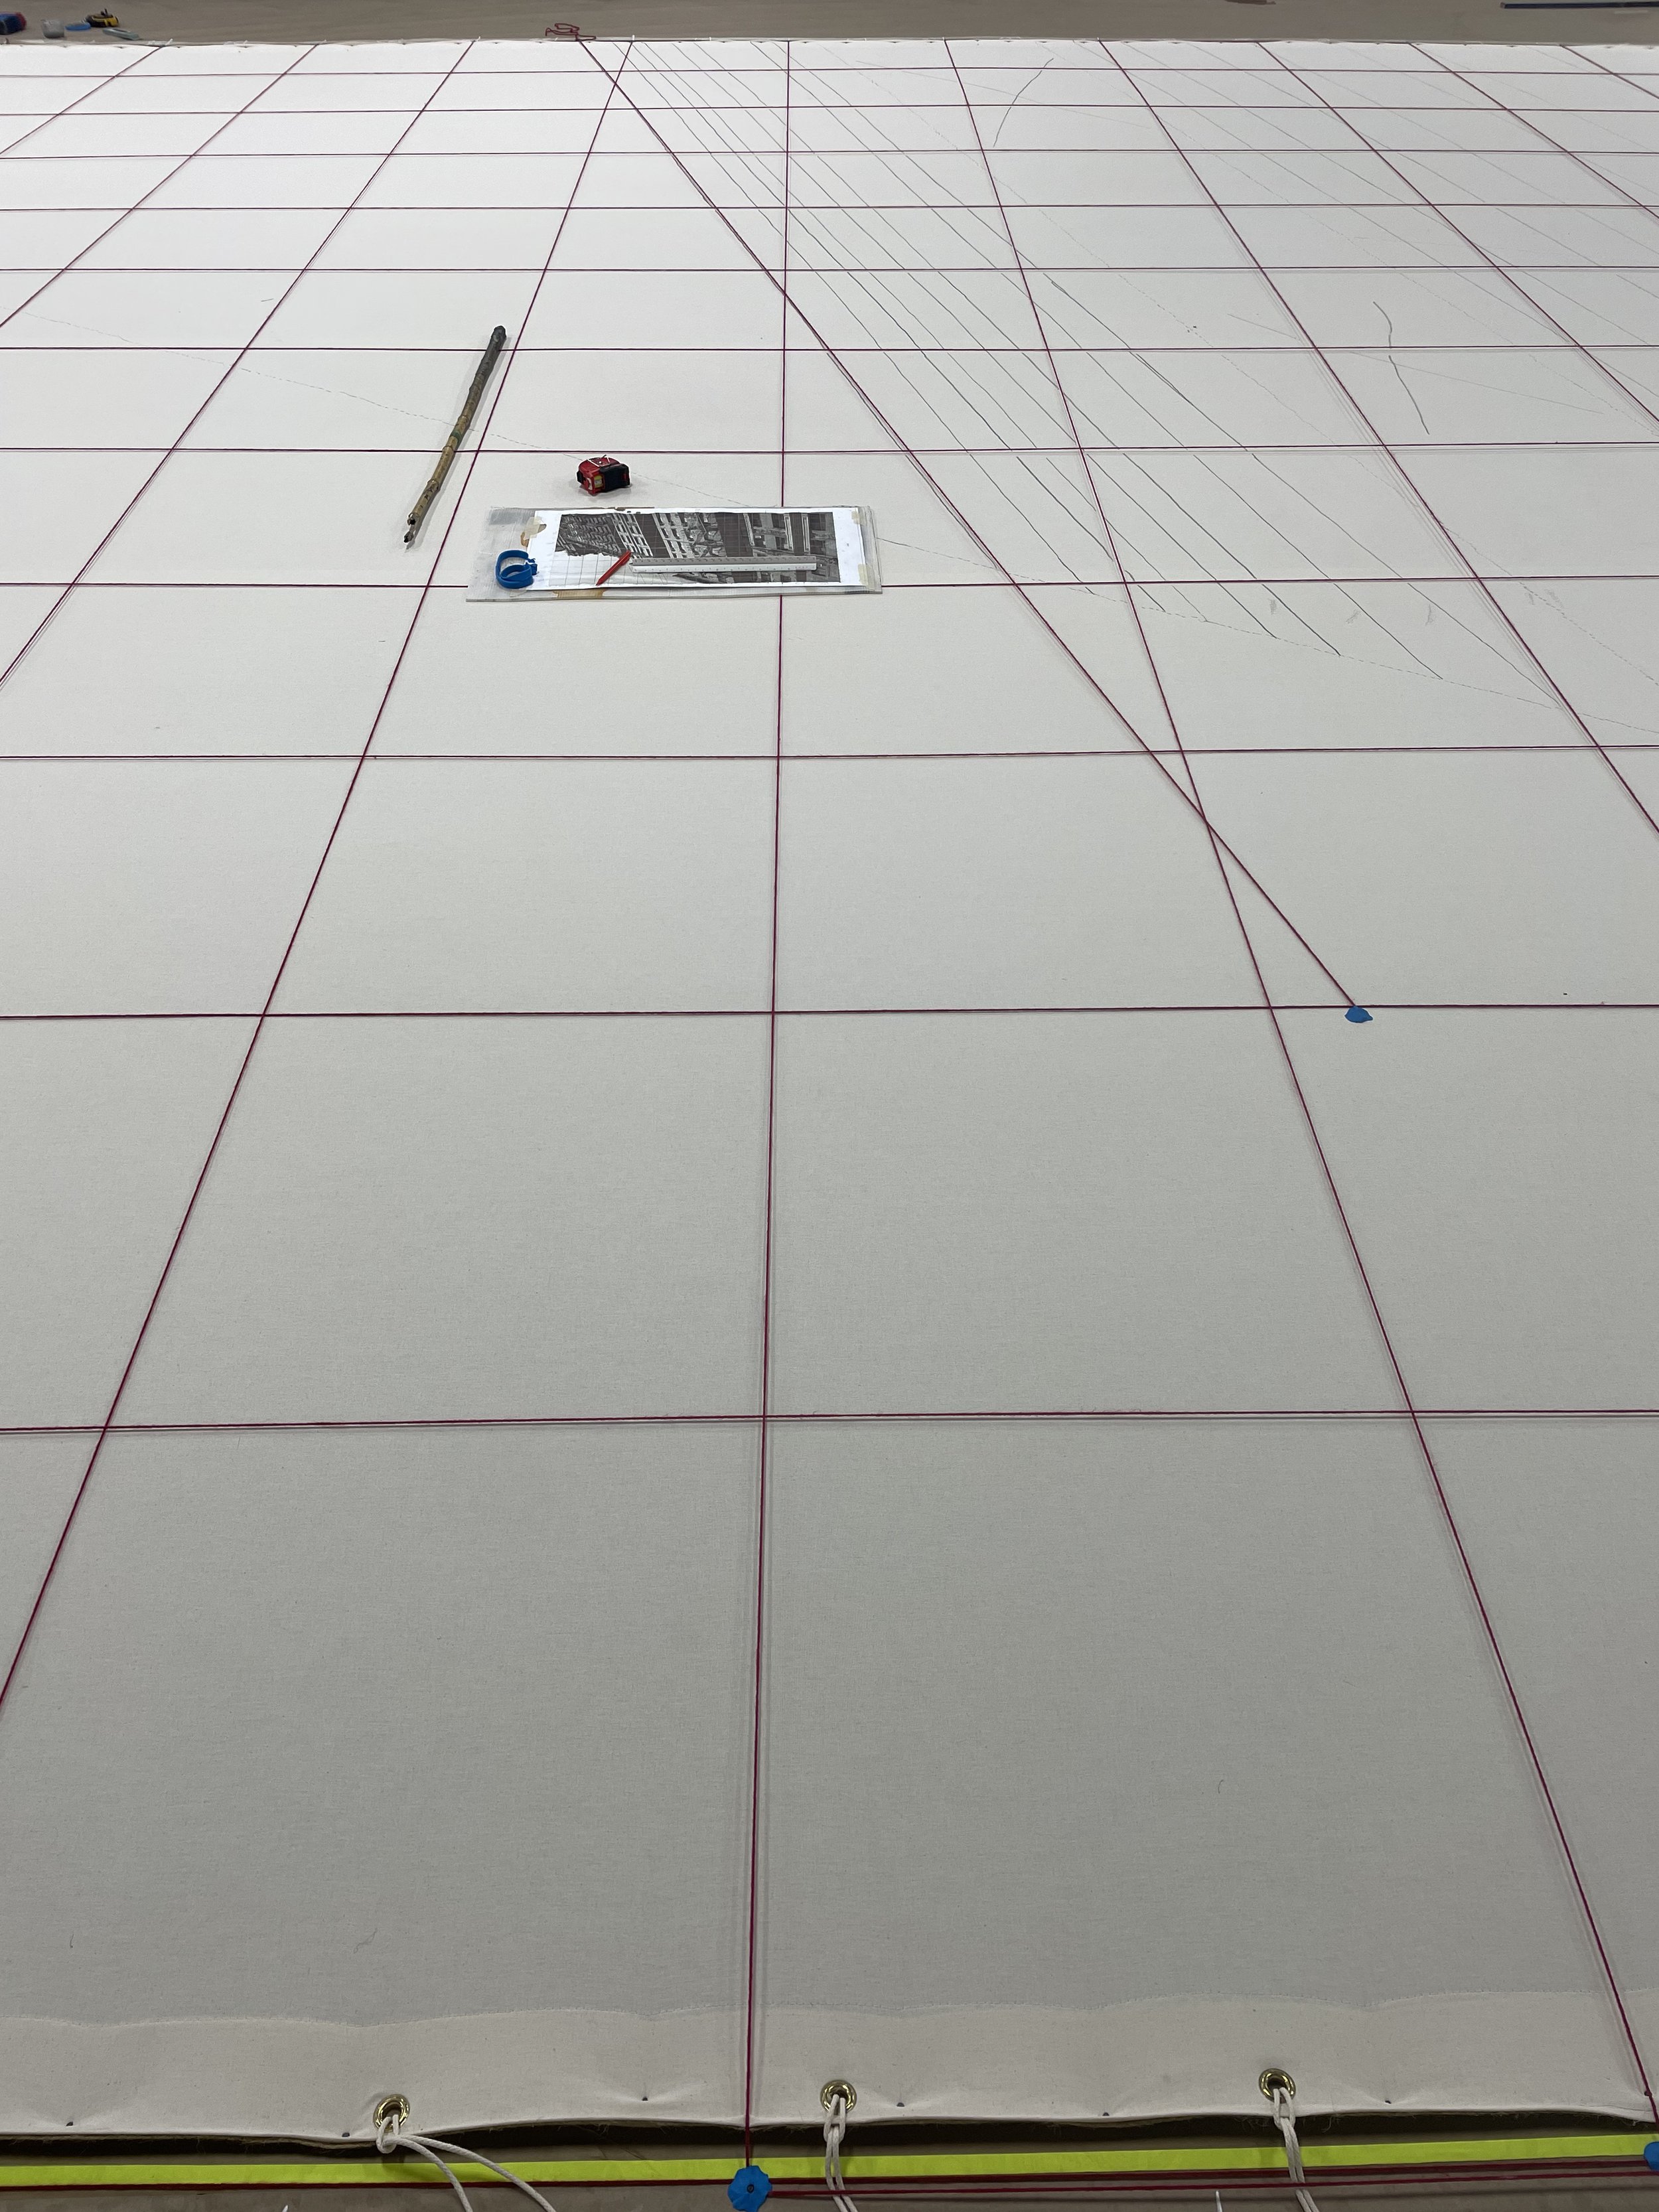
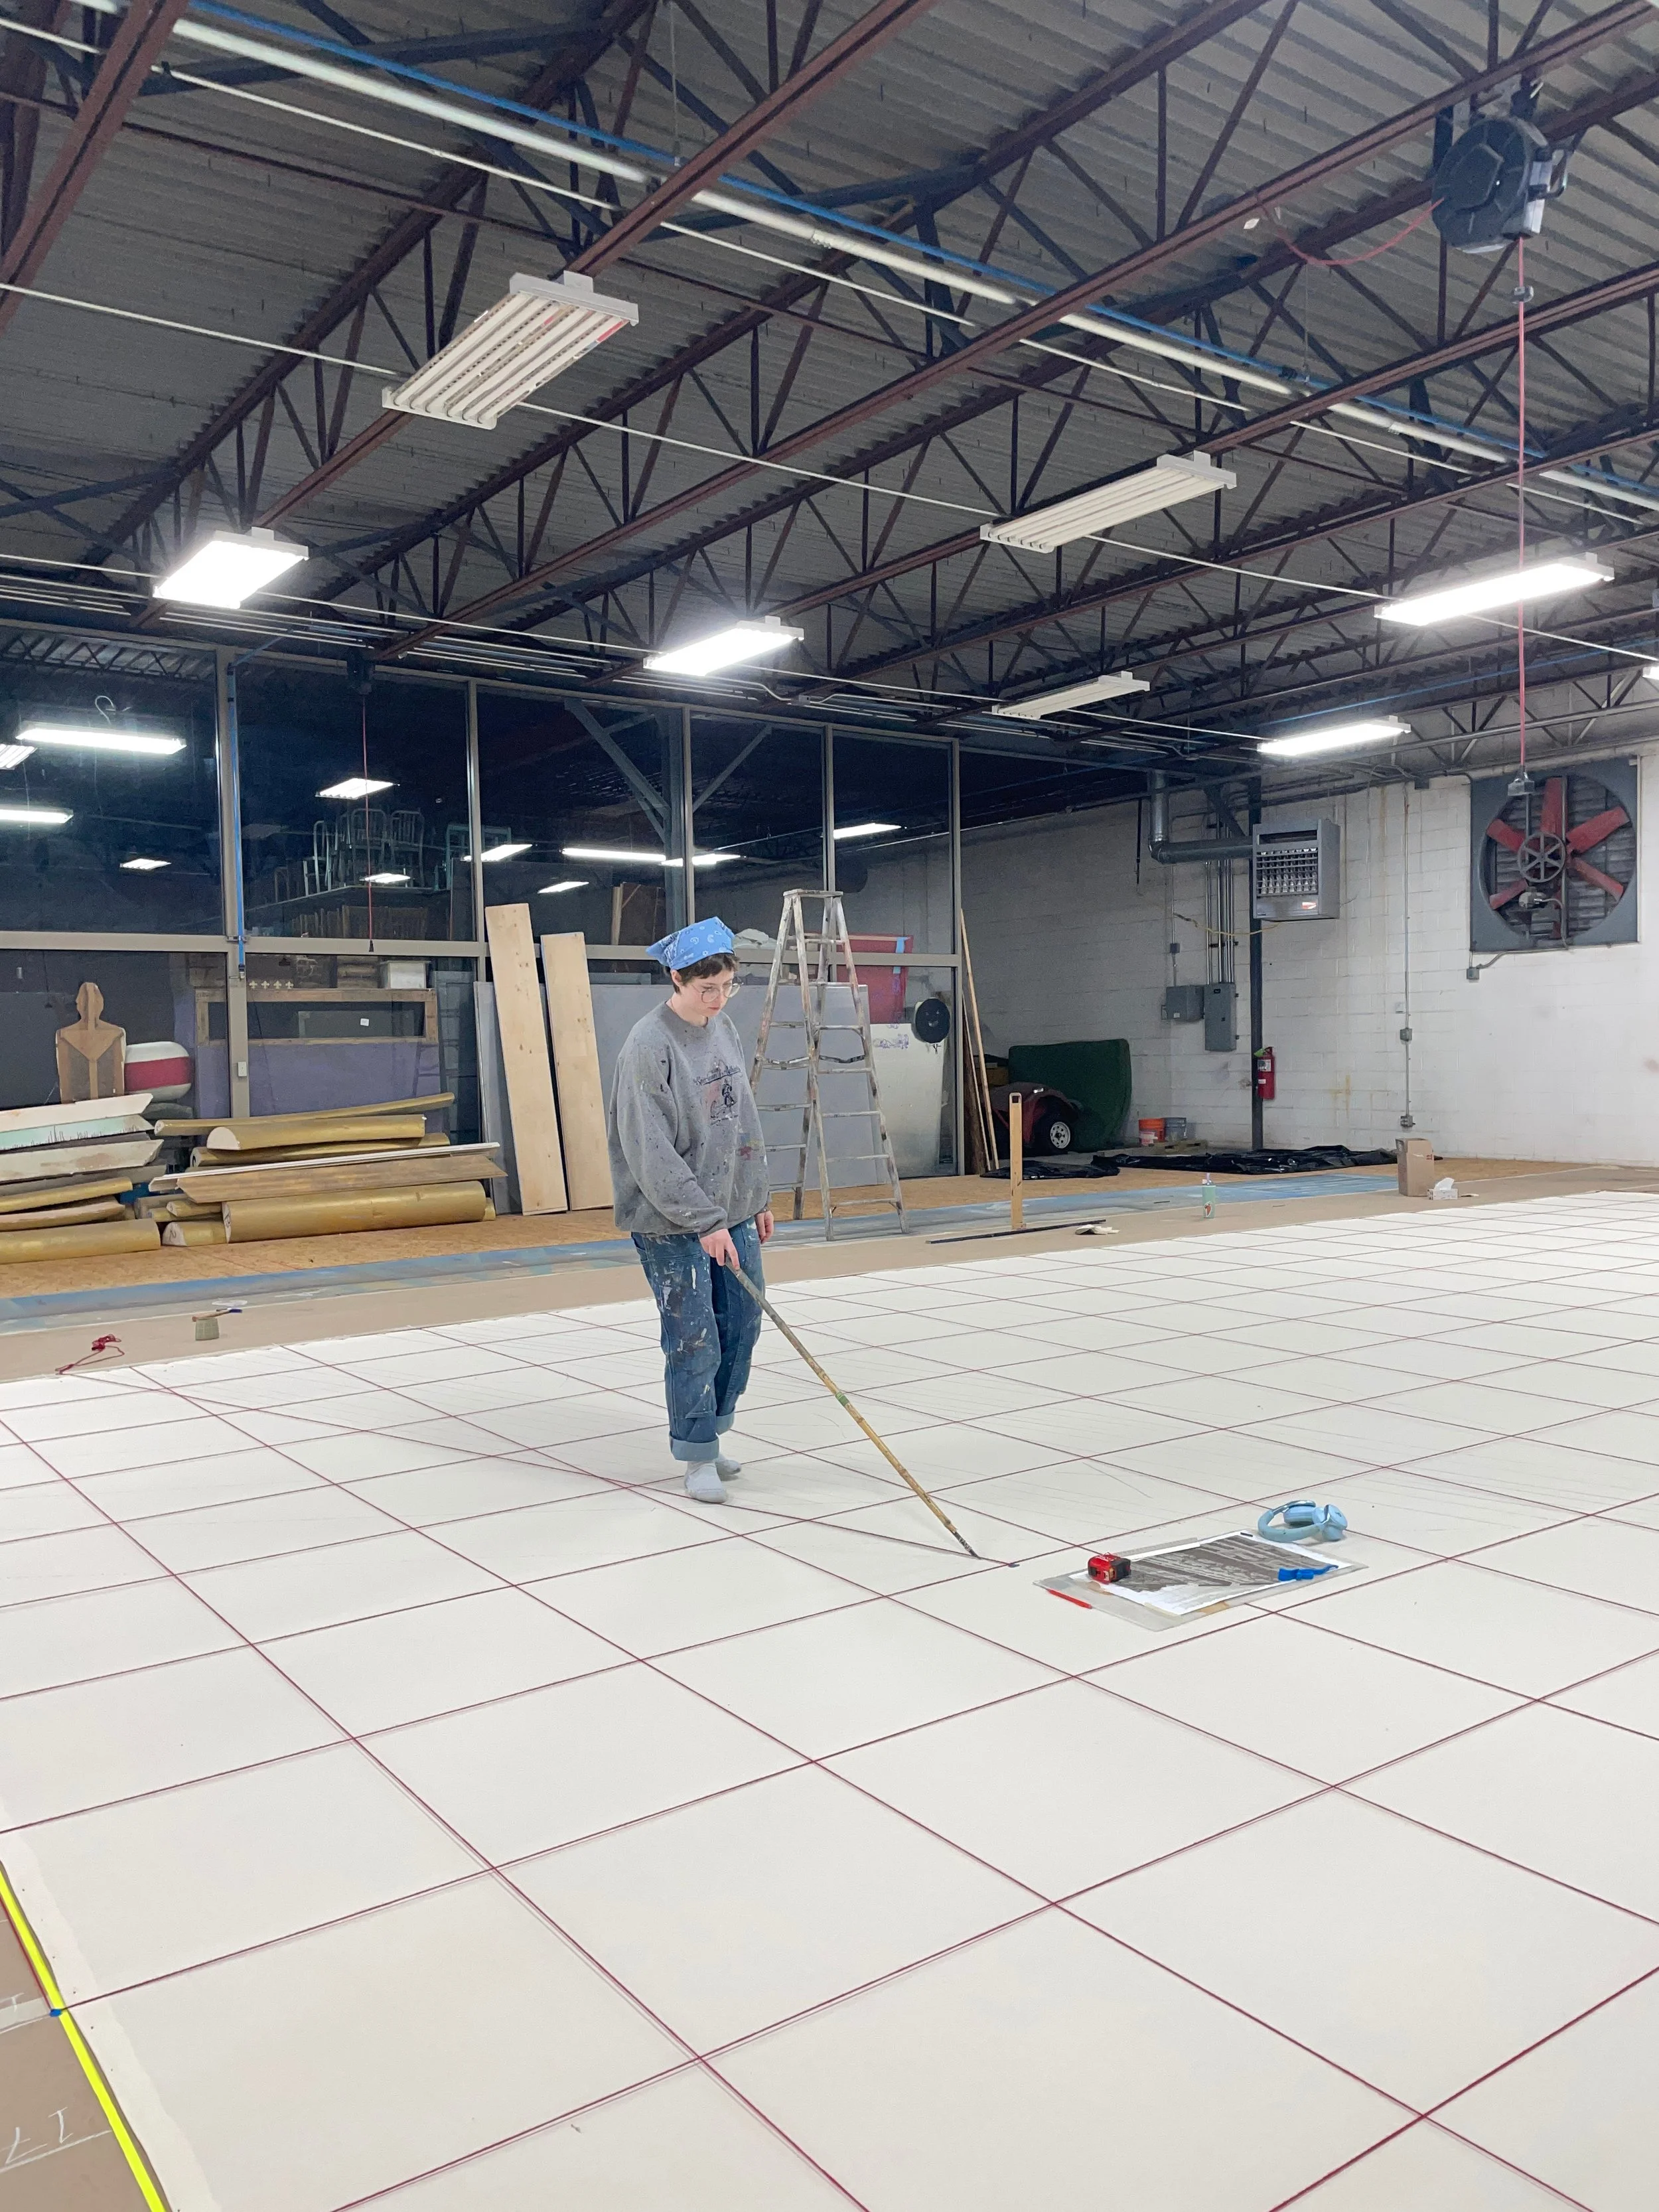
I made a grid on the drop with red yarn, secured with cut tacks and blue tac. Each square was 2’x2’. On the elevation, I marked where a perspective line intersected with the grid, then measured whatever rise or run and laid a length of yarn on the drop to trace with charcoal.
Painting
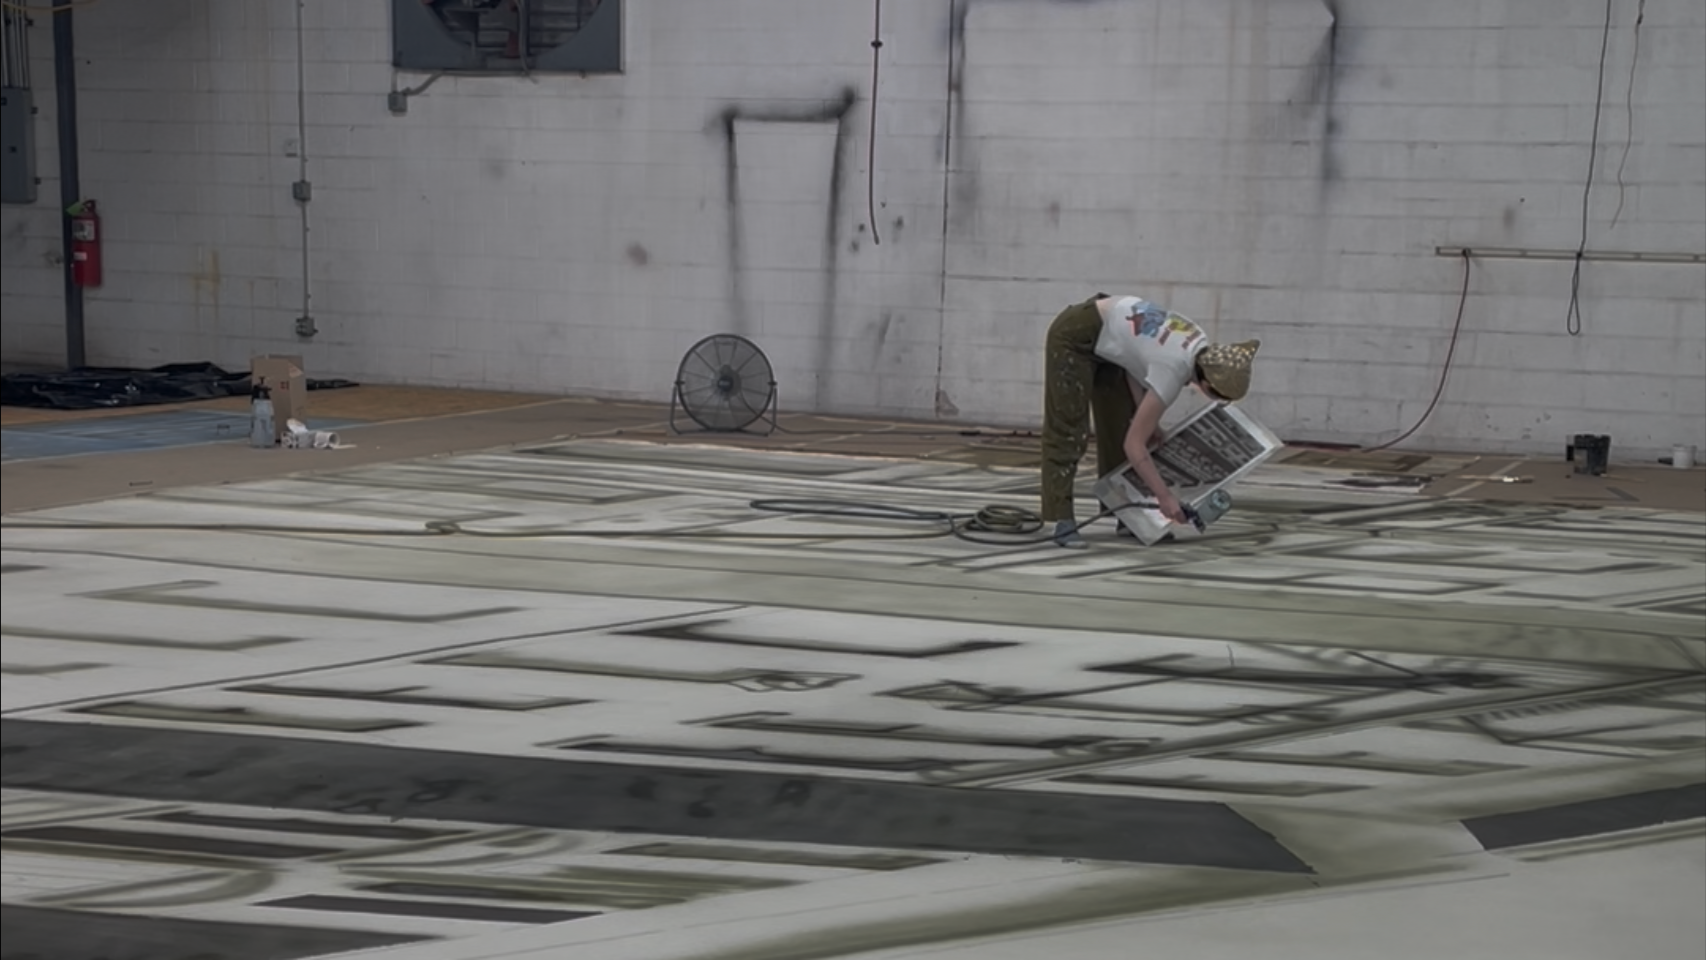
HVLP Spraying
Not the easiest on the spine, but spraying the dye gave the lovely soft quality that the elevation called for. I tried brushing a large block and it came out splotchy and showed the tool marks too much. You can see it on the video, that huge dark section.
To make sure the spray behaved, I thickened the dye with methyl cellulose and minded where my fans were blowing.
For sharp lines, I masked areas with whatever straight edge I had on hand— meter sticks, bamboo poles, old foam scenery, you name it.
A note on sound: air compressors are very loud, unless you buy a special quiet one, and the sound of the spray is also very loud— get some PPE!
A note on air quality: wear a good quality mask or respirator, I did for most of the project, these photos were a slip in judgement. Also though, dye and methyl cellulose don’t float in the air like paint, which is nice.
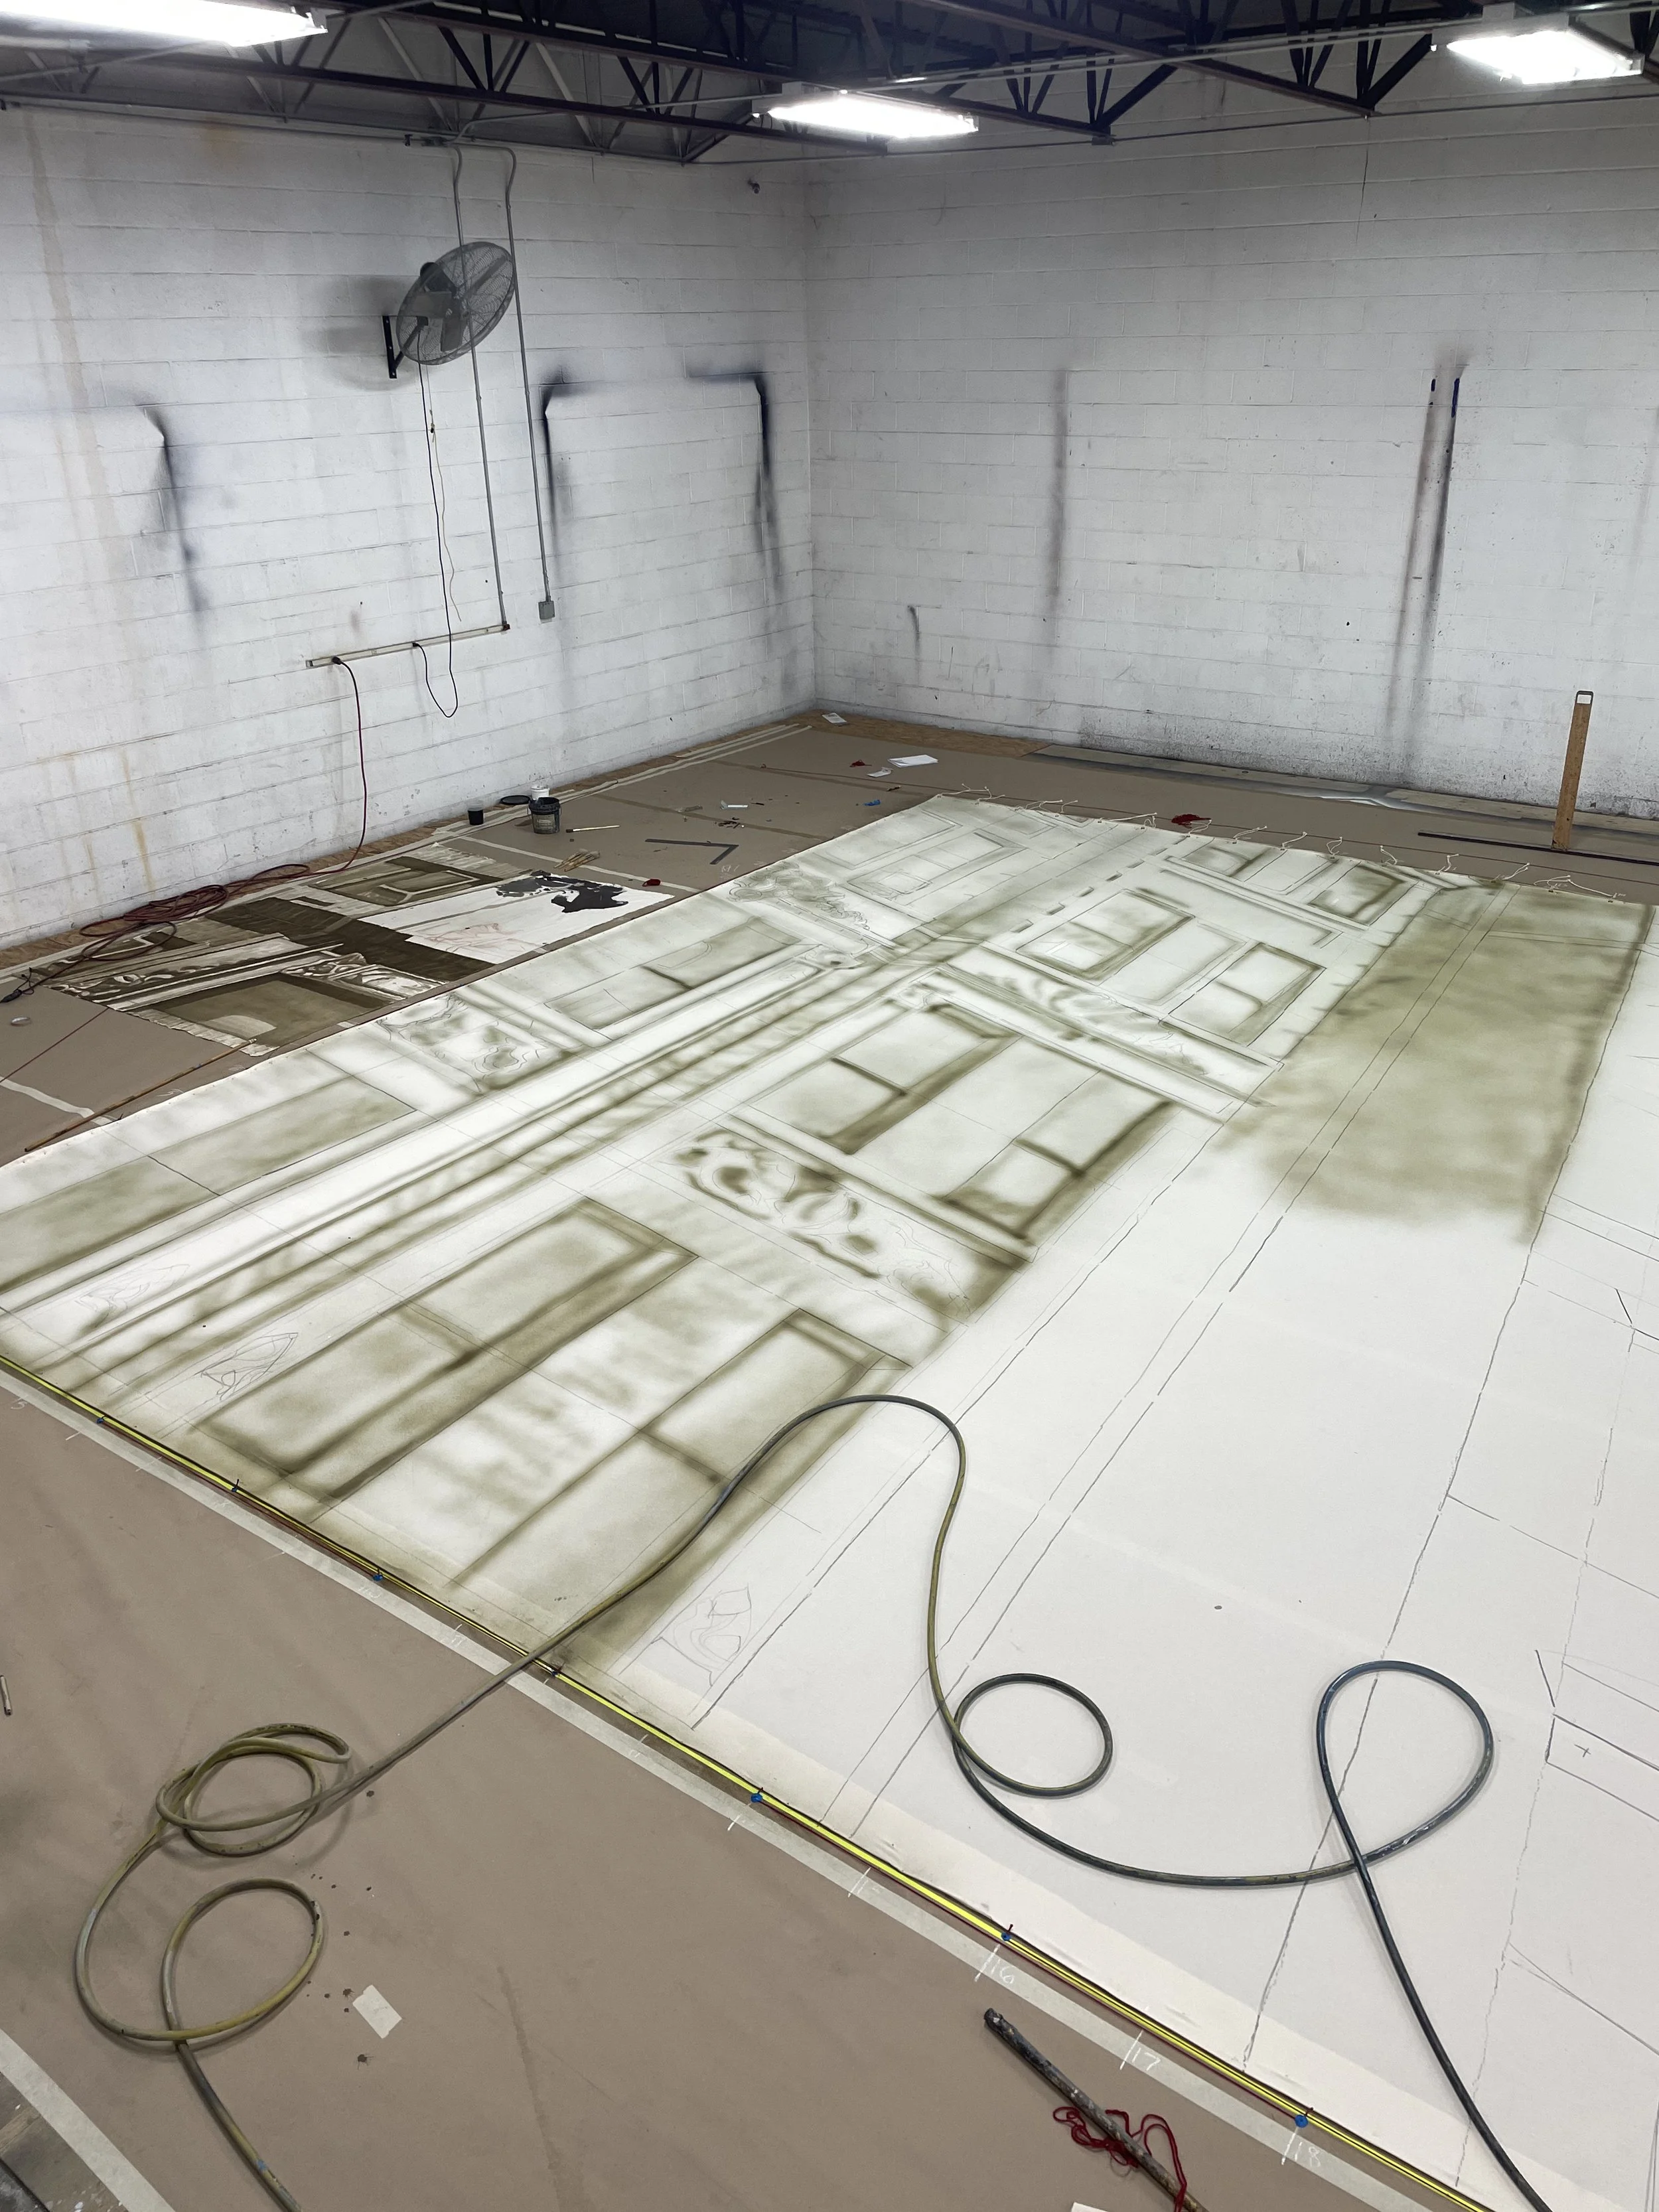
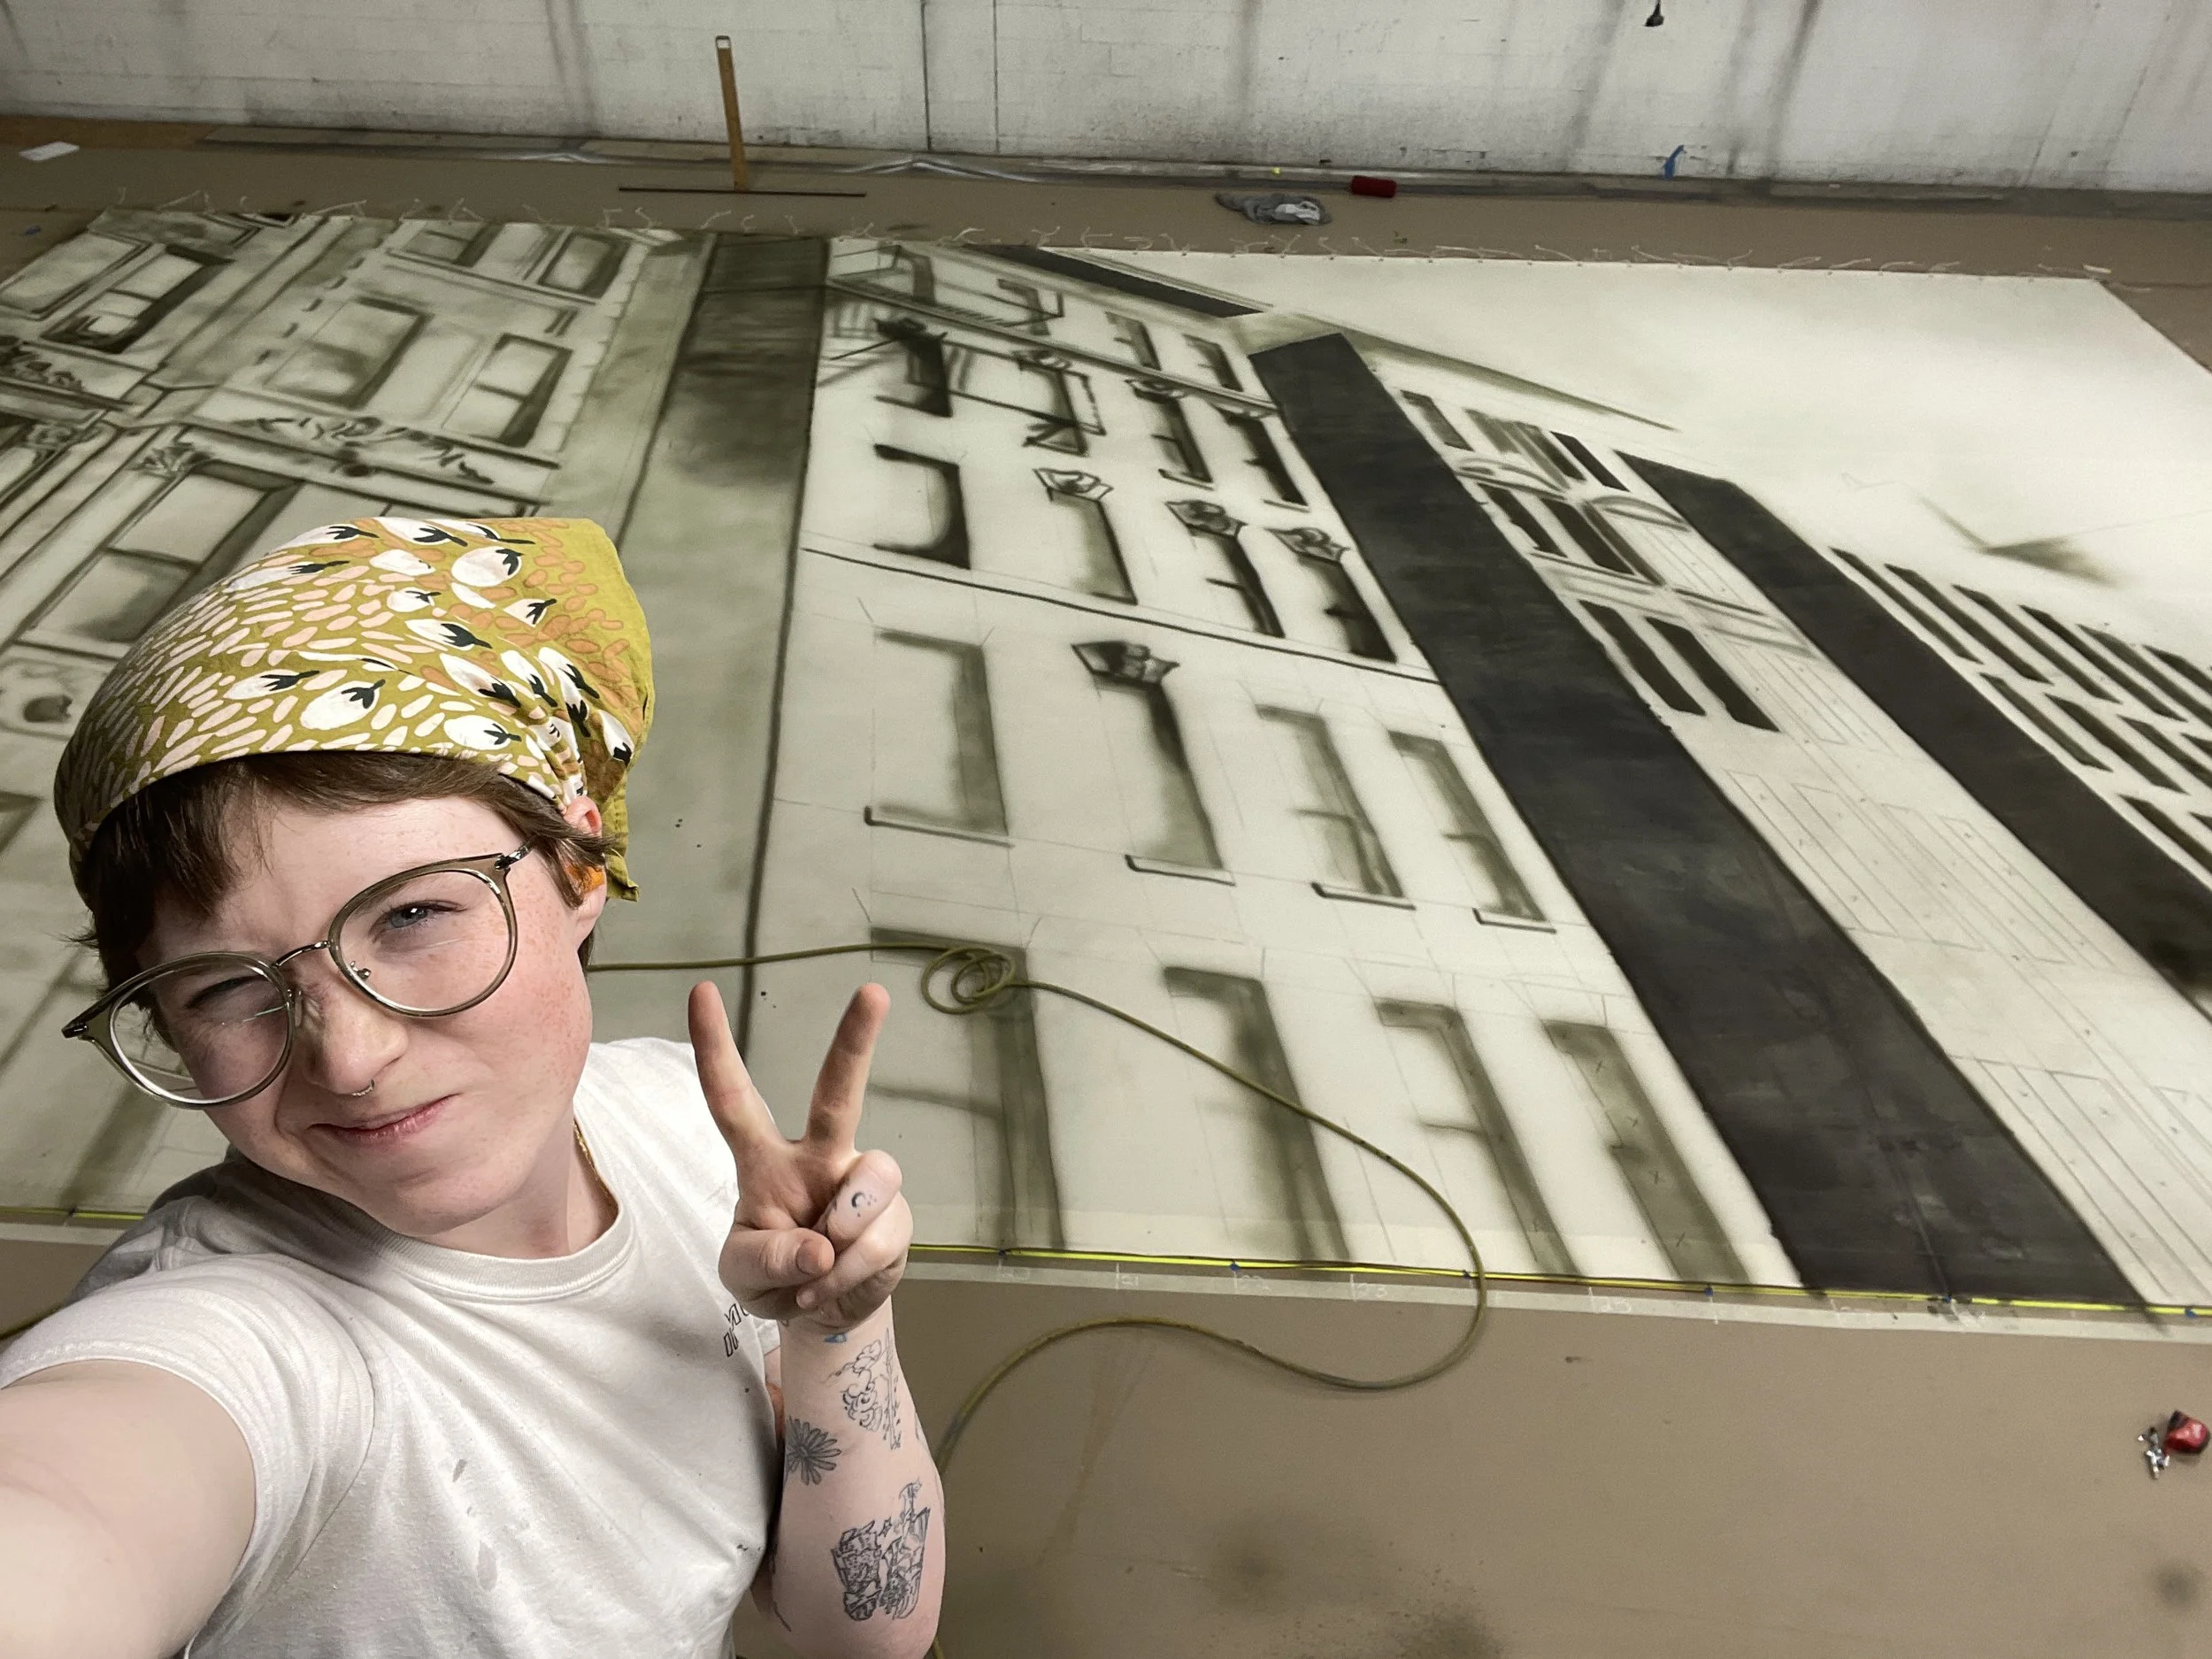
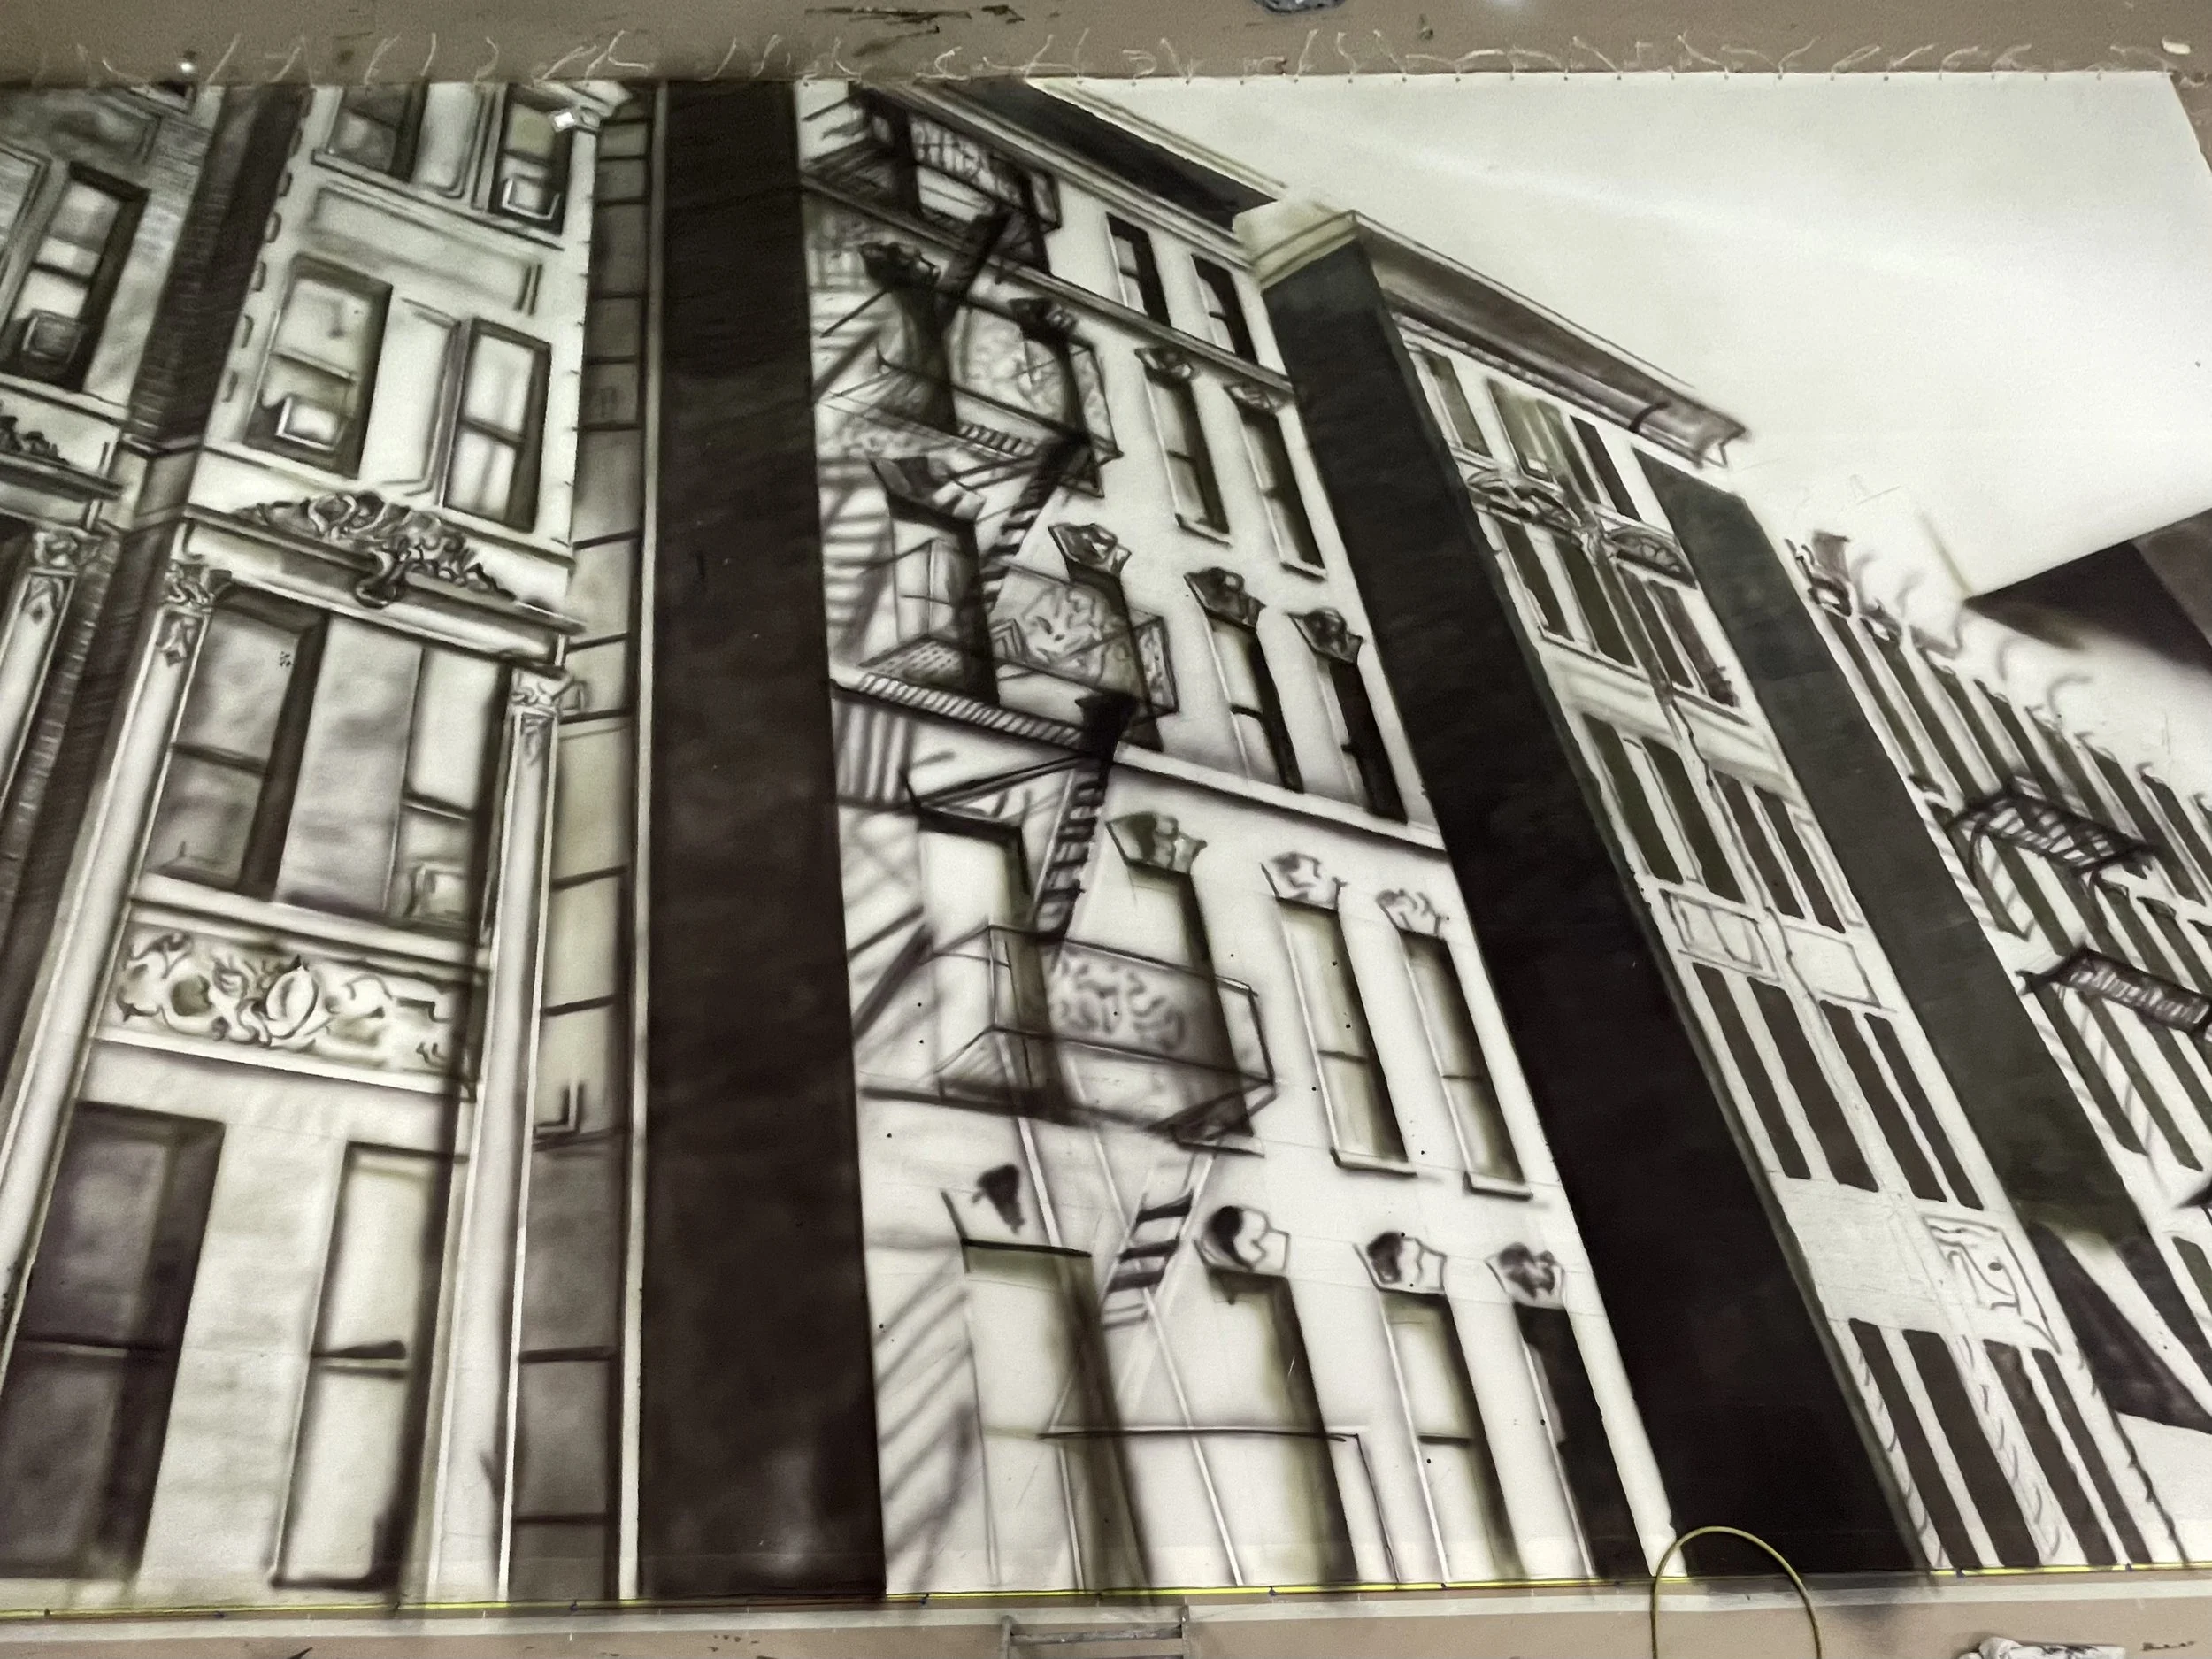
You can see in the last picture that the contrast was crazy. I spattered dye over the whole thing but it also needed a spatter of white paint to even things out.
Rachel Keebler told me that dyed drops are typically 90% dye and 10% paint —that held true for this one.
Note: paint can change the color, but will not mask dye. Dye is not beholden to binders and will seep up through them. Measure twice, spray once kind of deal. You may notice in the right two buildings that my time for measuring was running out.
Final Product on the floor.
24’x40’, totaling 960sq ft (larger than my apartment). This took two weeks, with long shifts and some work on the weekends. I was a one man team.
Show Photos
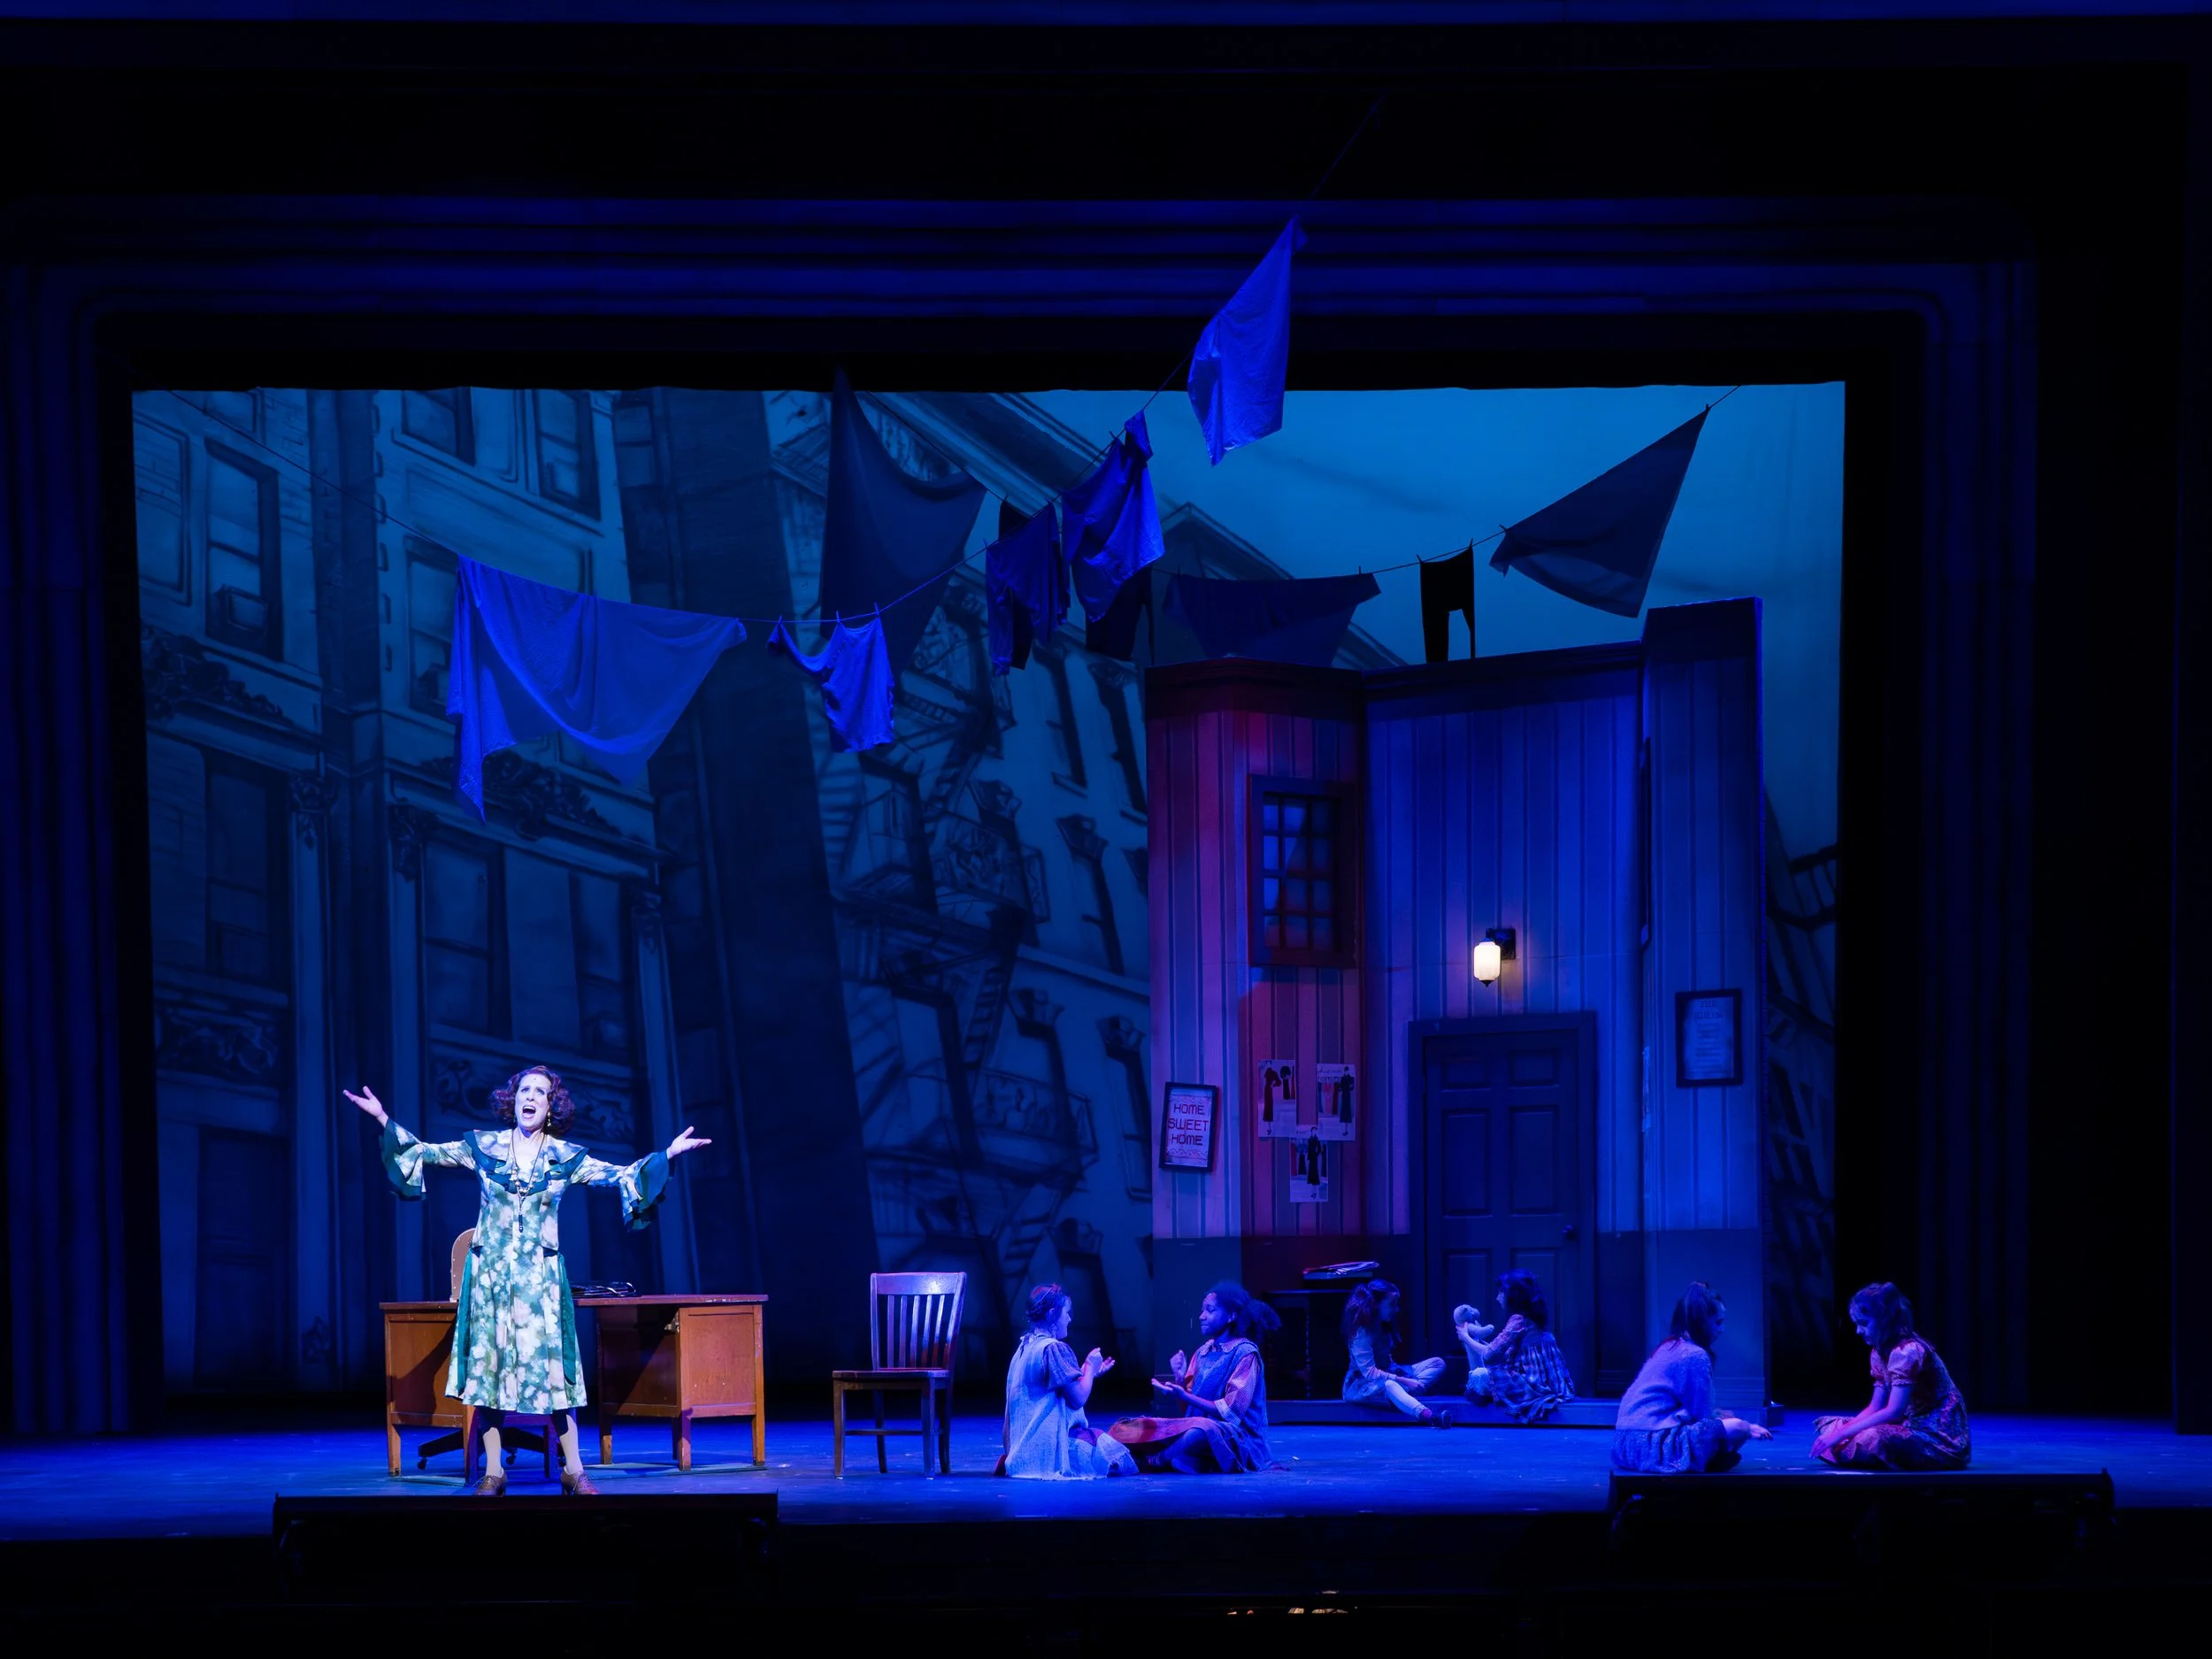
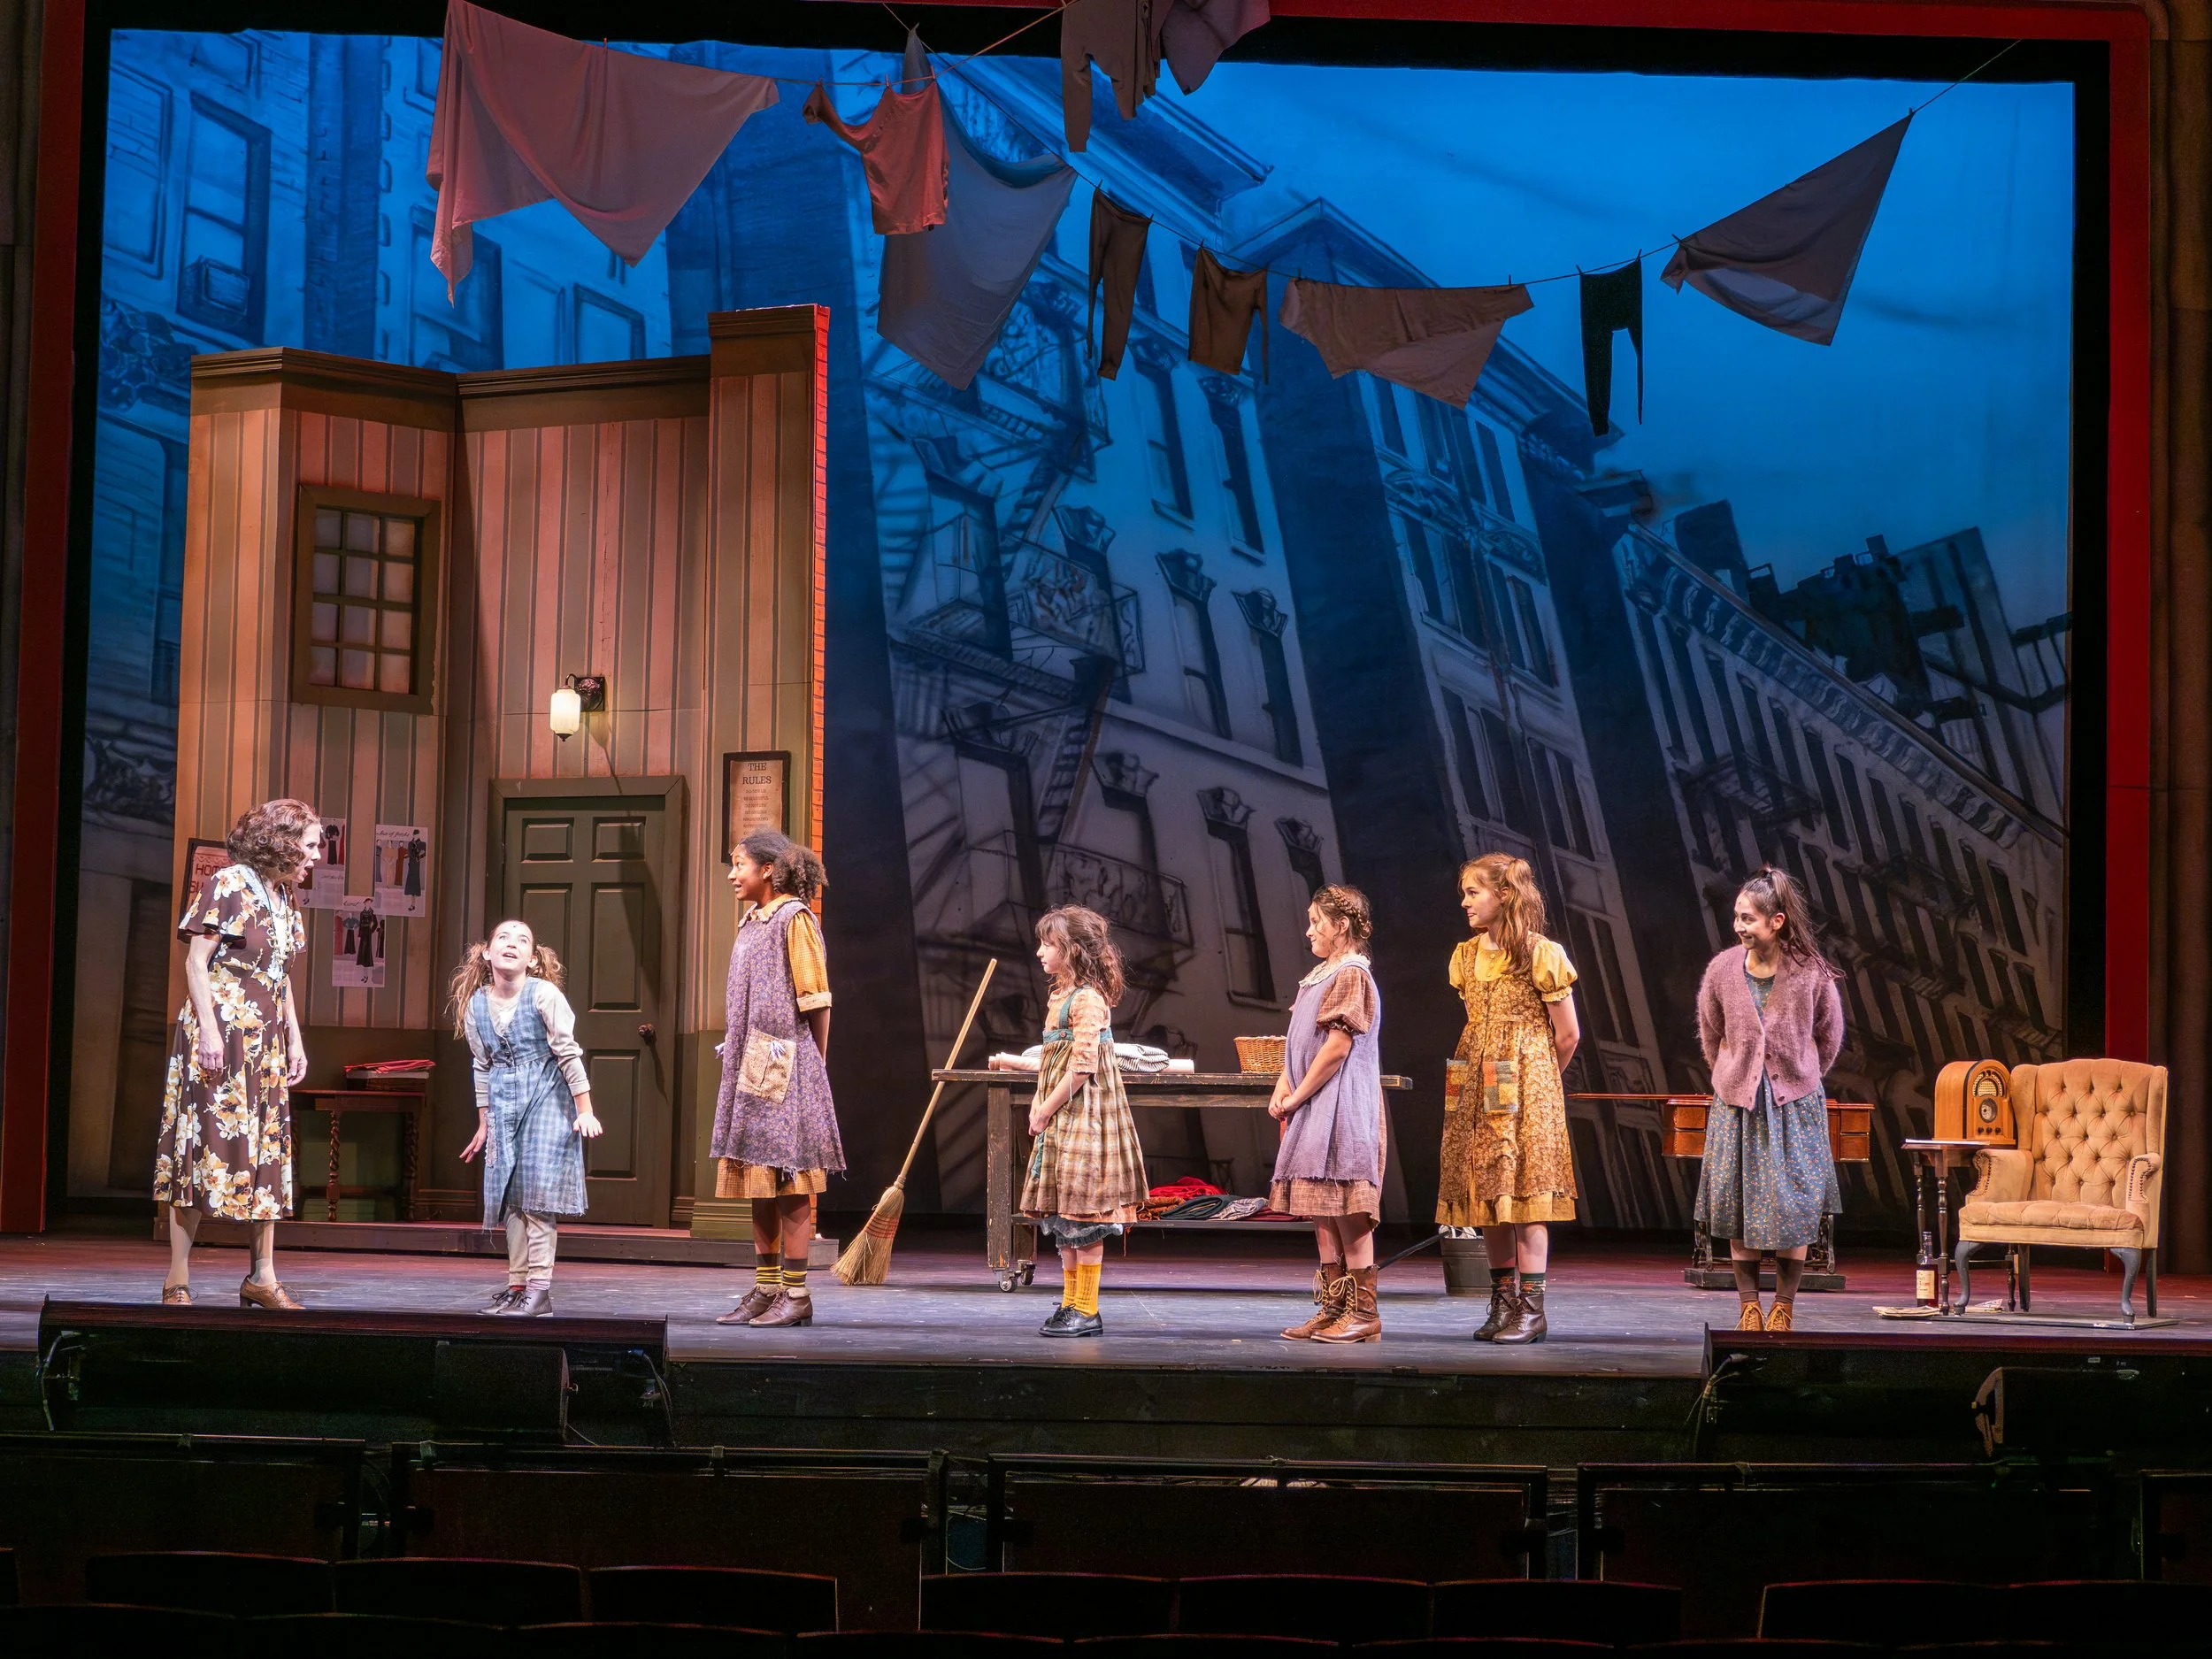
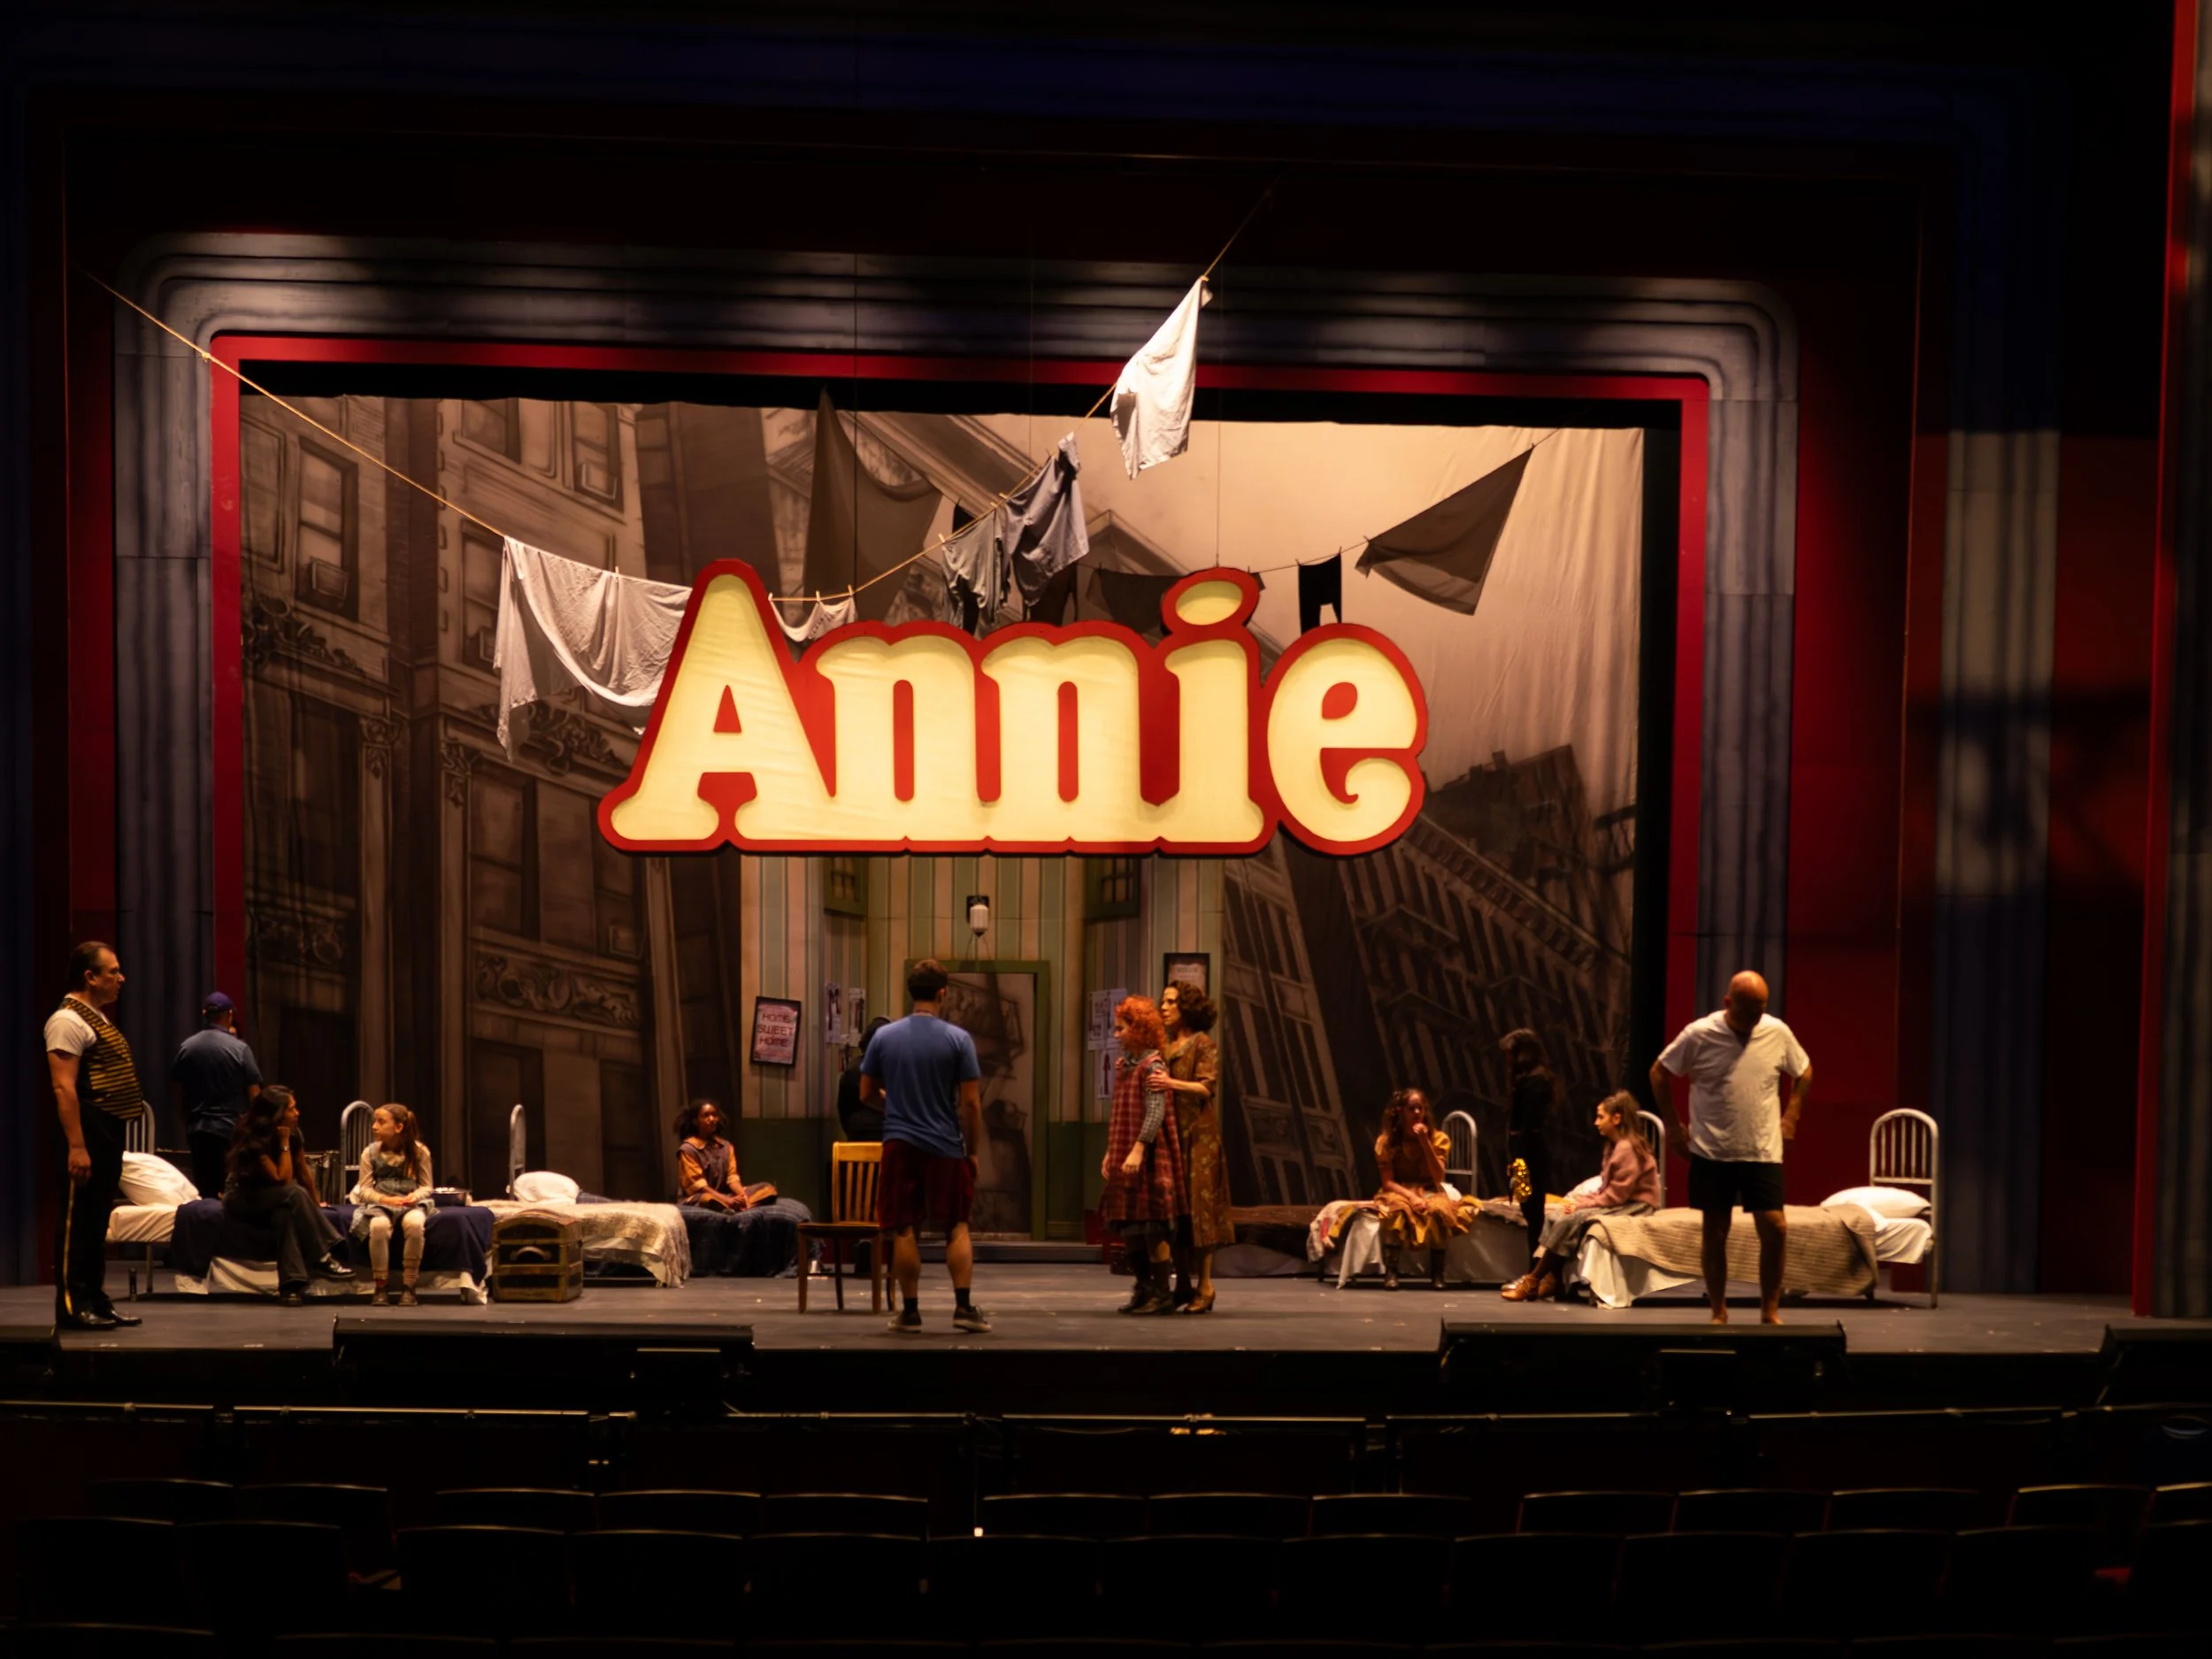
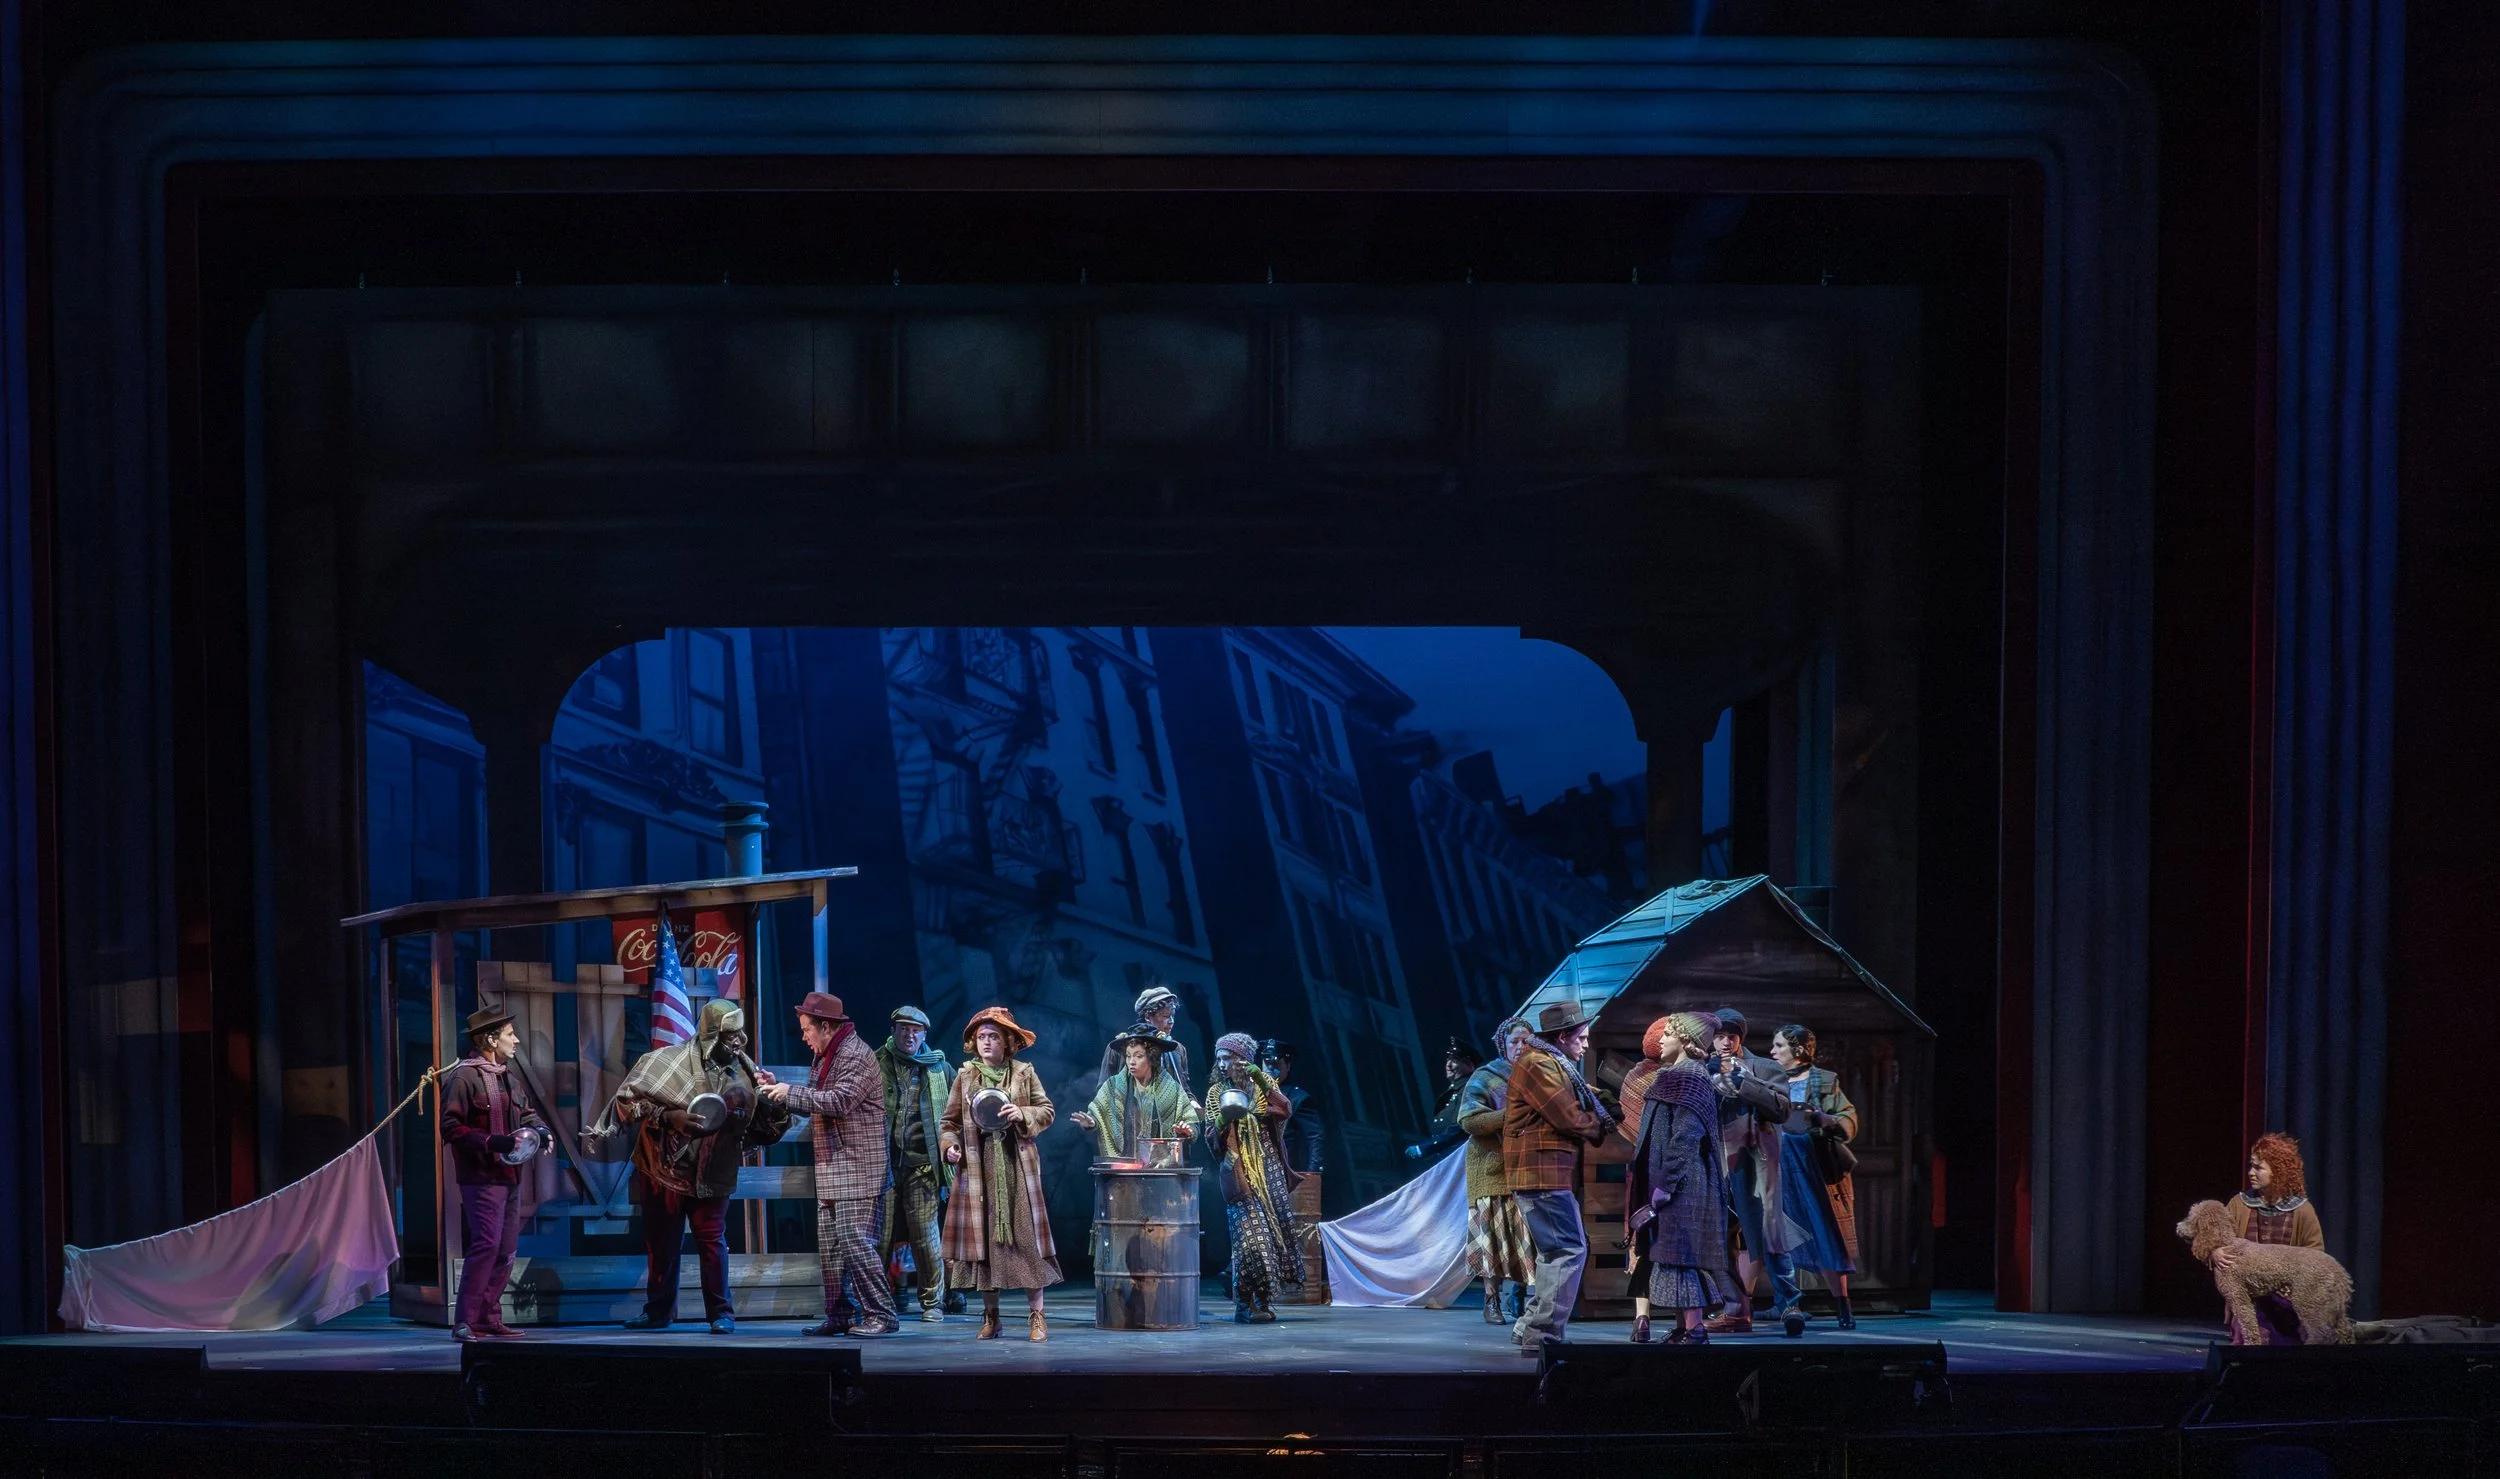
The drop was nice and soft, took front light and backlight, and was generally thought to be printed. I pushed for an official instagram post to beat the allegations and prove we make art here.
Bonus Pictures