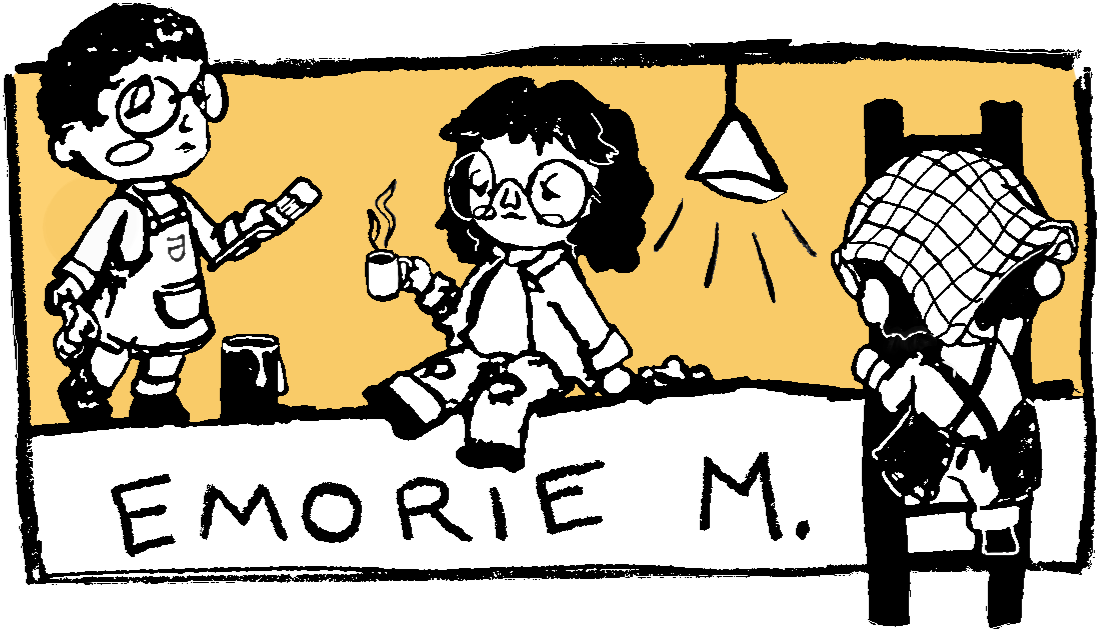

A delightful show, Sister Act, especially if you indulge in the overpriced prosecco.
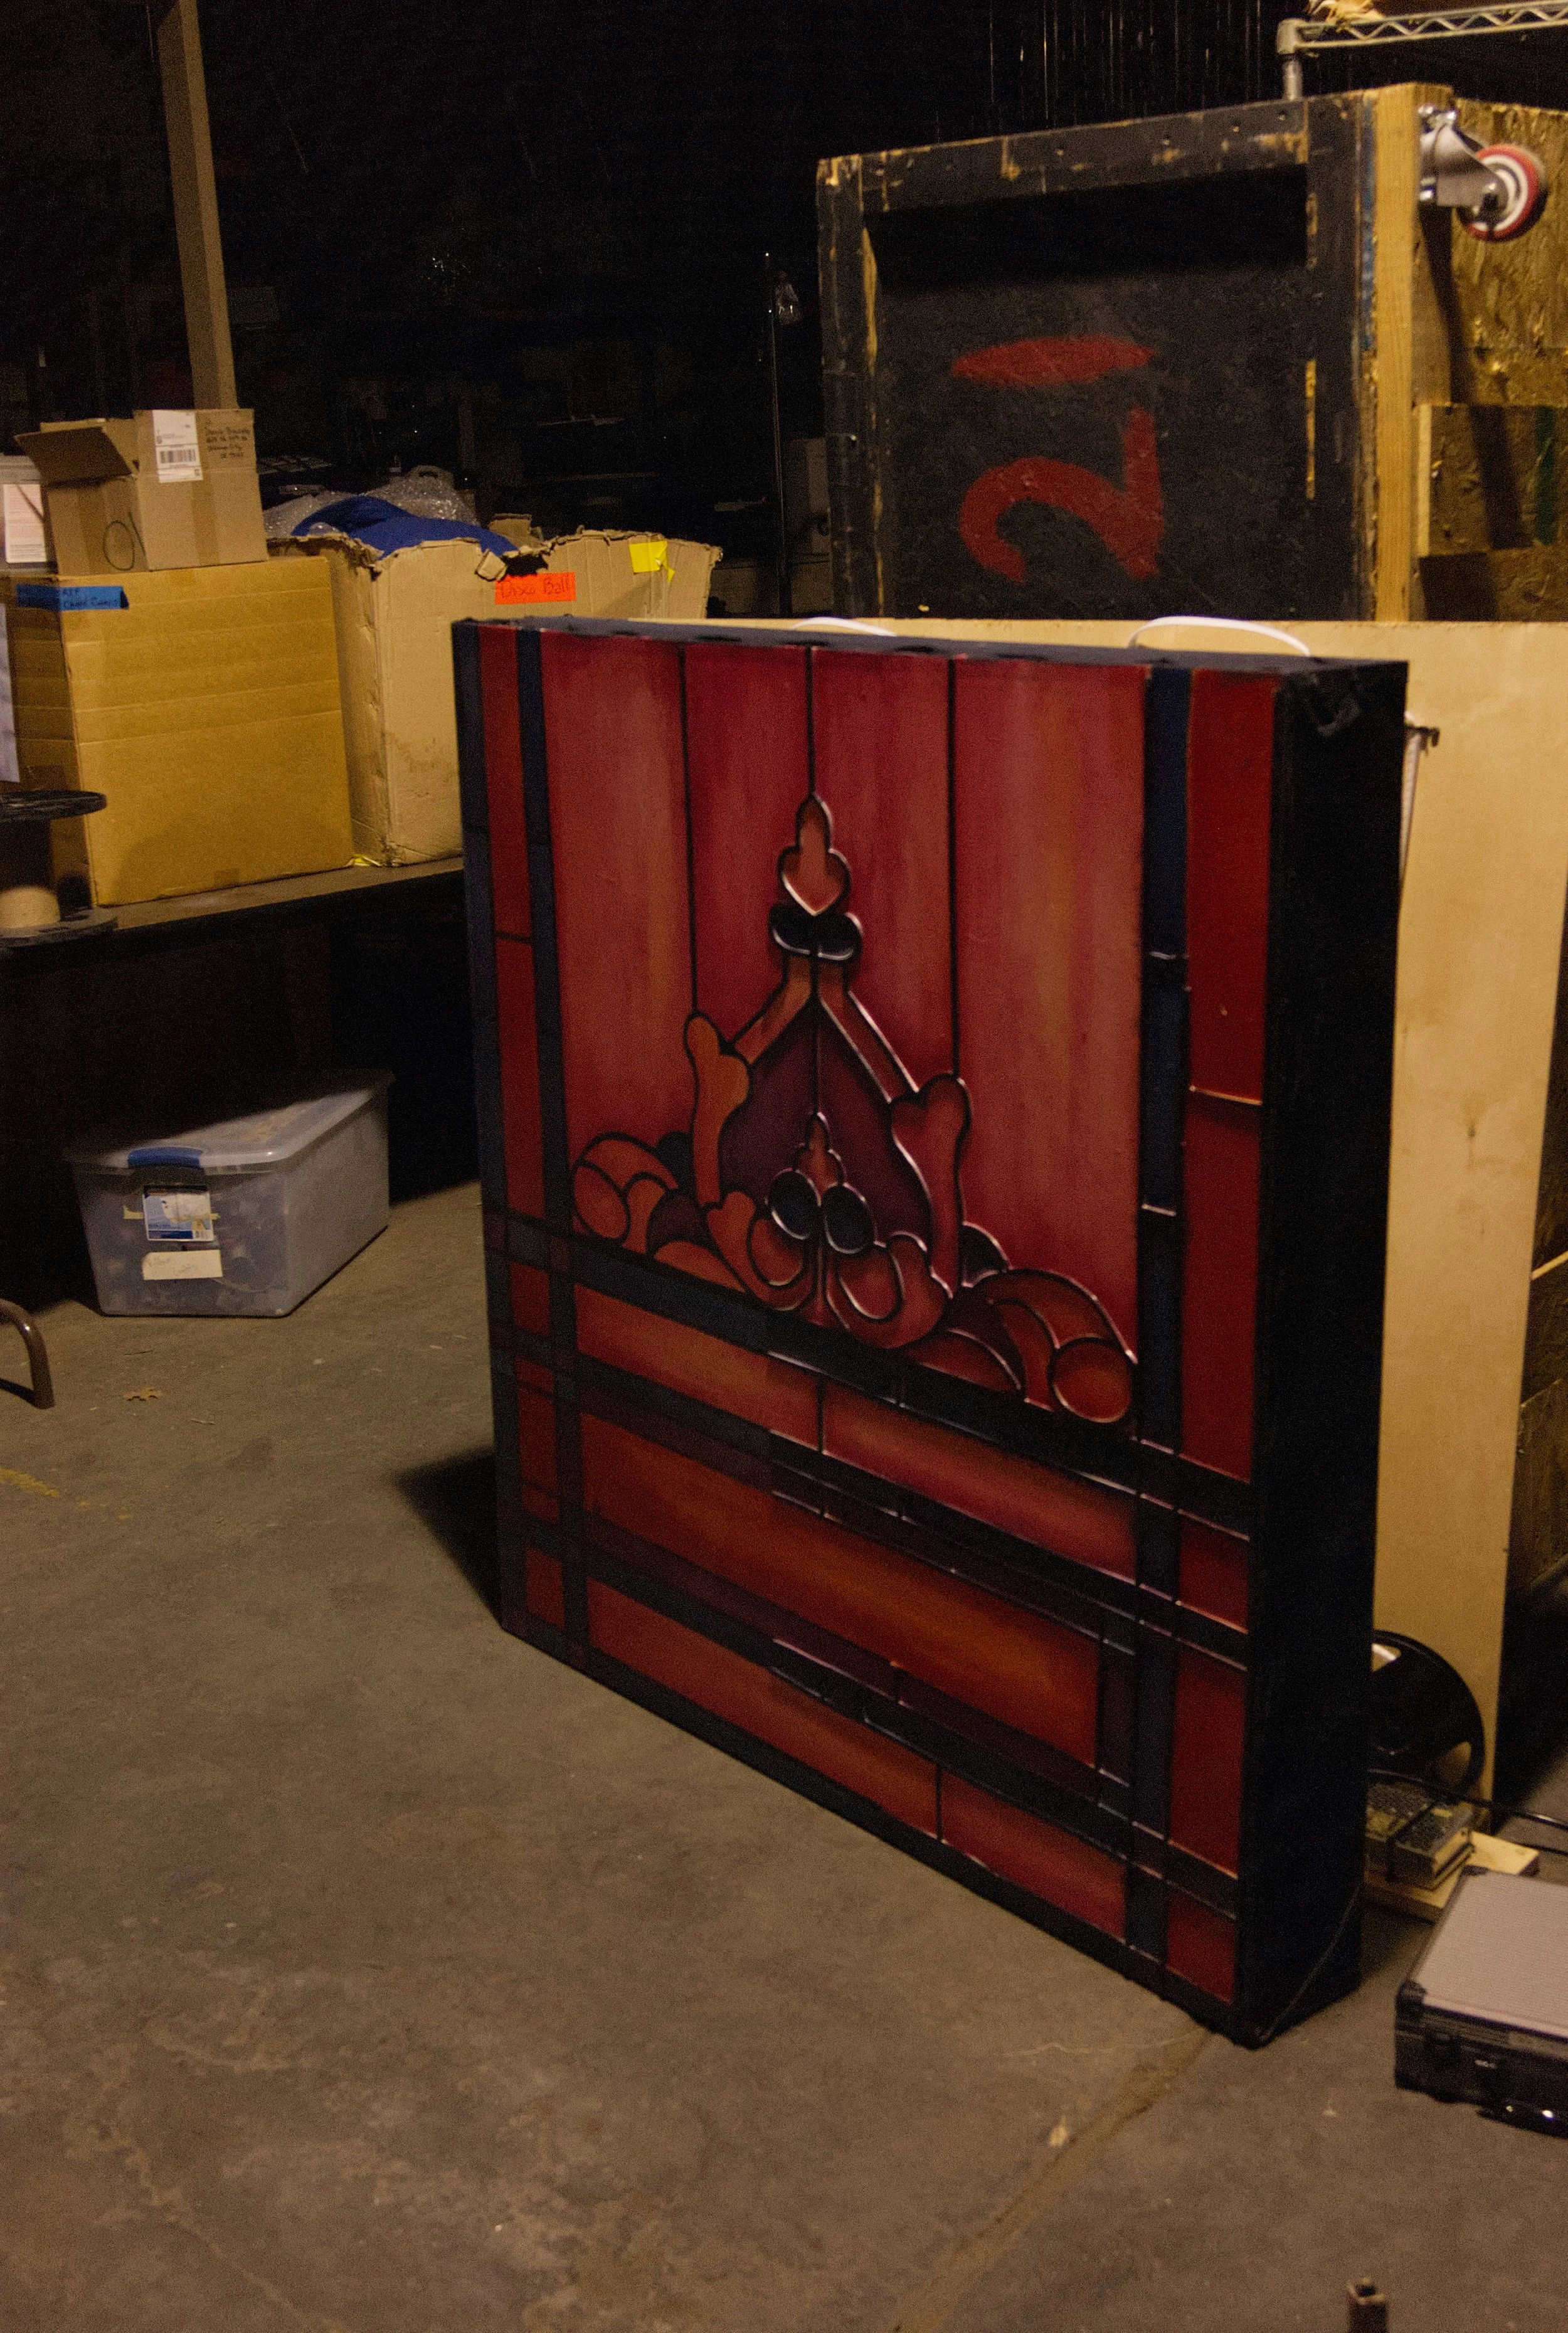
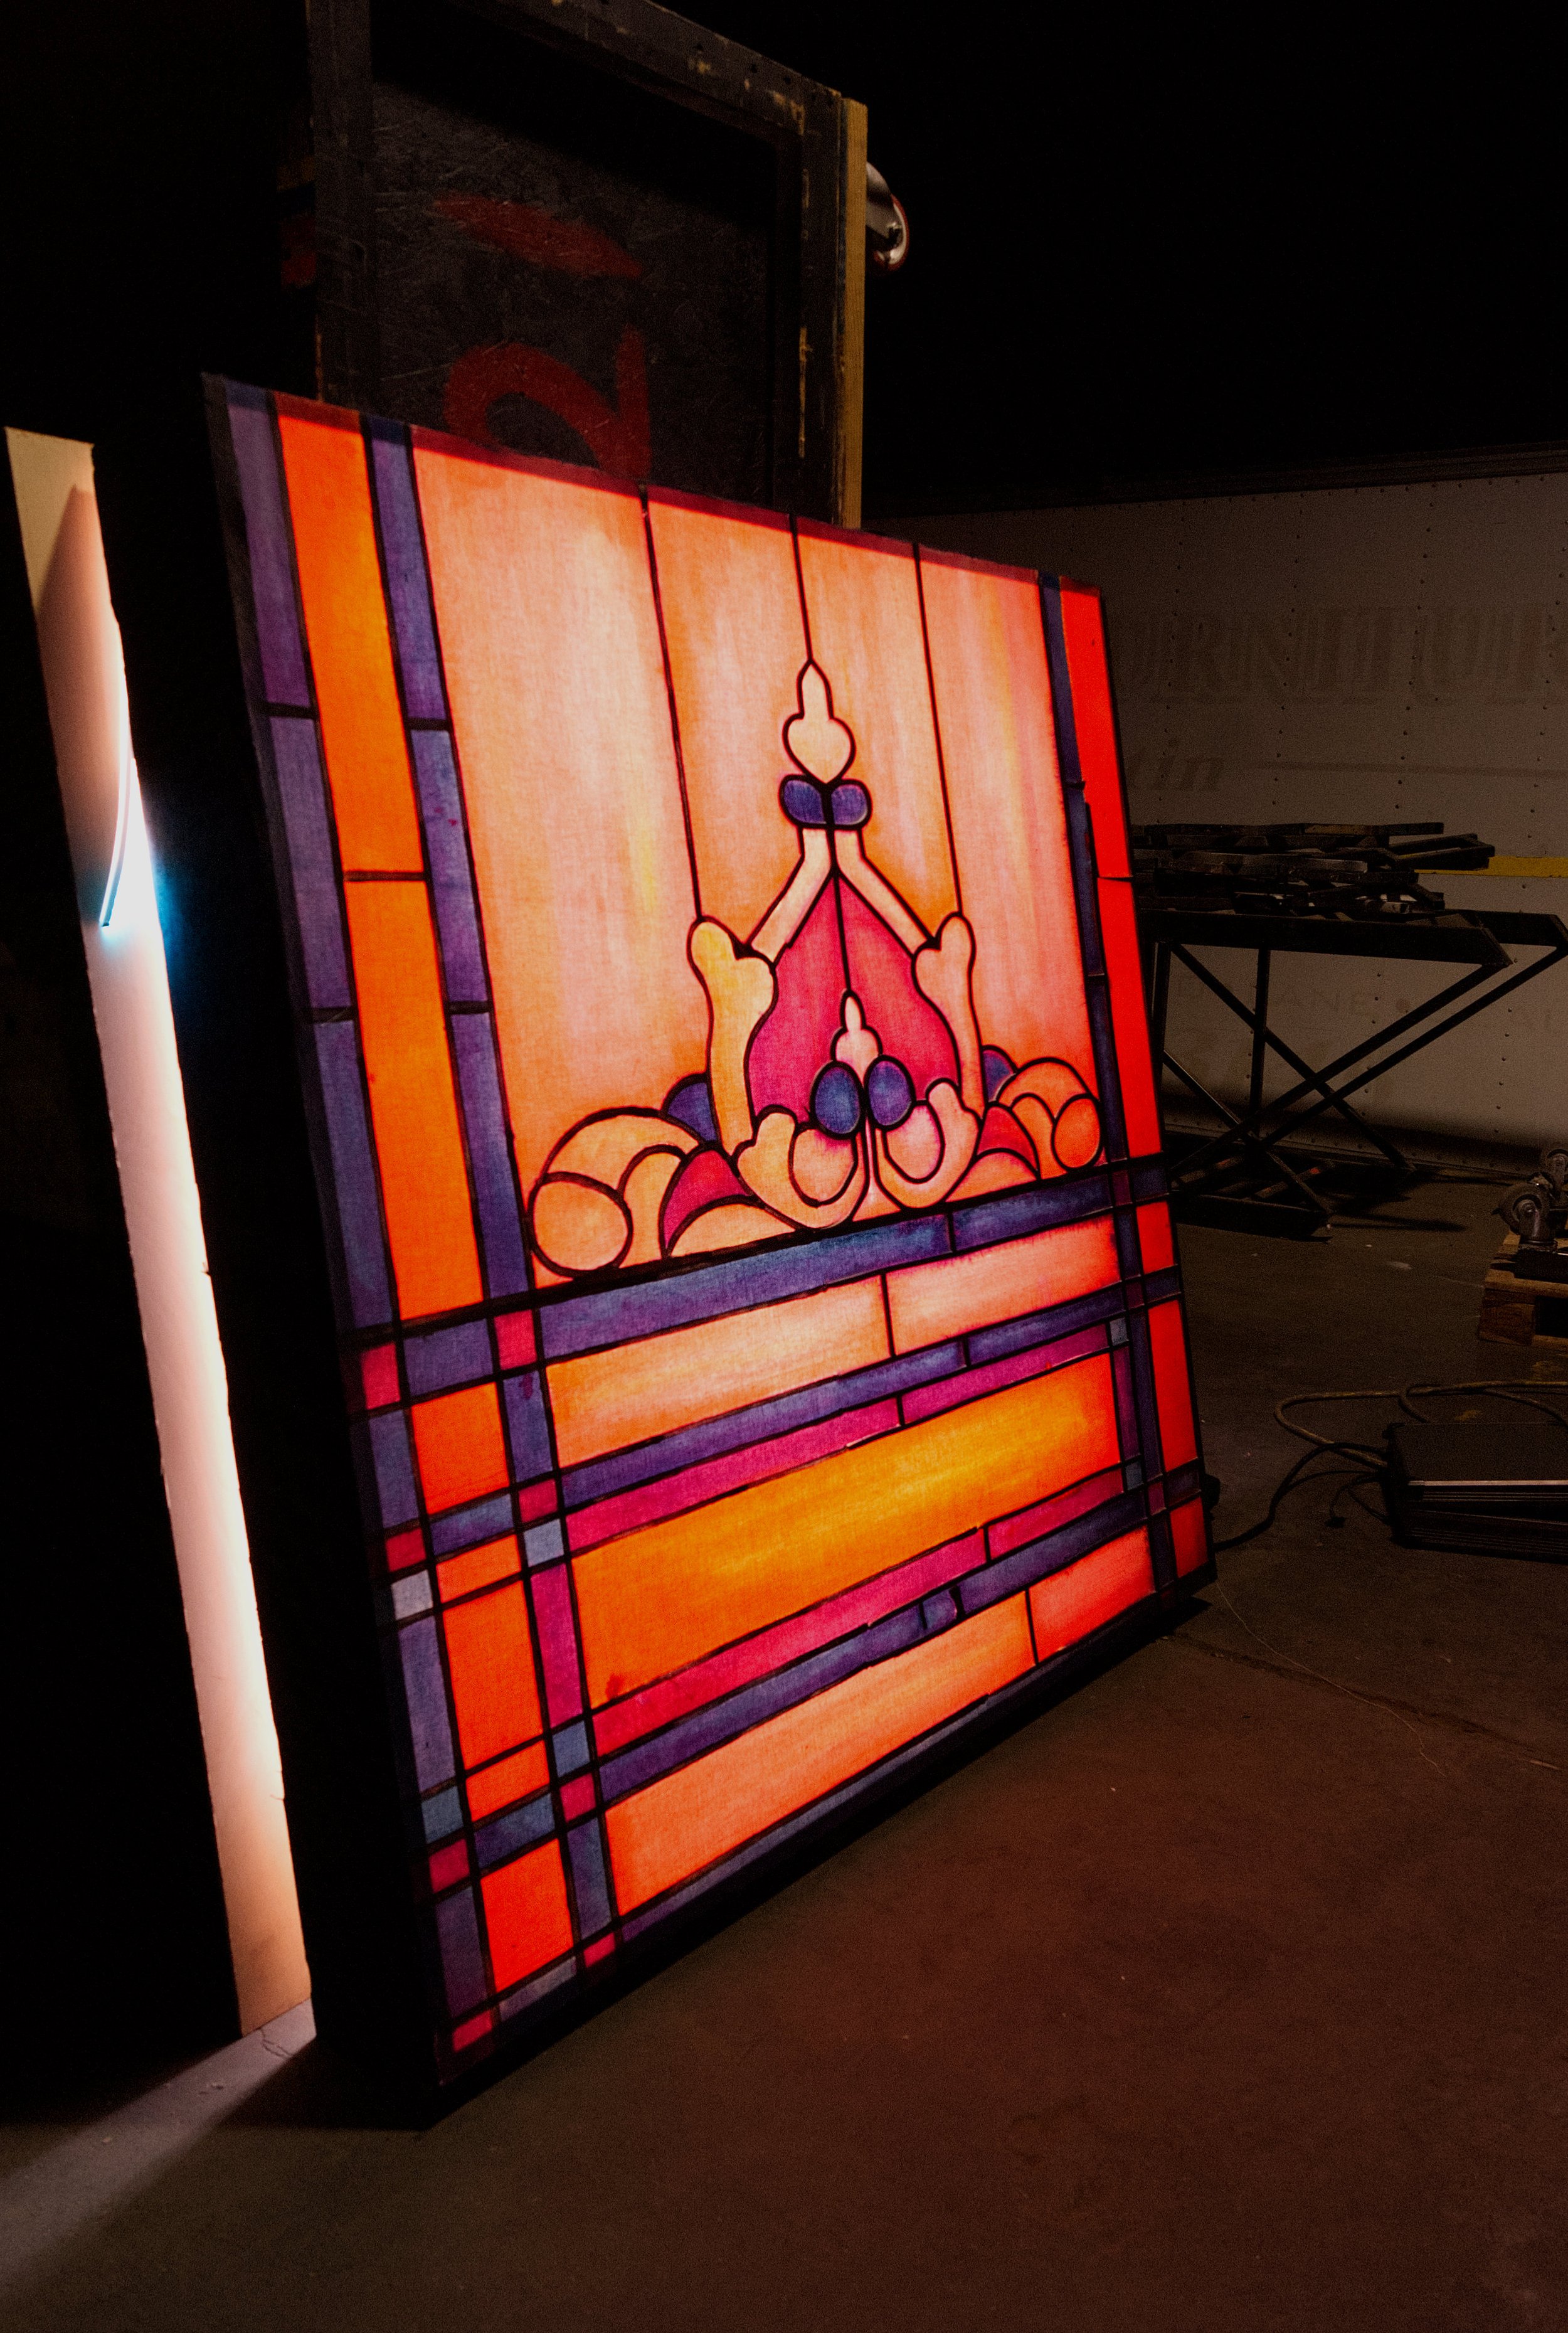
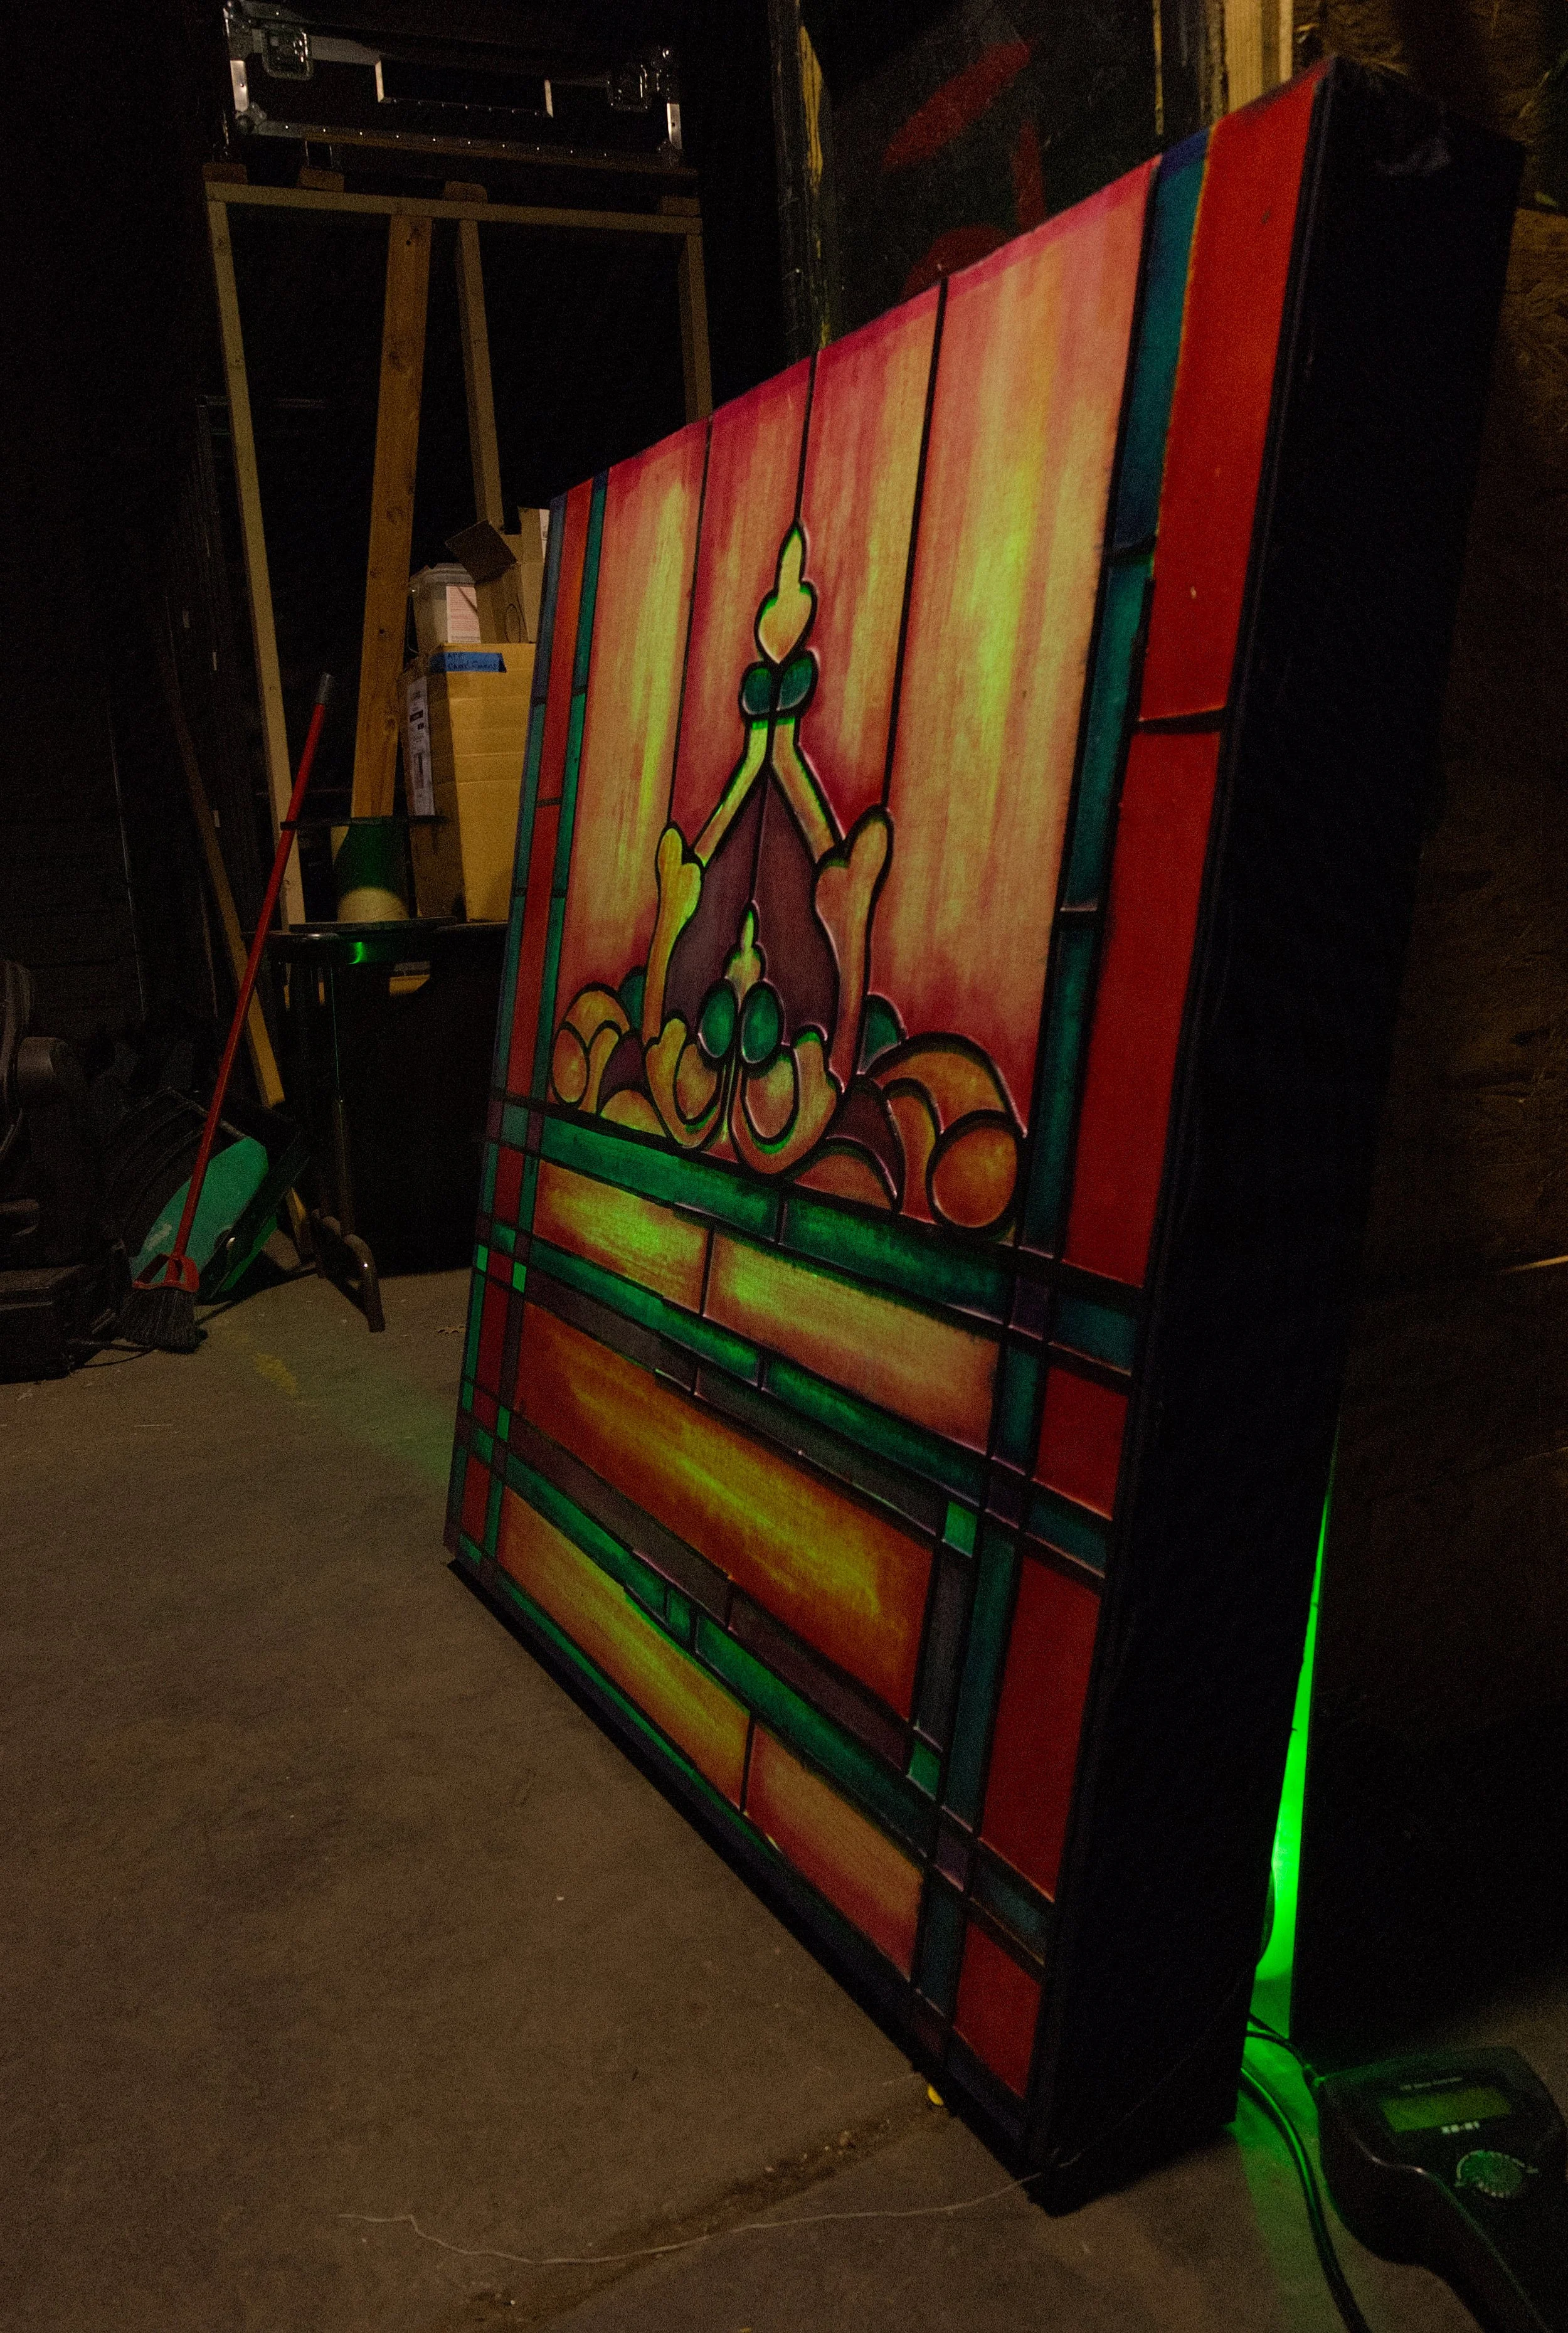
For a 2026 summerstock production of Sister Act, (designed by Adam Koch) our two person paint team was challenged with 7 stained glass windows. Six 6’x20’ light boxes, and a translucent drop.
Note: Most of the people in that design meeting wanted every window to be printed, but I fought hard against it. What is the point of theatre if not to make things by hand? Live humans breathing and sweating in front of you on the stage and you want lifeless scenery surrounding them? I think not.
The Challenges: time, money, diffusion.
We ended up using around 3 weeks for this project. One to cut the leading and two to paint and apply the “glass” to the windows.
Each window (structure excluded) cost about $200 to make, where a high quality print from Rosebrand would have been about $1000.
The “glass” had to hide lines of LED tape. The muslin was somewhat opaque, and was aided with sheets of Polygal that we happened to have already.
Step One: Proof Of Concept
I did a wild amount of sampling for this project, mostly focusing on clear windows. I wanted to use alcohol ink and CrystalGel, then I moved to dye and CrystalGel, then dye and FlexBond. But this show didn’t need clear, it basically needed a lot of translucent drops. It also needed much cheaper than CrystalGel and Flexbond.
To speed along the leading,
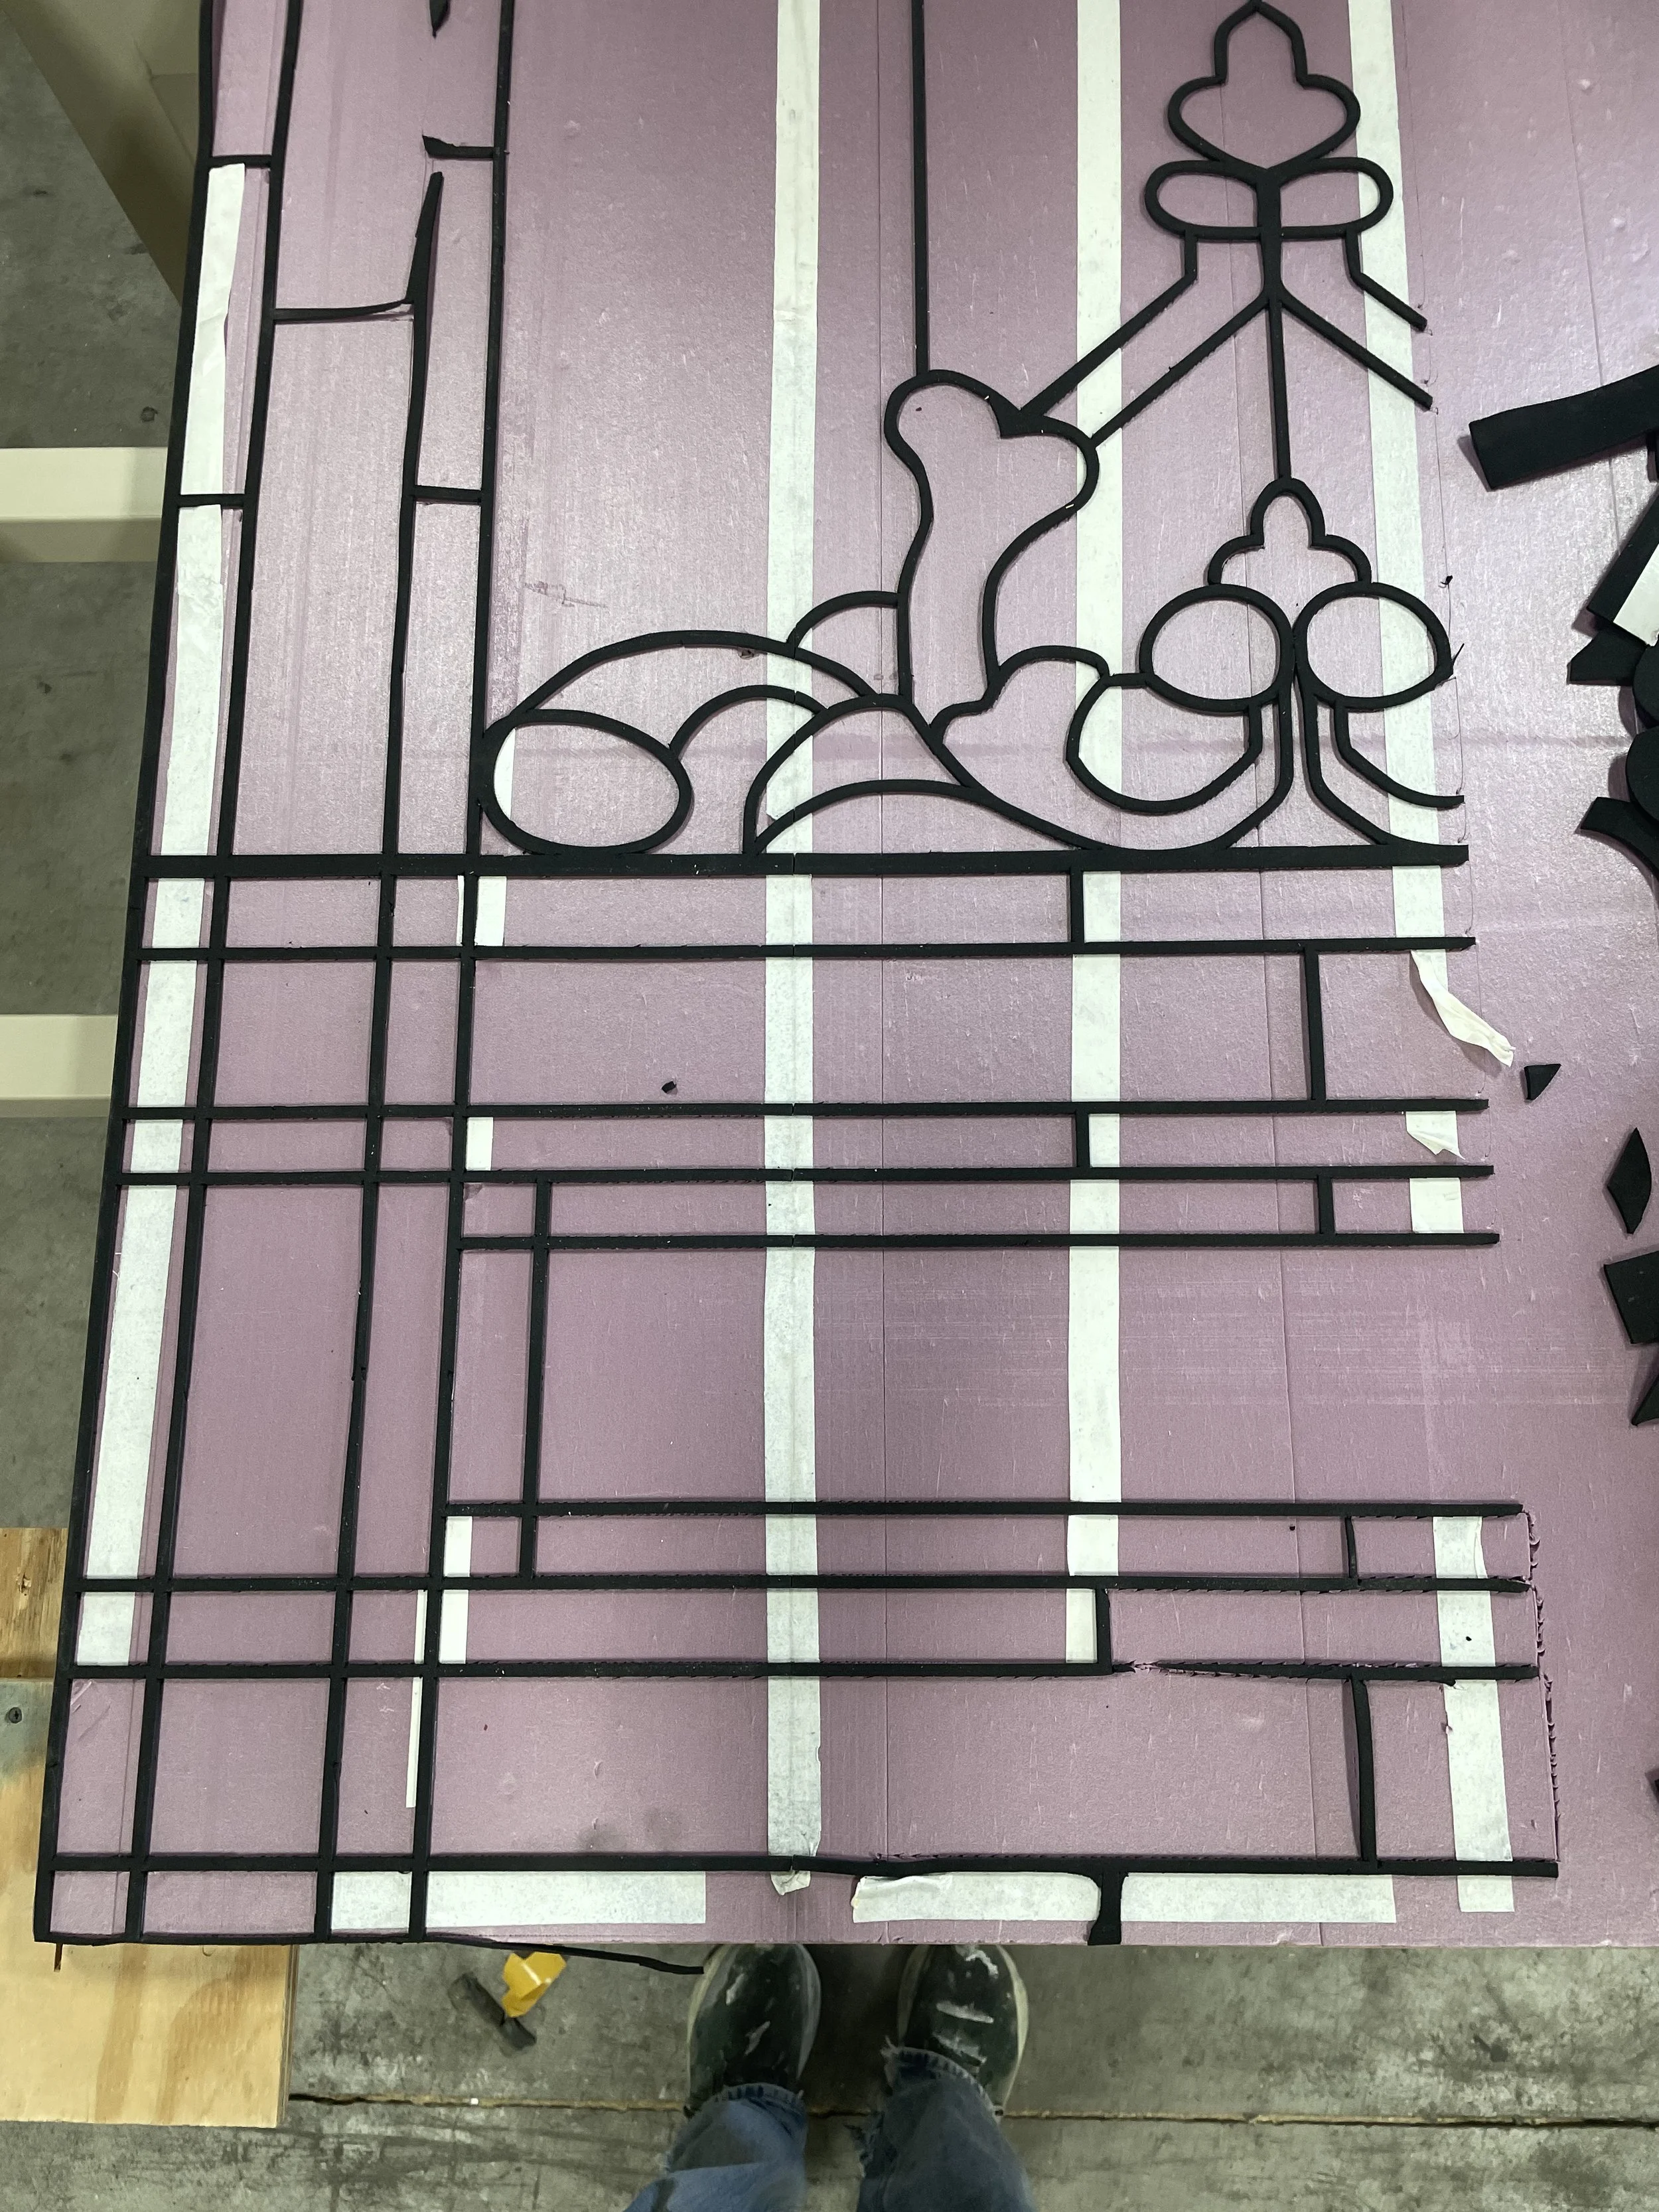
I decided to turn our CNC machine into a cricuit with a dragknife tool— a razorblade attachment. I drafted the cut file (rough going, I hadn’t touched Vectorworks in years), and purchased a length of EVA foam to test the theory.
Fighting with the CNC: I couldn’t have a wooden bed or my blade would break. , precise and consistent depth adjustments just weren’t happening. I ended up using a spare sheet of XPS foam for the blade to bite into.
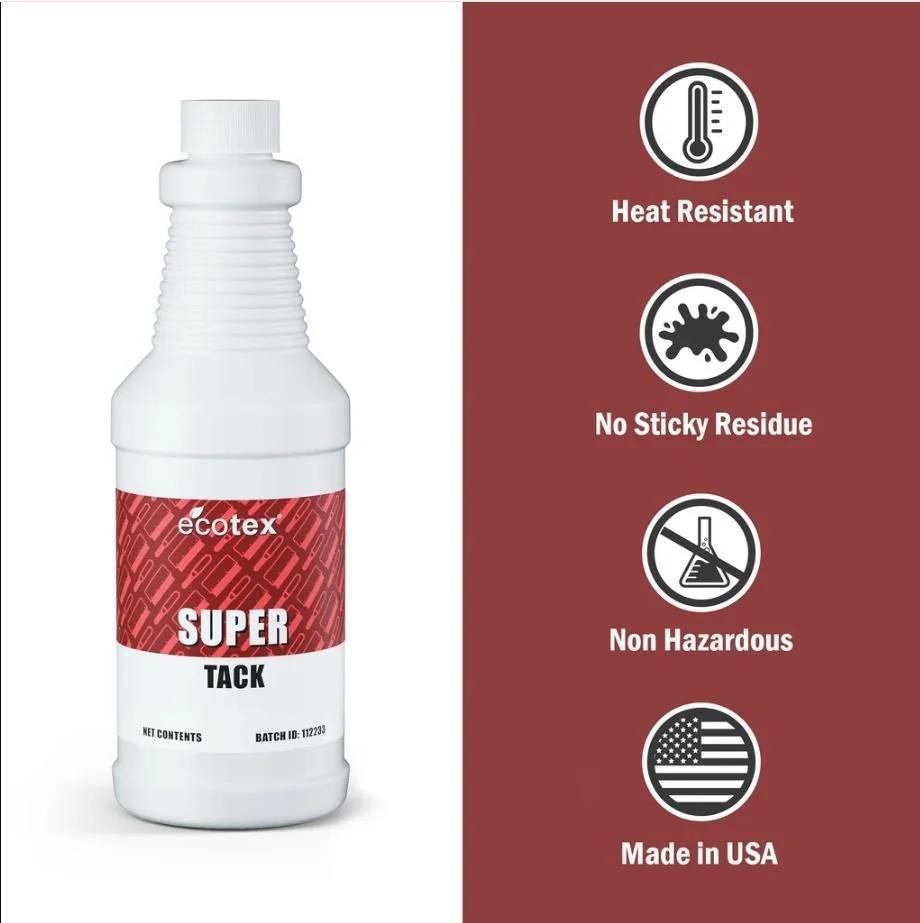
Fighting with the Foam: I couldn’t attach the foam to the bed with staples or screws, because I didn’t want to run them over with a razor. At first I used double sided tape, but that was wildly expensive and too sparse. Spray adhesive was fumey, sticky, and ran out quickly— it also melted the XPS foam bed if I used too much. I found a great solution in screen printing adhesive. A water-based, alternative to spray adhesive that I learned about at a free library class— support your local library! A little went a lonnnnggg way. Straight from the bottle, it was too strong, and needed to be diluted a good amount so it wouldn’t rip and stretch the foam as it came up. It stayed sticky through many cuts on new sheets of foam, which was lovely.
Foam VS. Paint: the paint (on the left half of the sample) looked just fine, it just took longer. I painted the drop leading.
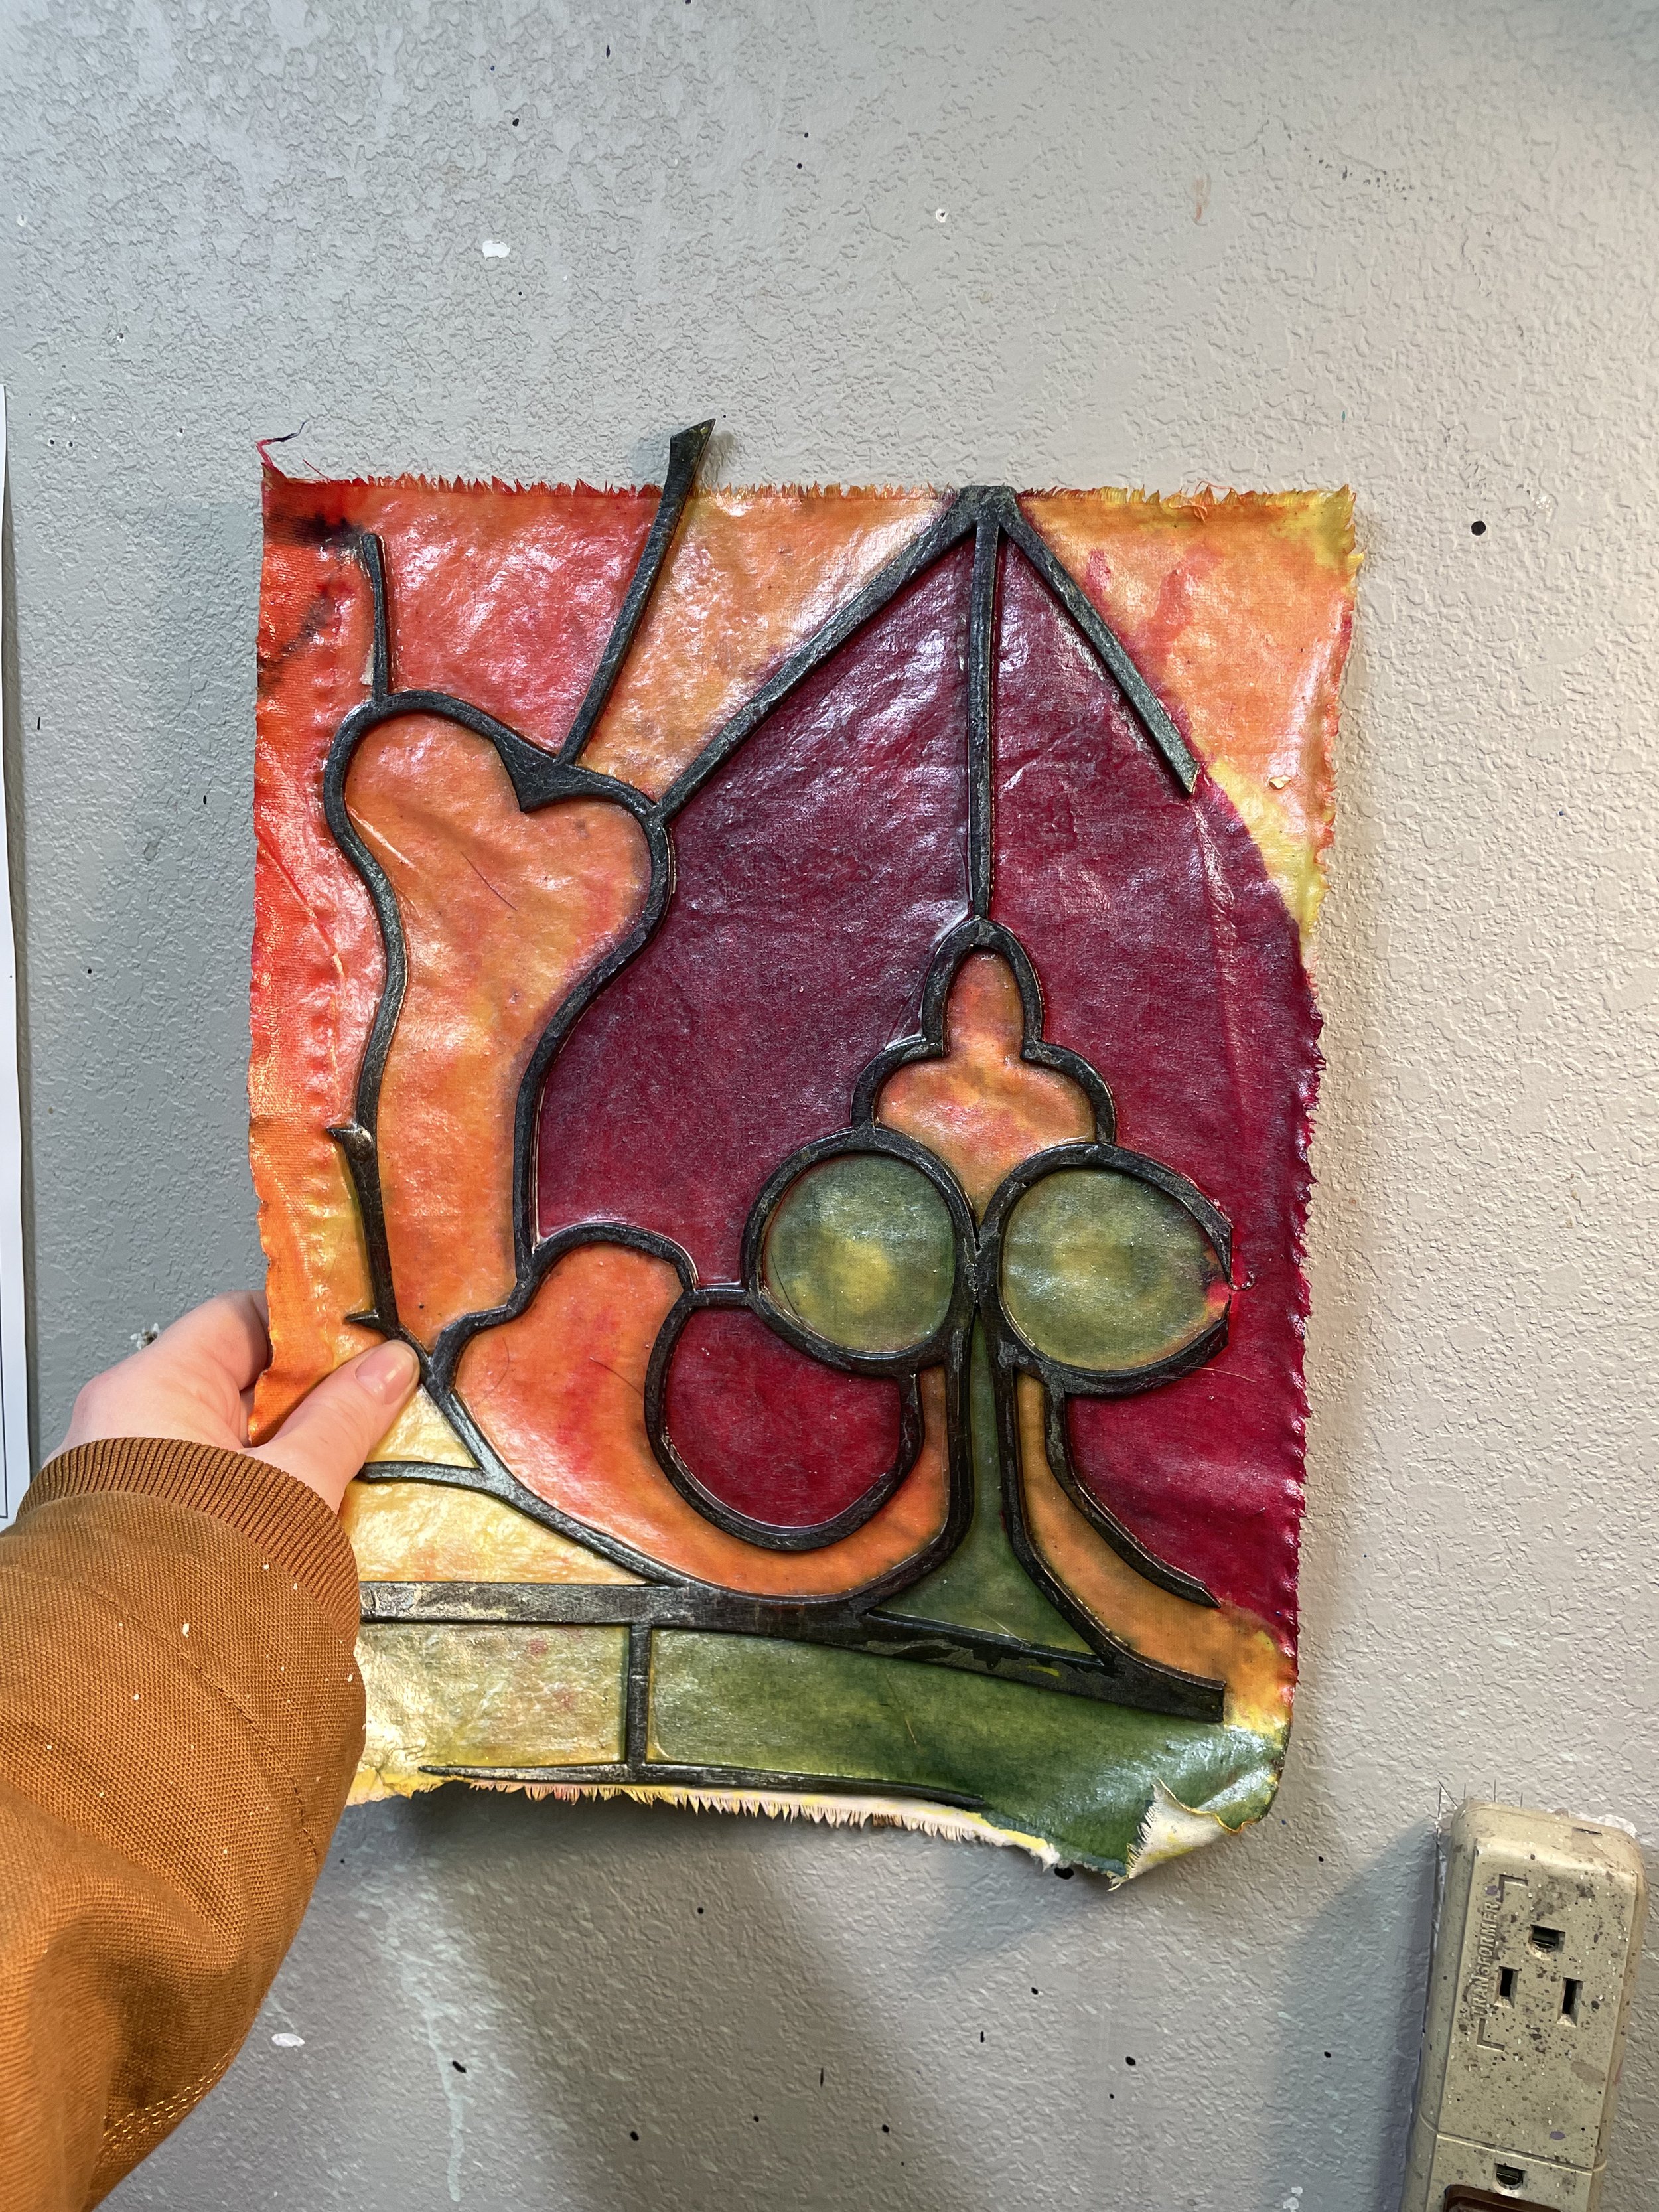
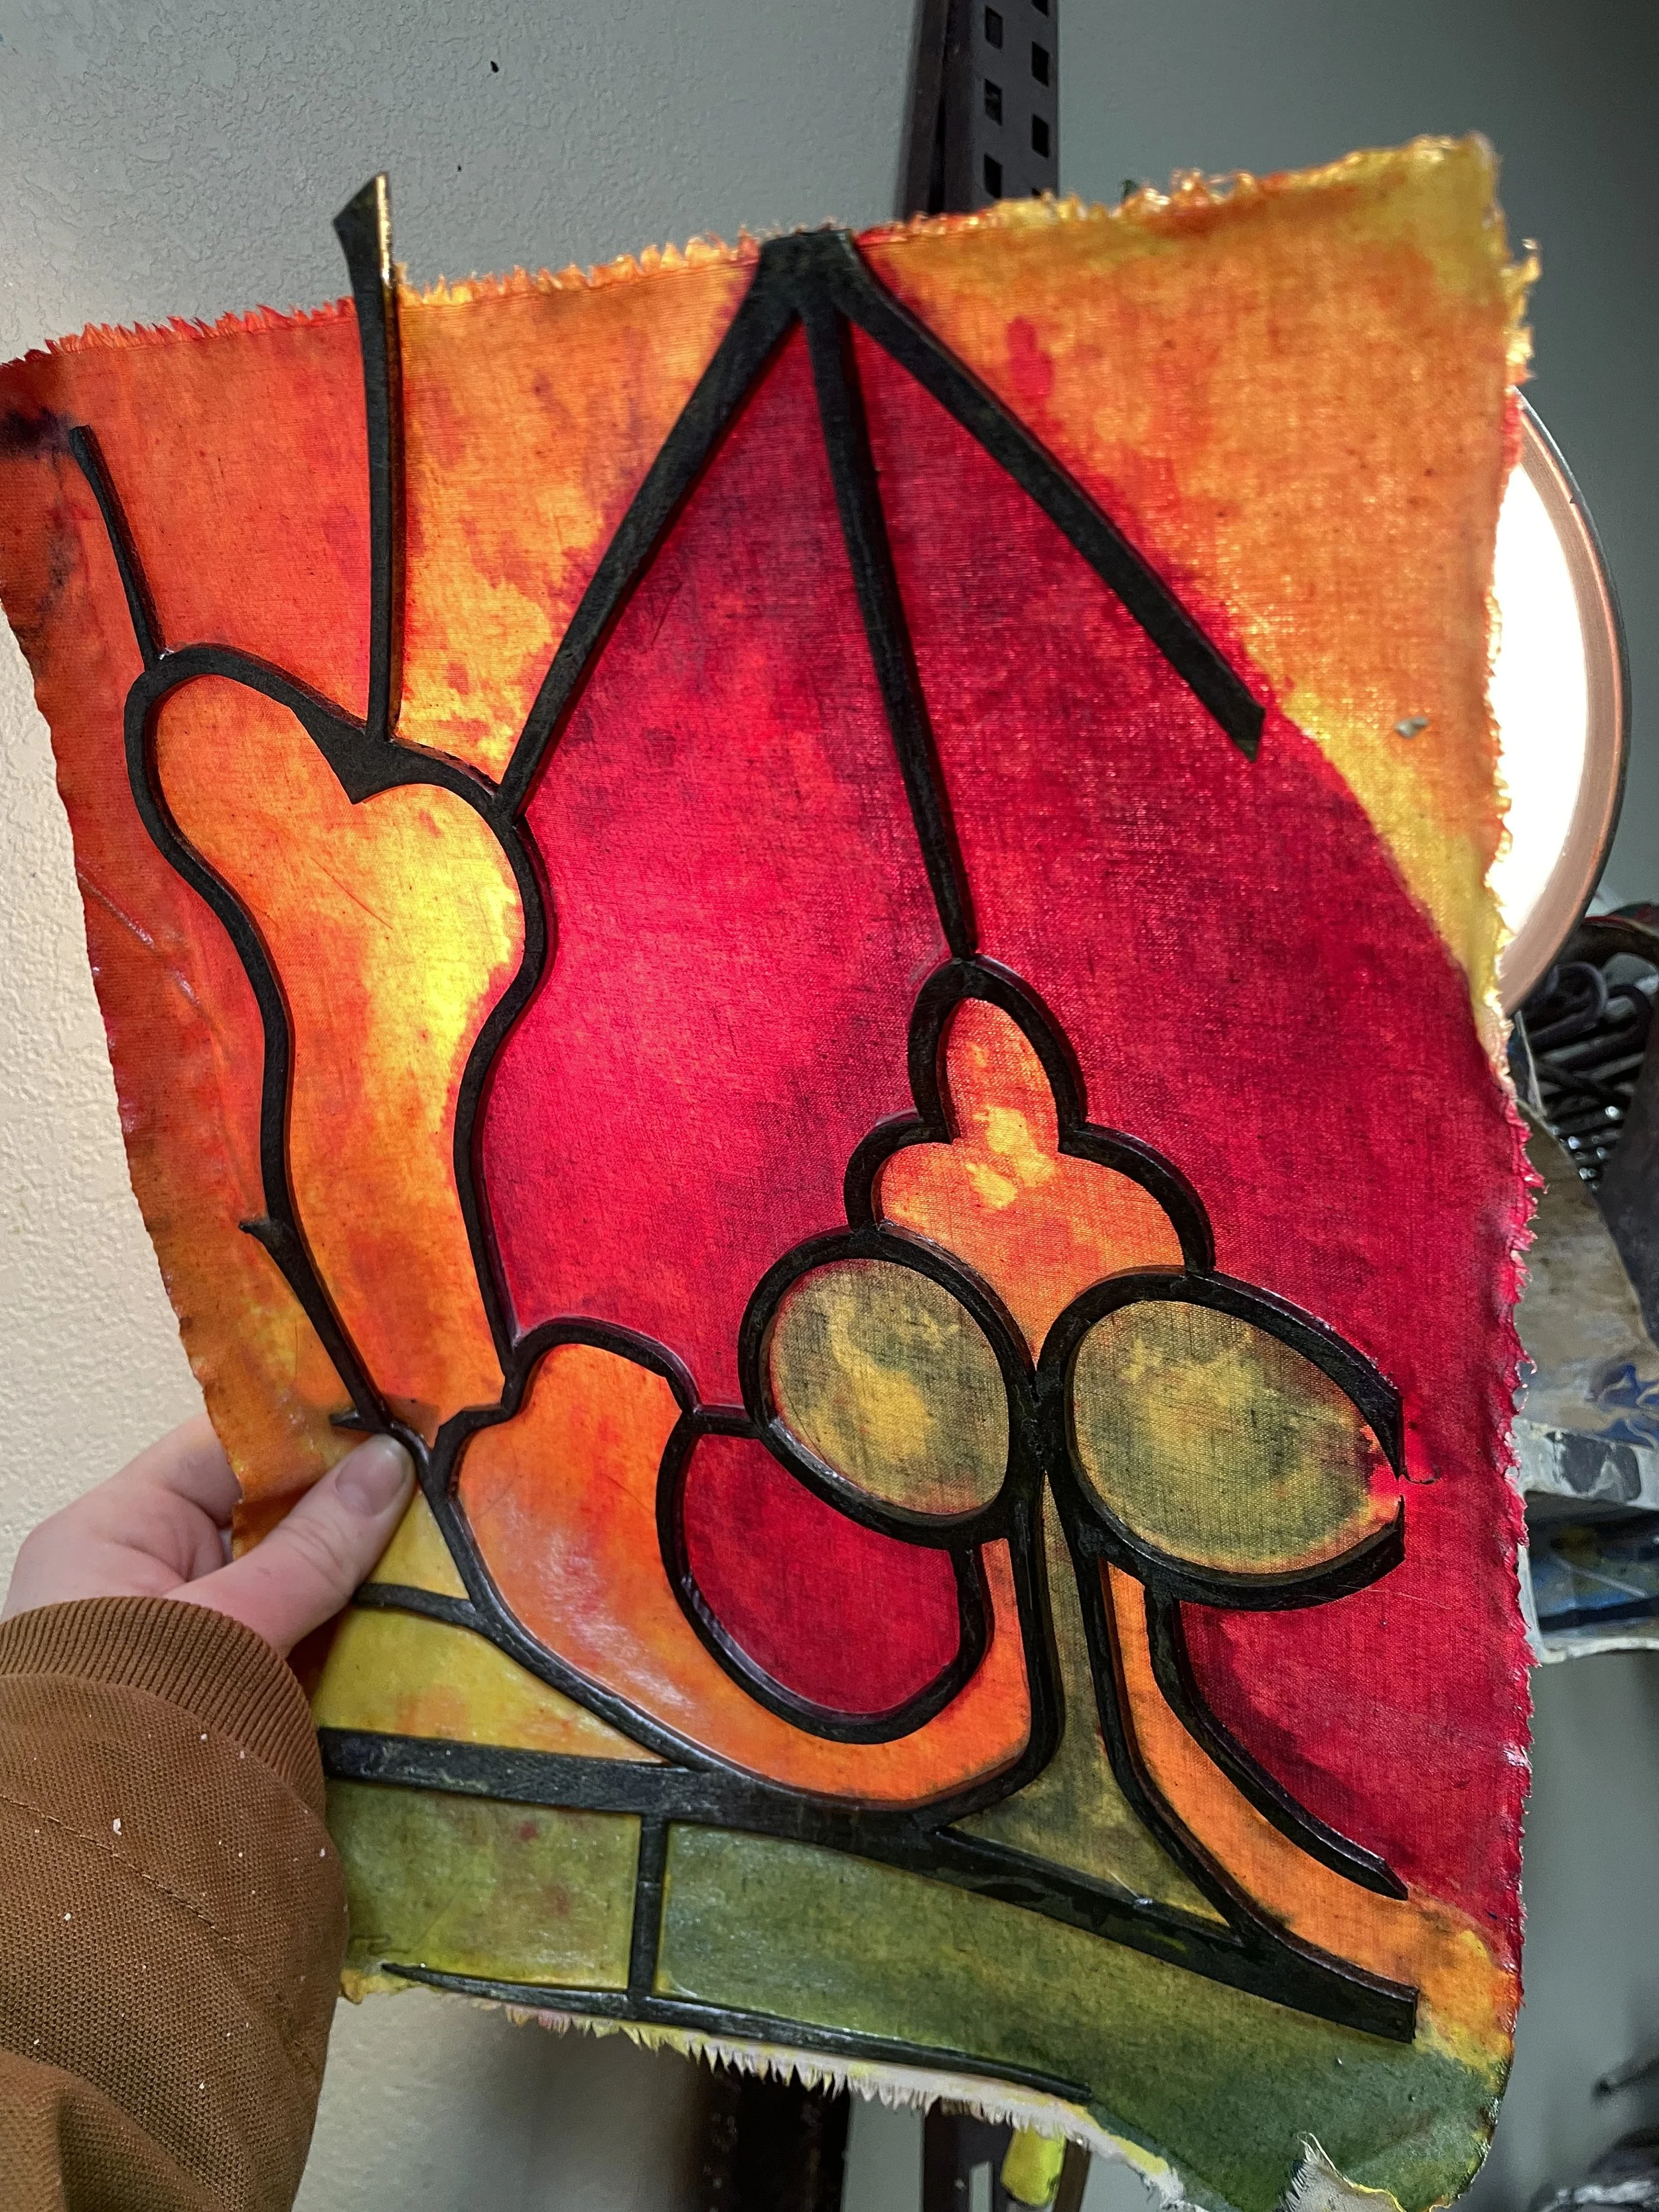
This sample being approved, it was time to move on to the real thing.
Step Two: Layout
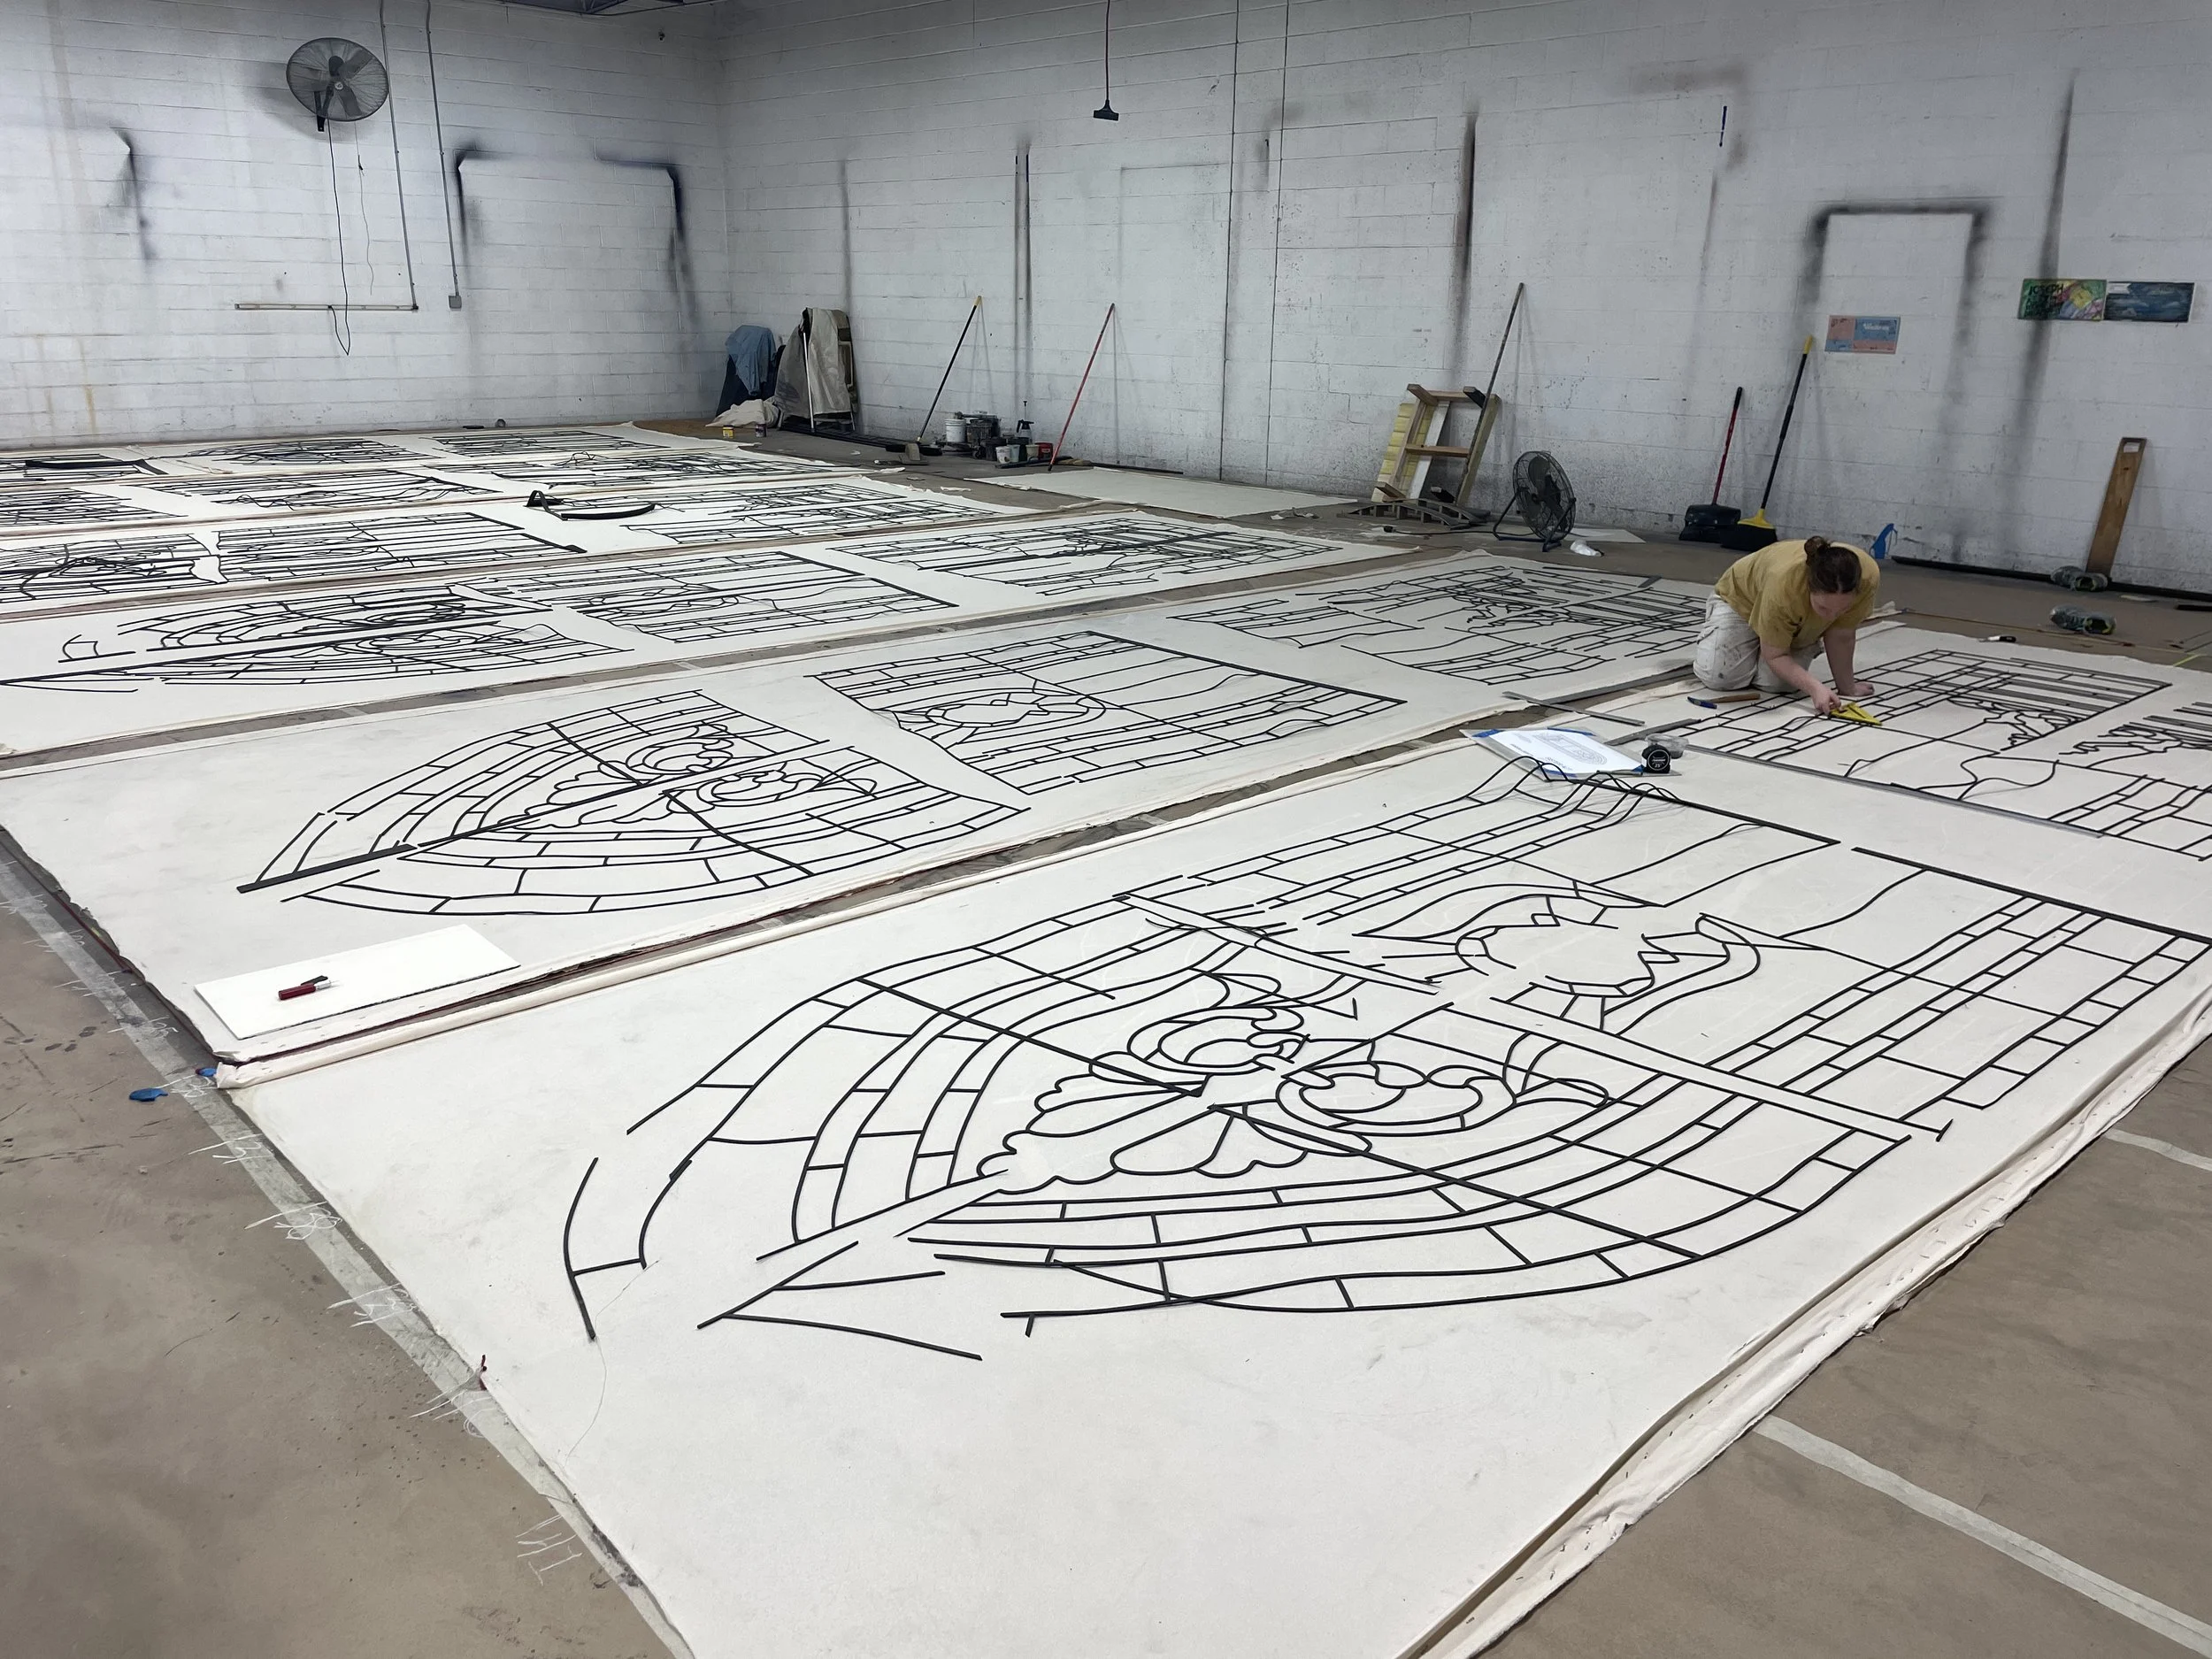
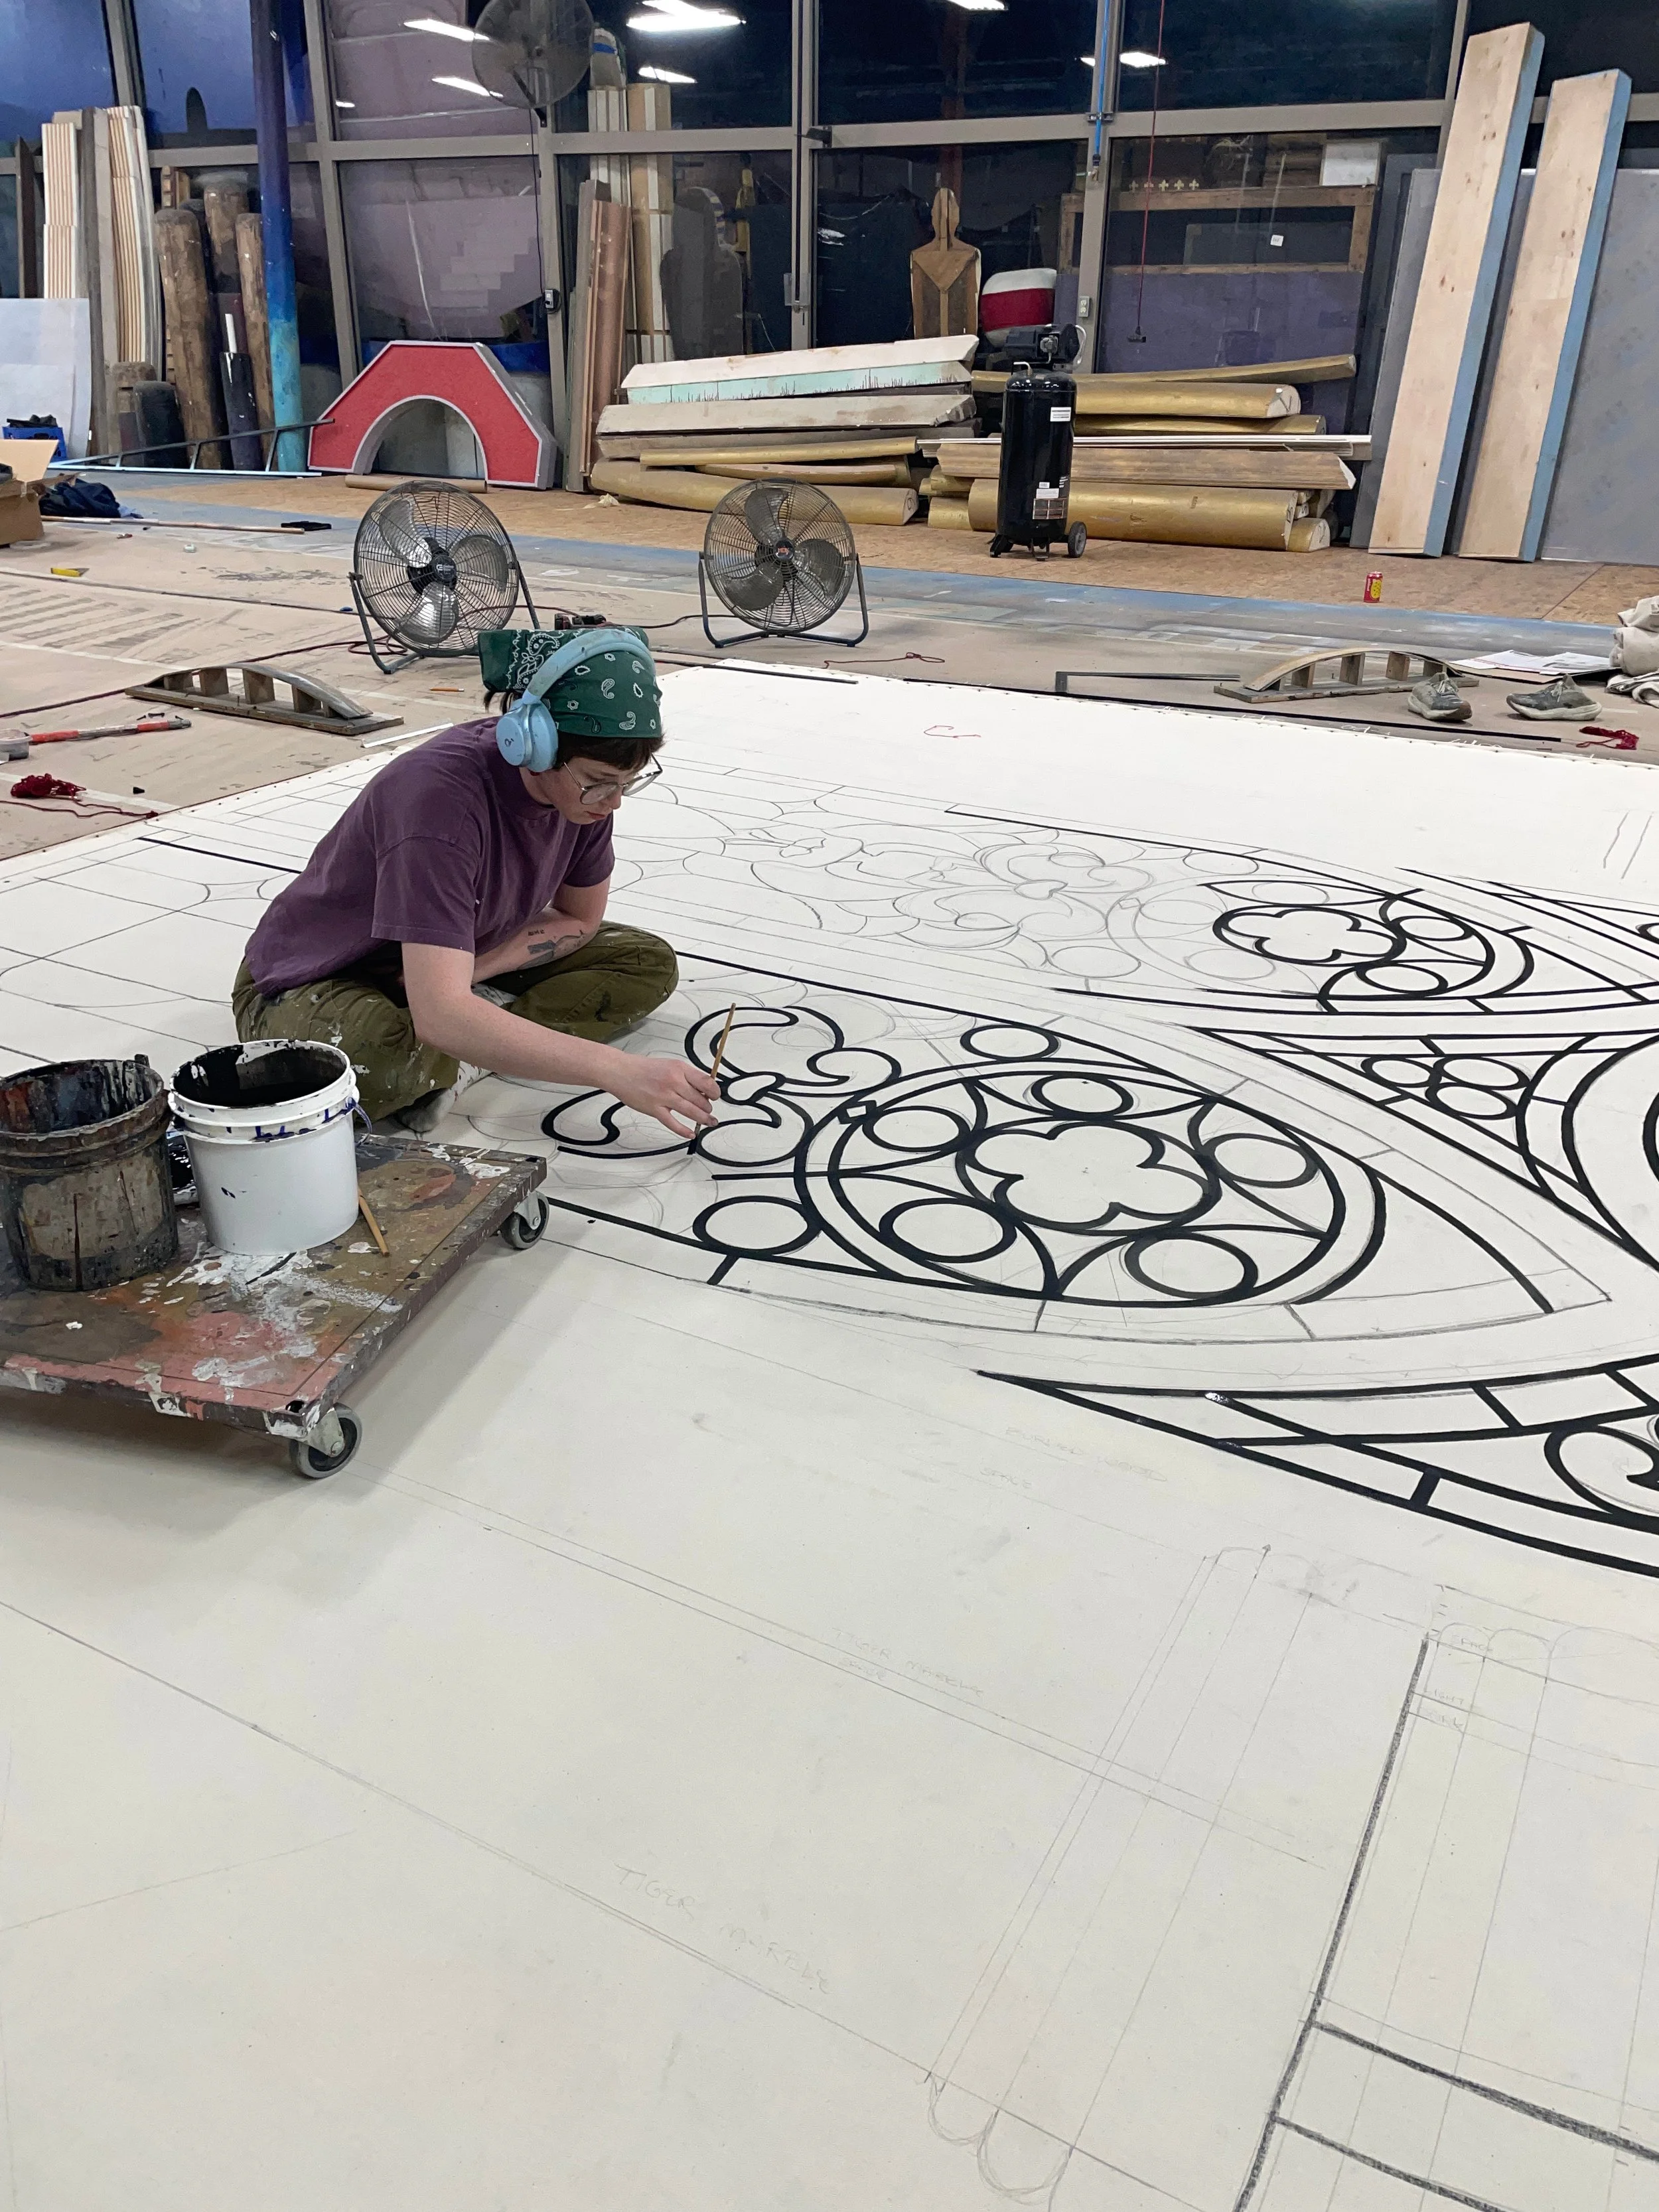
6 lengths of fabric were stretched on the deck and sized with corn starch, then foam leading was tacked down. In hindsight, a pounce of the window as a guide would have been very smart. For budgeting reasons, instead of EVA, we used Minicell foam sheets which were much cheaper and softer, but altogether very similar.
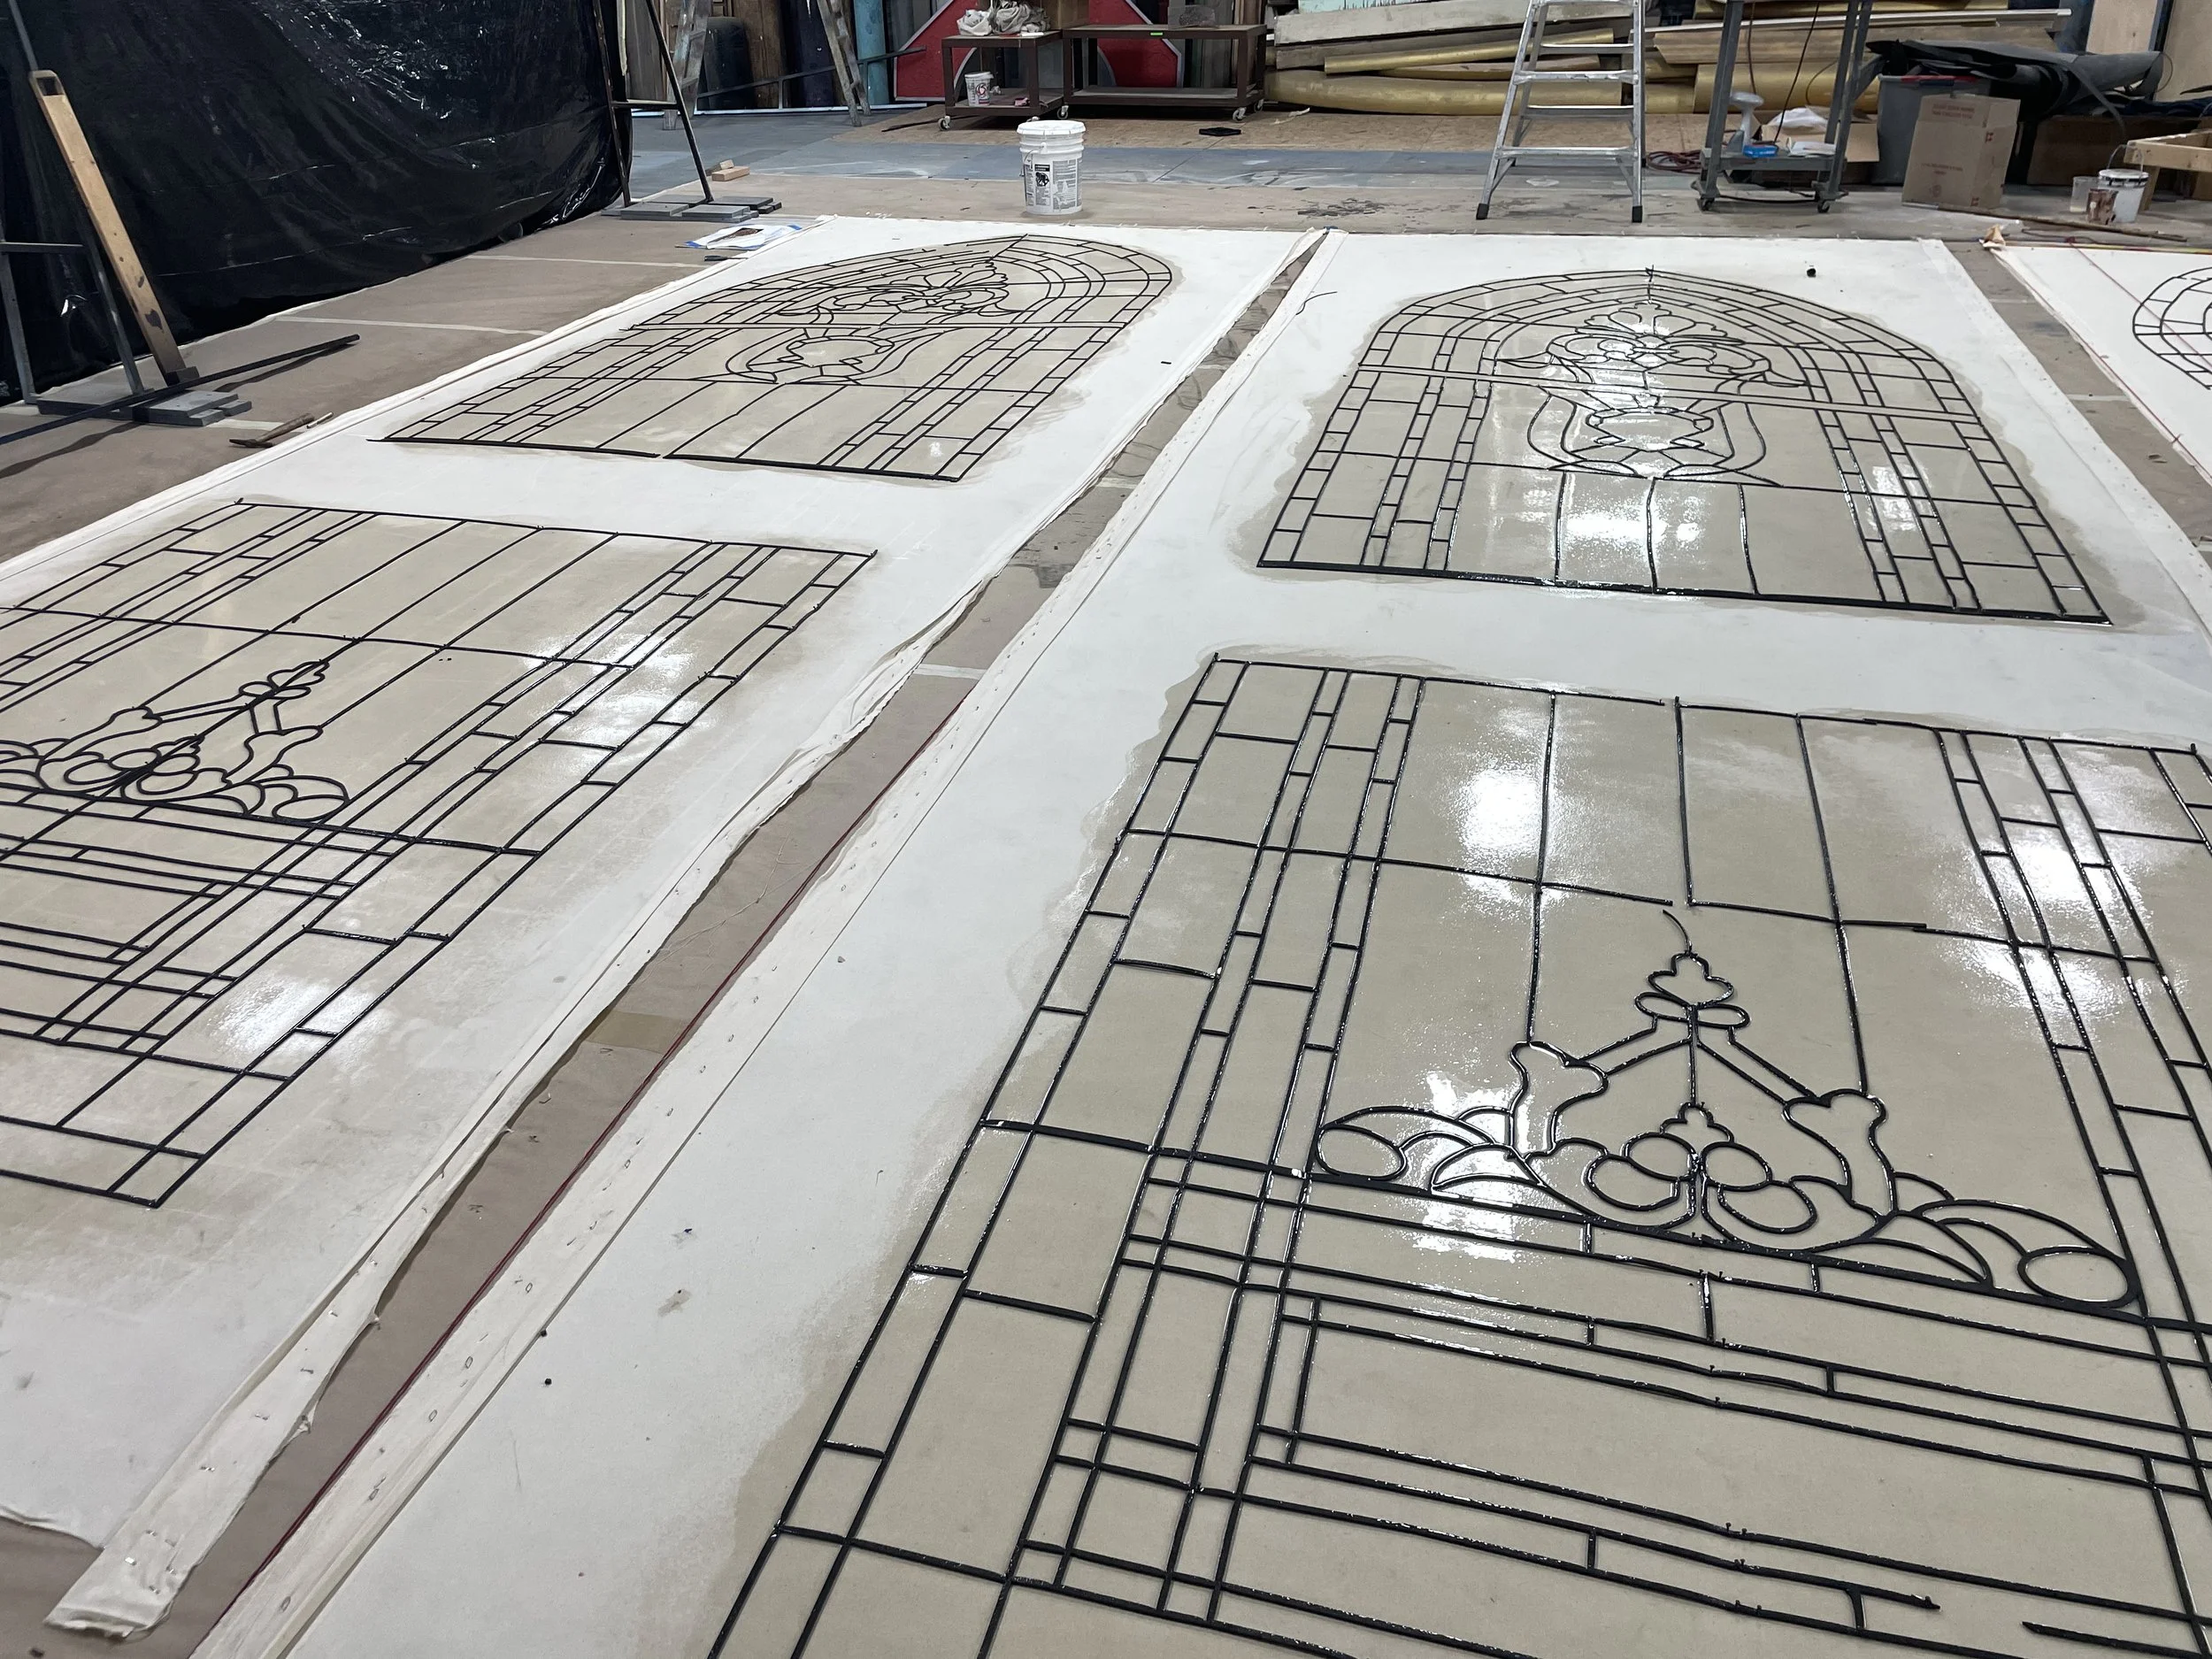
In the sample, I temporarily glued down the leading down with methylcellulose so that the glue wouldn’t affect the way the dye absorbed into the fabric. Problem: methyl cellulose does not spray well in a hudson, and an HVLP or brush would shift the leading out of place. I was hoping another spray of corn starch would be a good temporary glue , but no cigar.
I ended up heavily spattering the windows with Rosco Clear Acrylic, which acted as an interesting resist as well as adhering the leading.
Step Three: Painting
I will admit to playing a bit of Calvin Ball here. I had done a small sample with plenty of time, and the scale of the real thing was intimidating. Enter: Methylcellulose, clear craft glue, Rosco clear acrylic and many colors of fibre reactive dye. Also HVLP <3
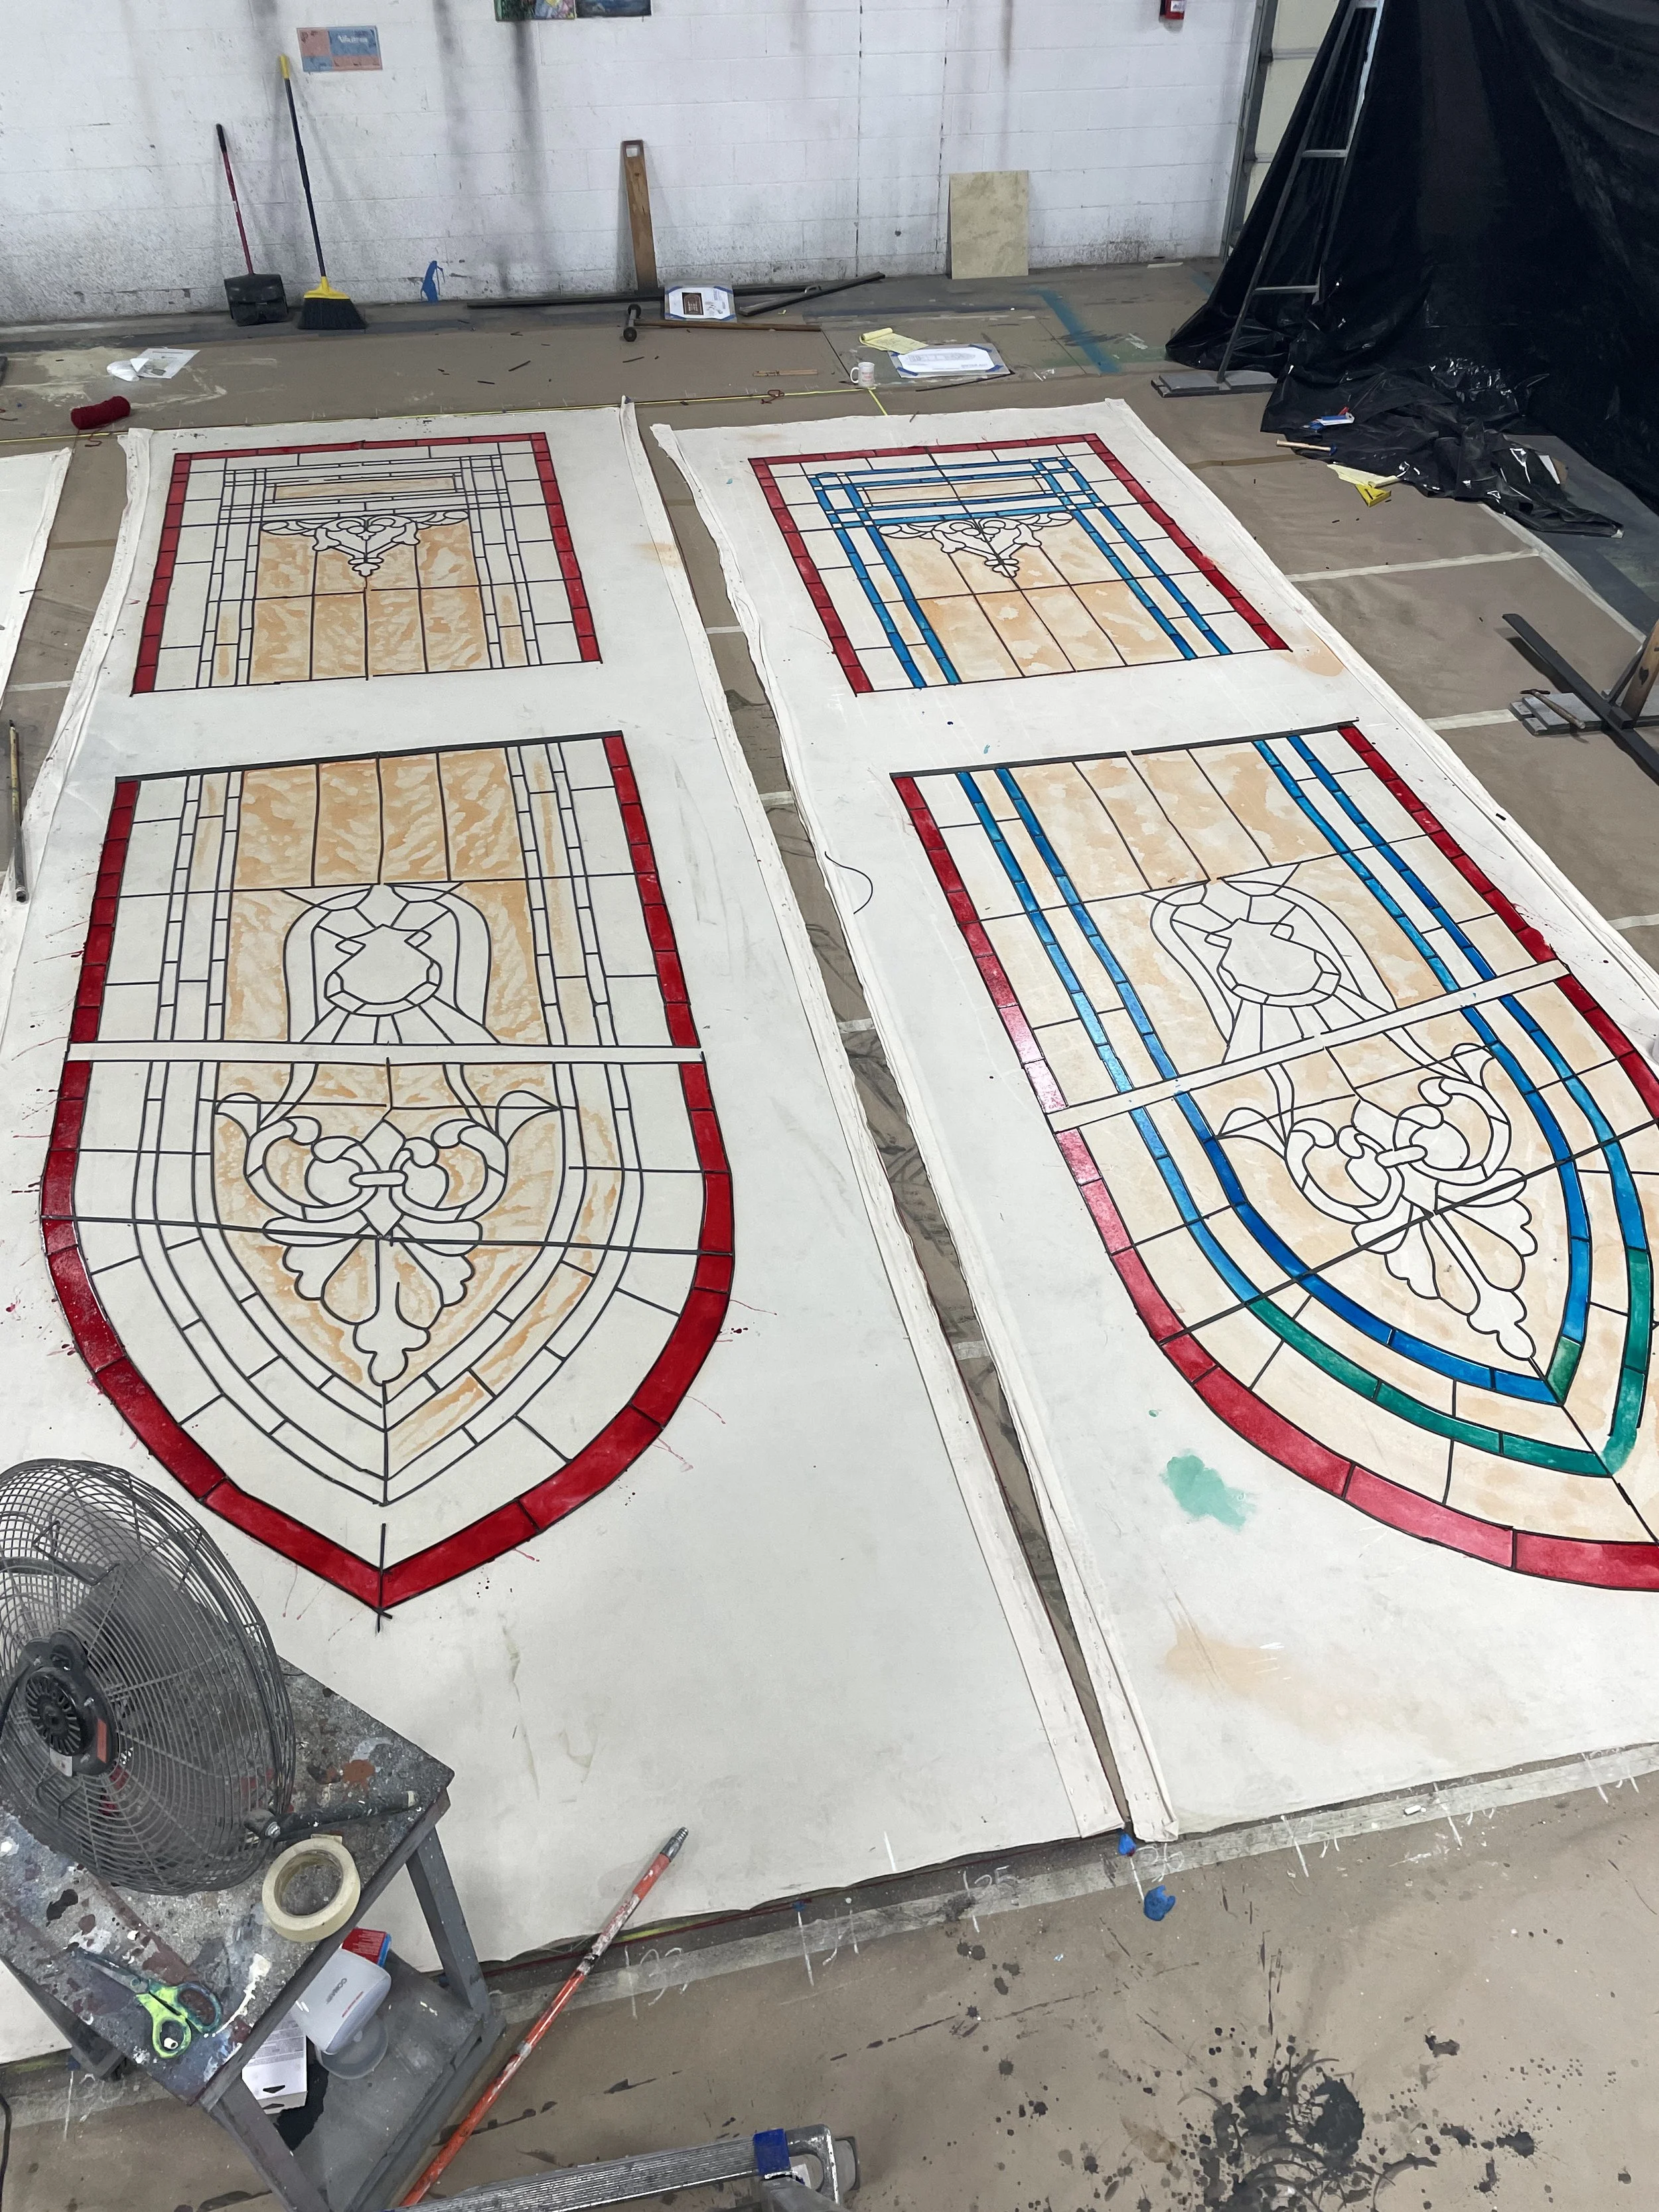
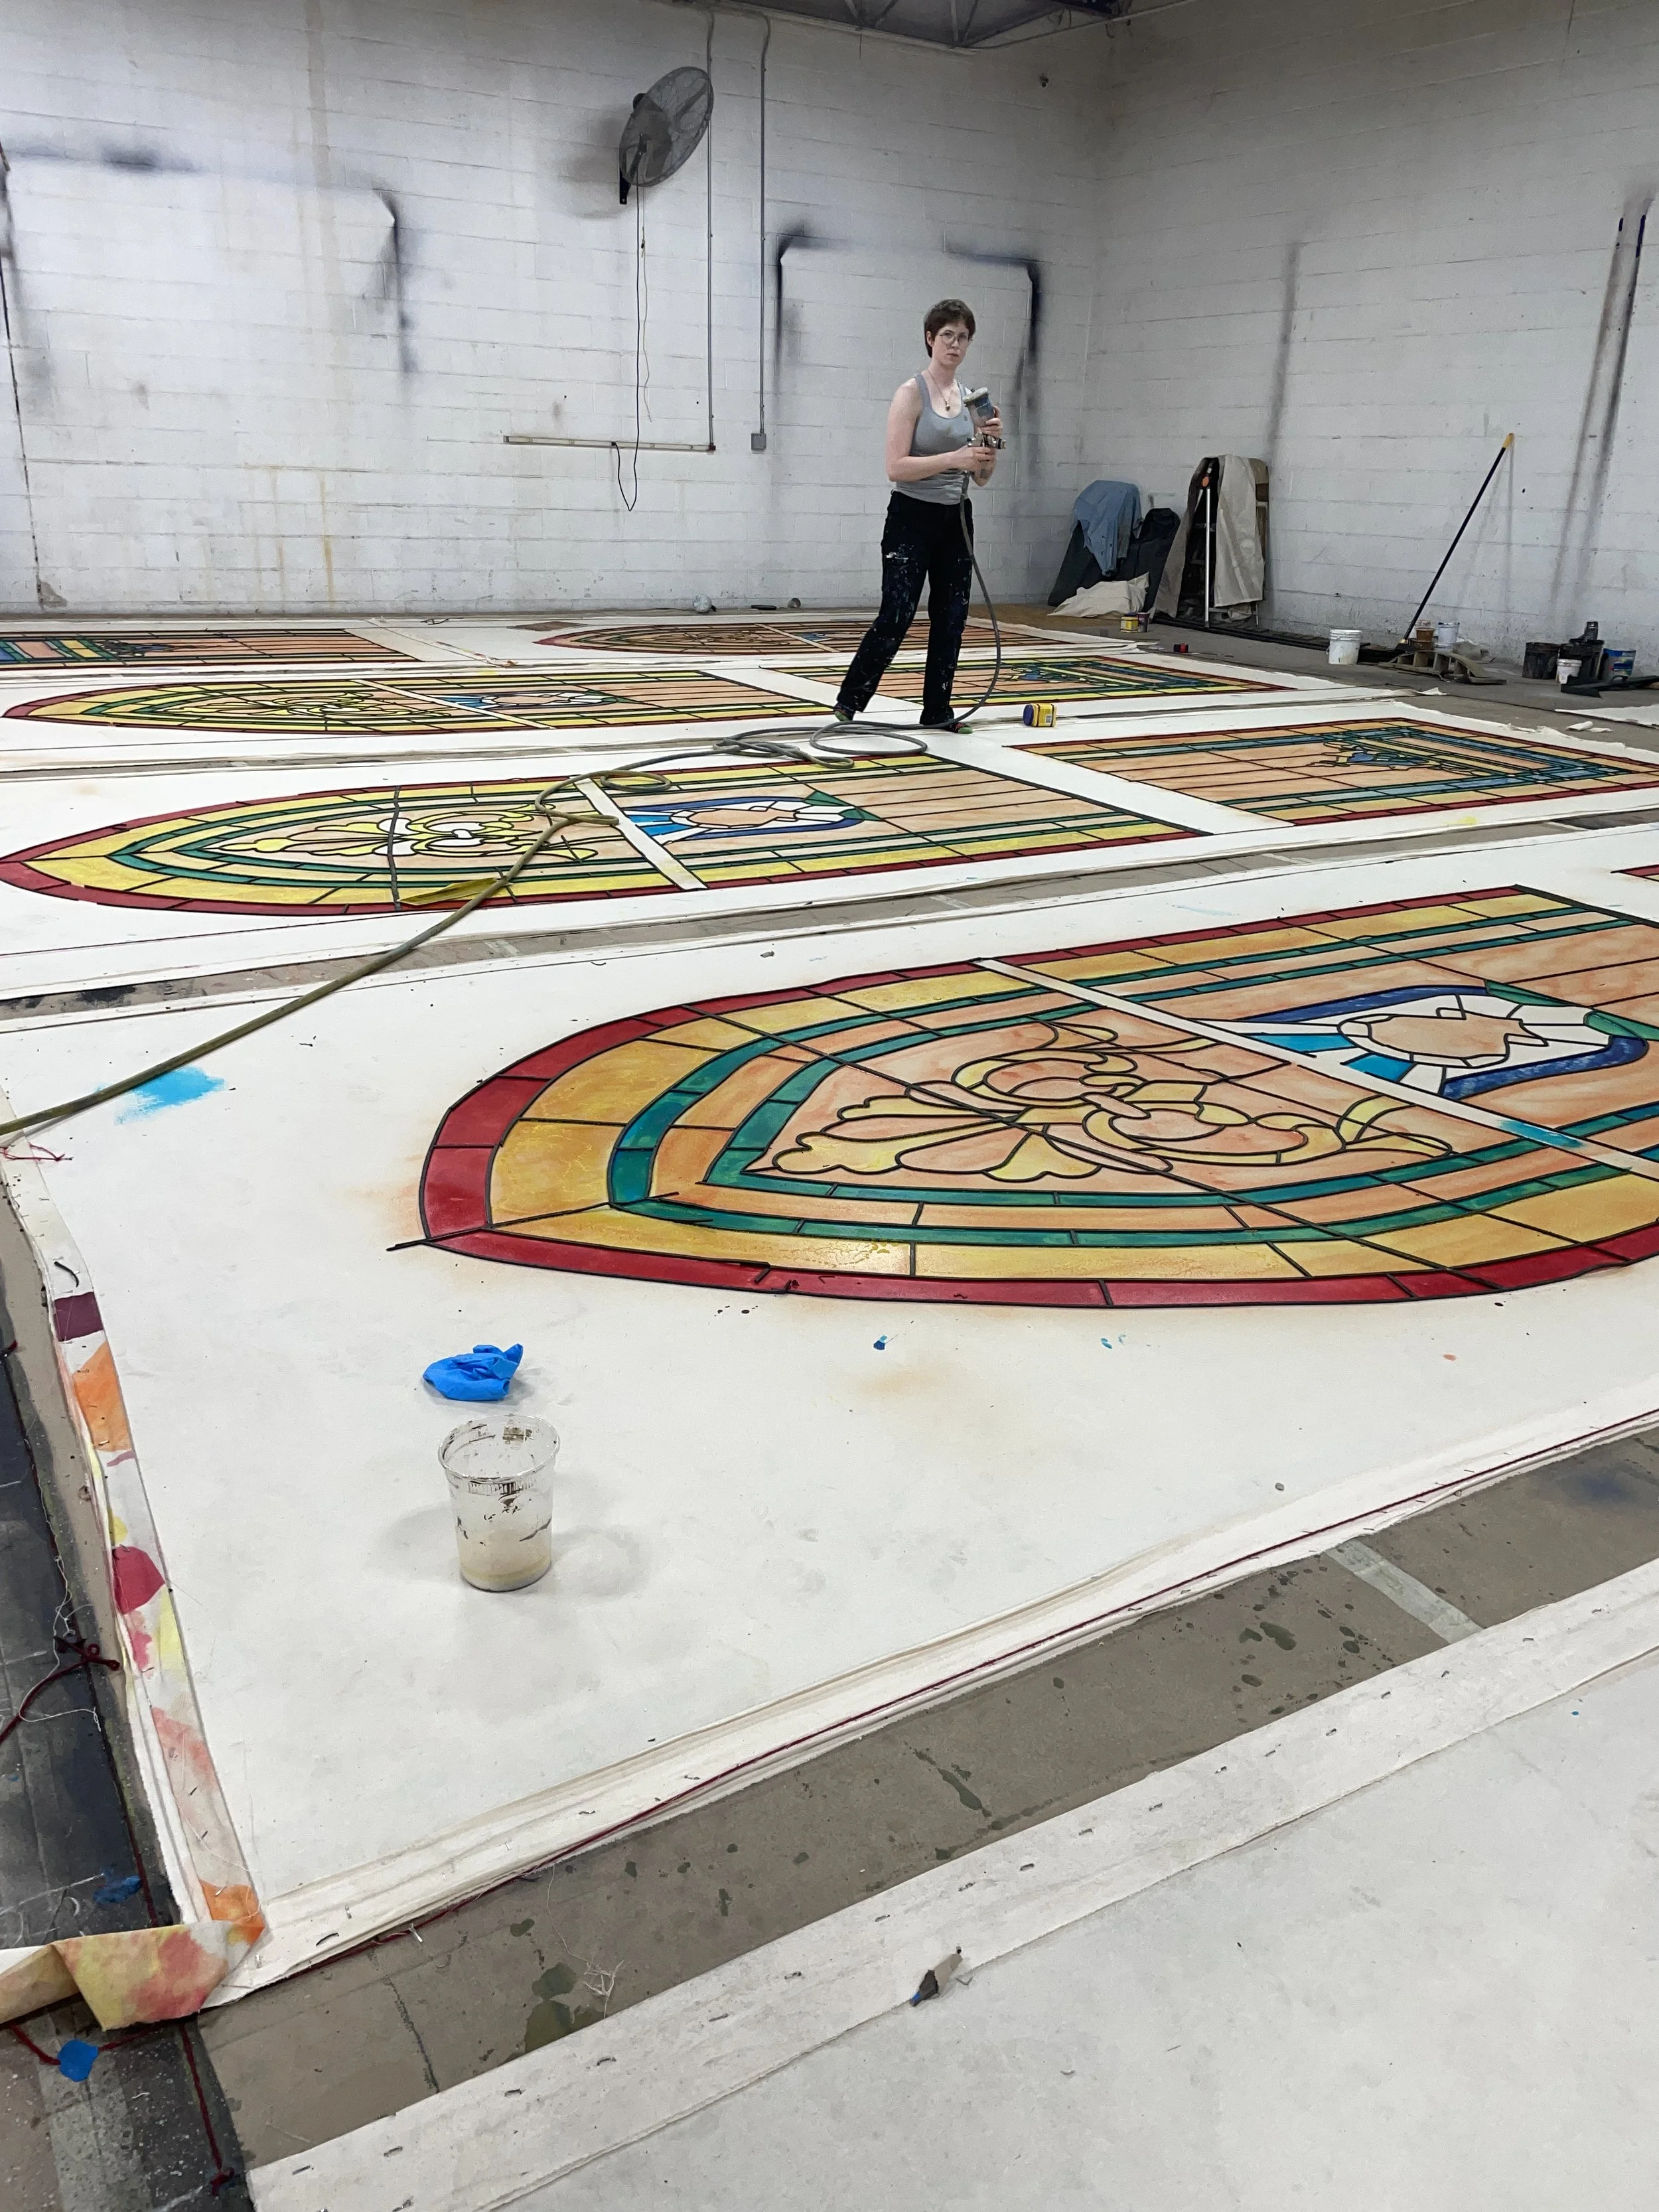
The Clear Acrylic spatter/glue made it so that the dye didn’t seep fully into the fabric, but shifted around making interesting patterns. In the spots where the acrylic spatter didn’t hit, the color was deeper as it was able to soak into the fabric.
The trick was to avoid dripping dye where it didn’t belong: mistakes were not easily fixed.
I made a pounce for the faces.

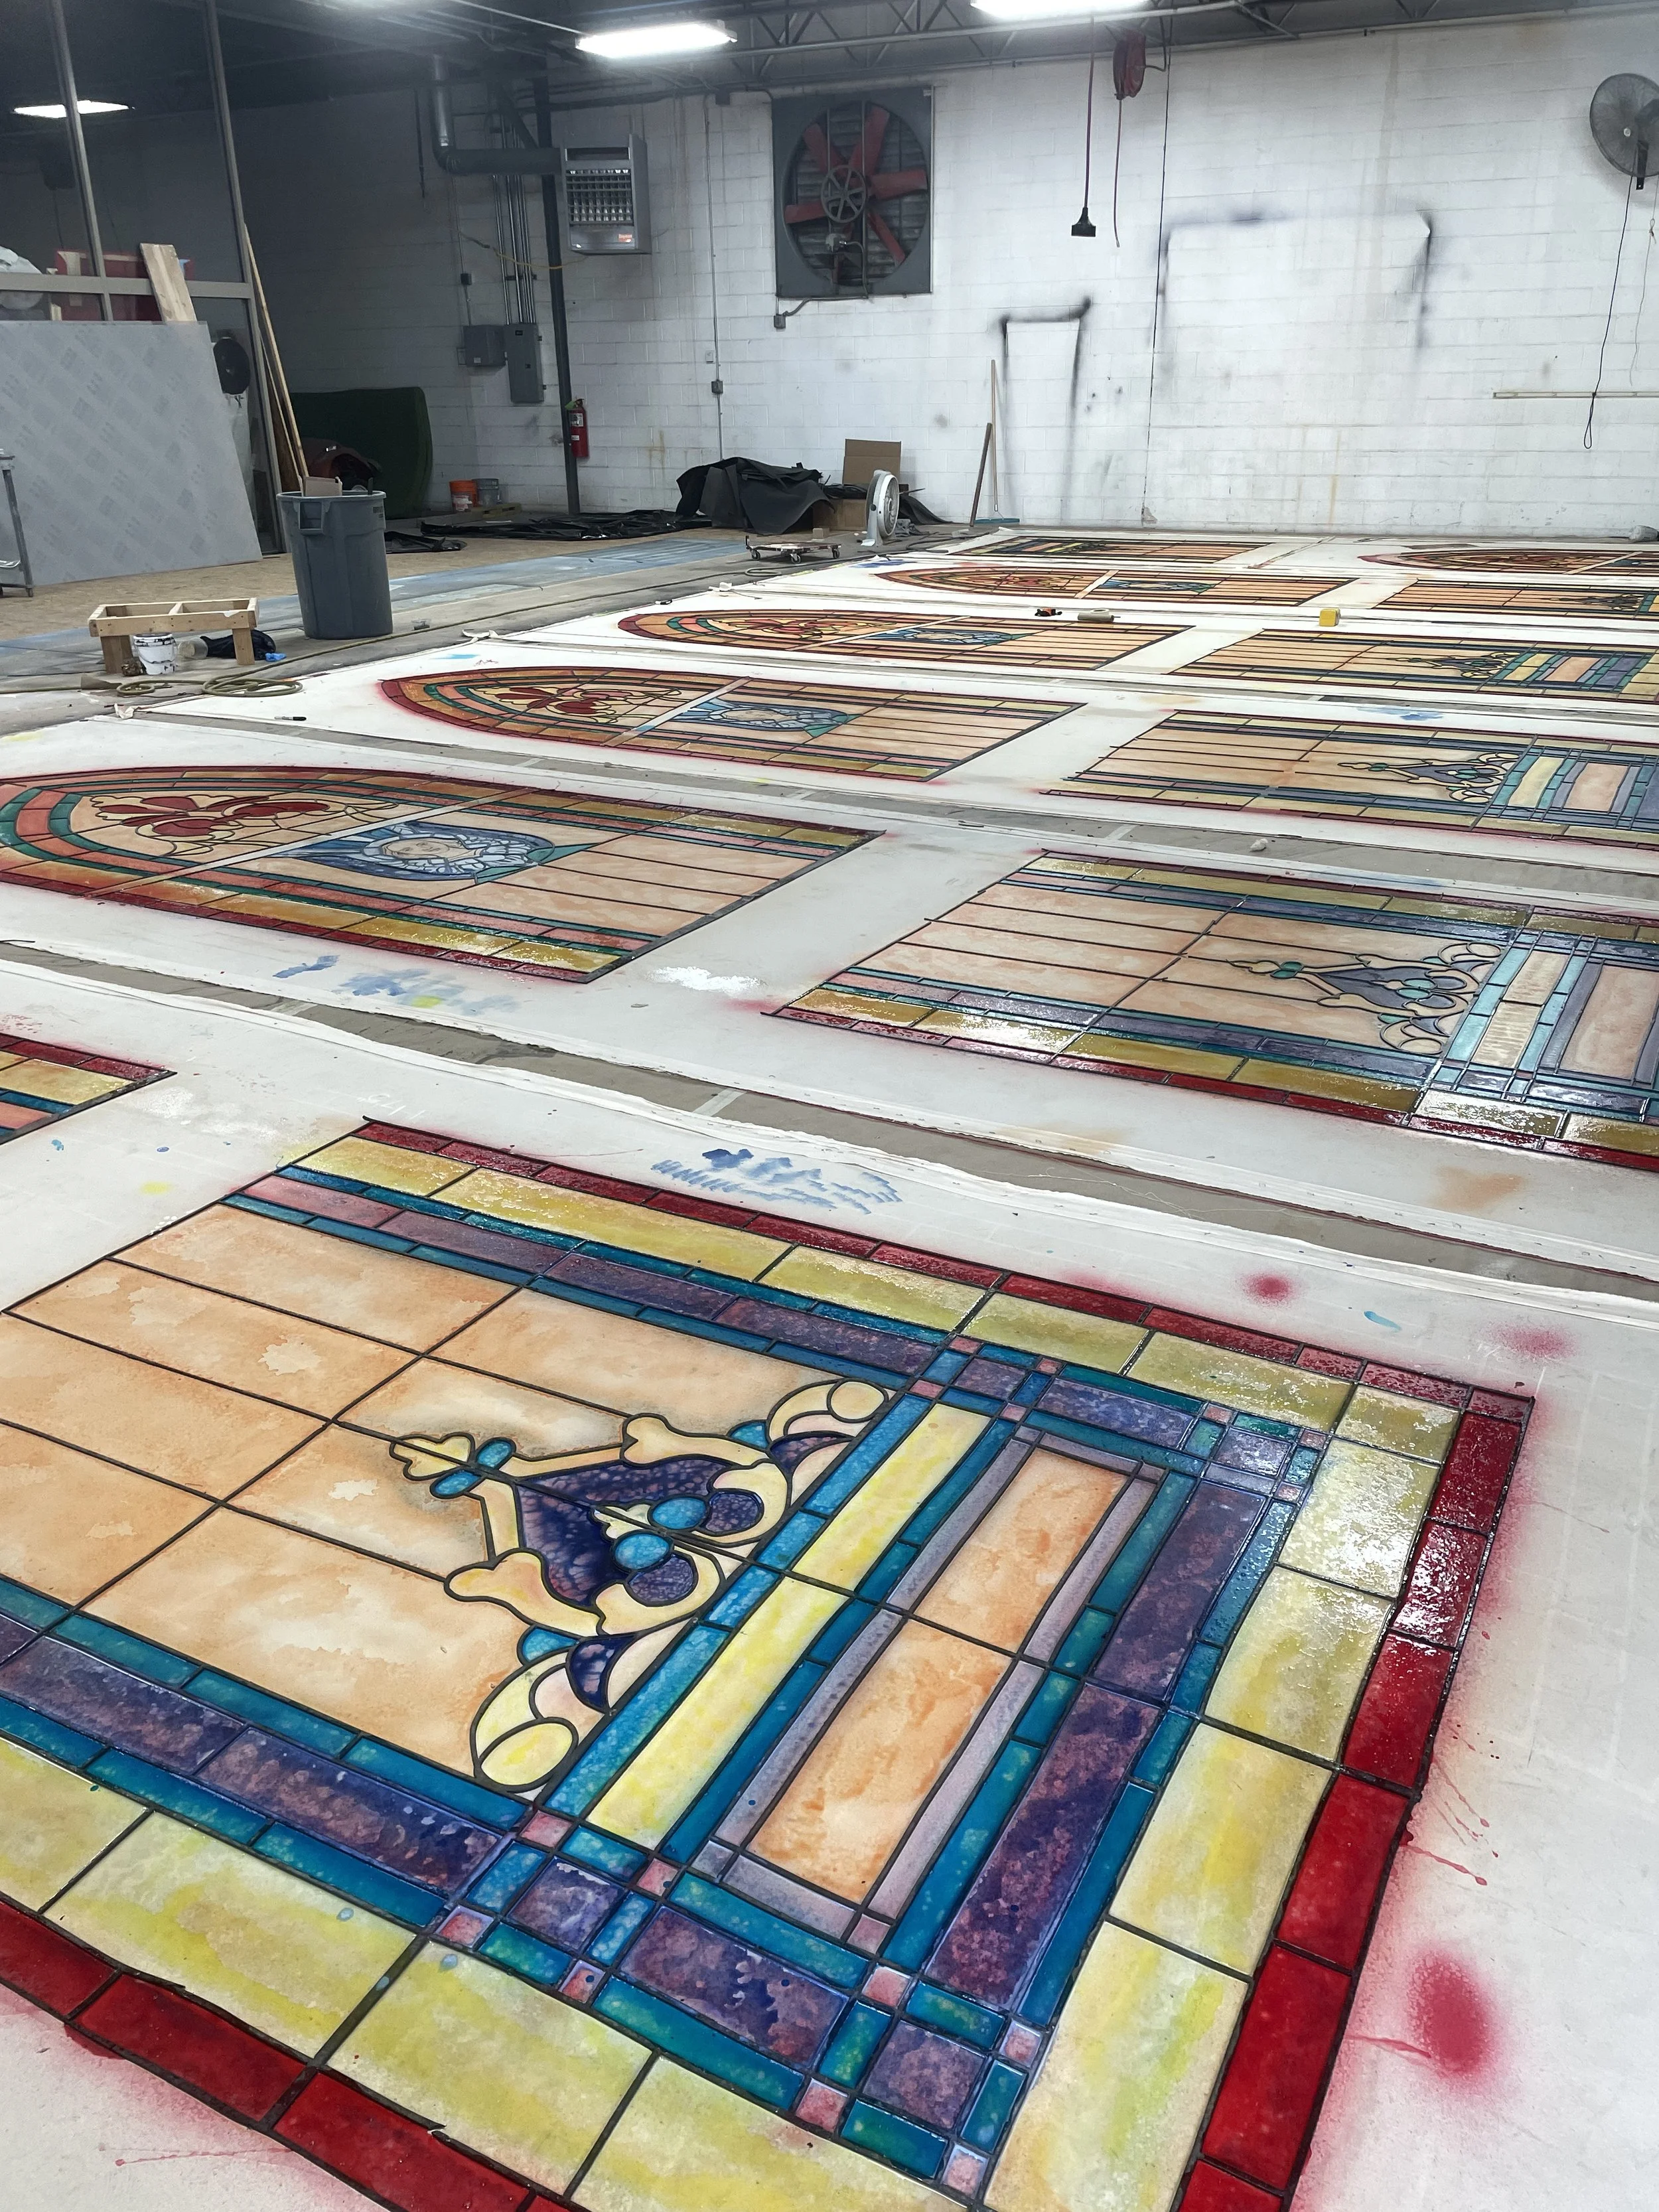
Note: pneumatic spraying clear craft glue makes bubbles.
Step Four: Attaching to structure
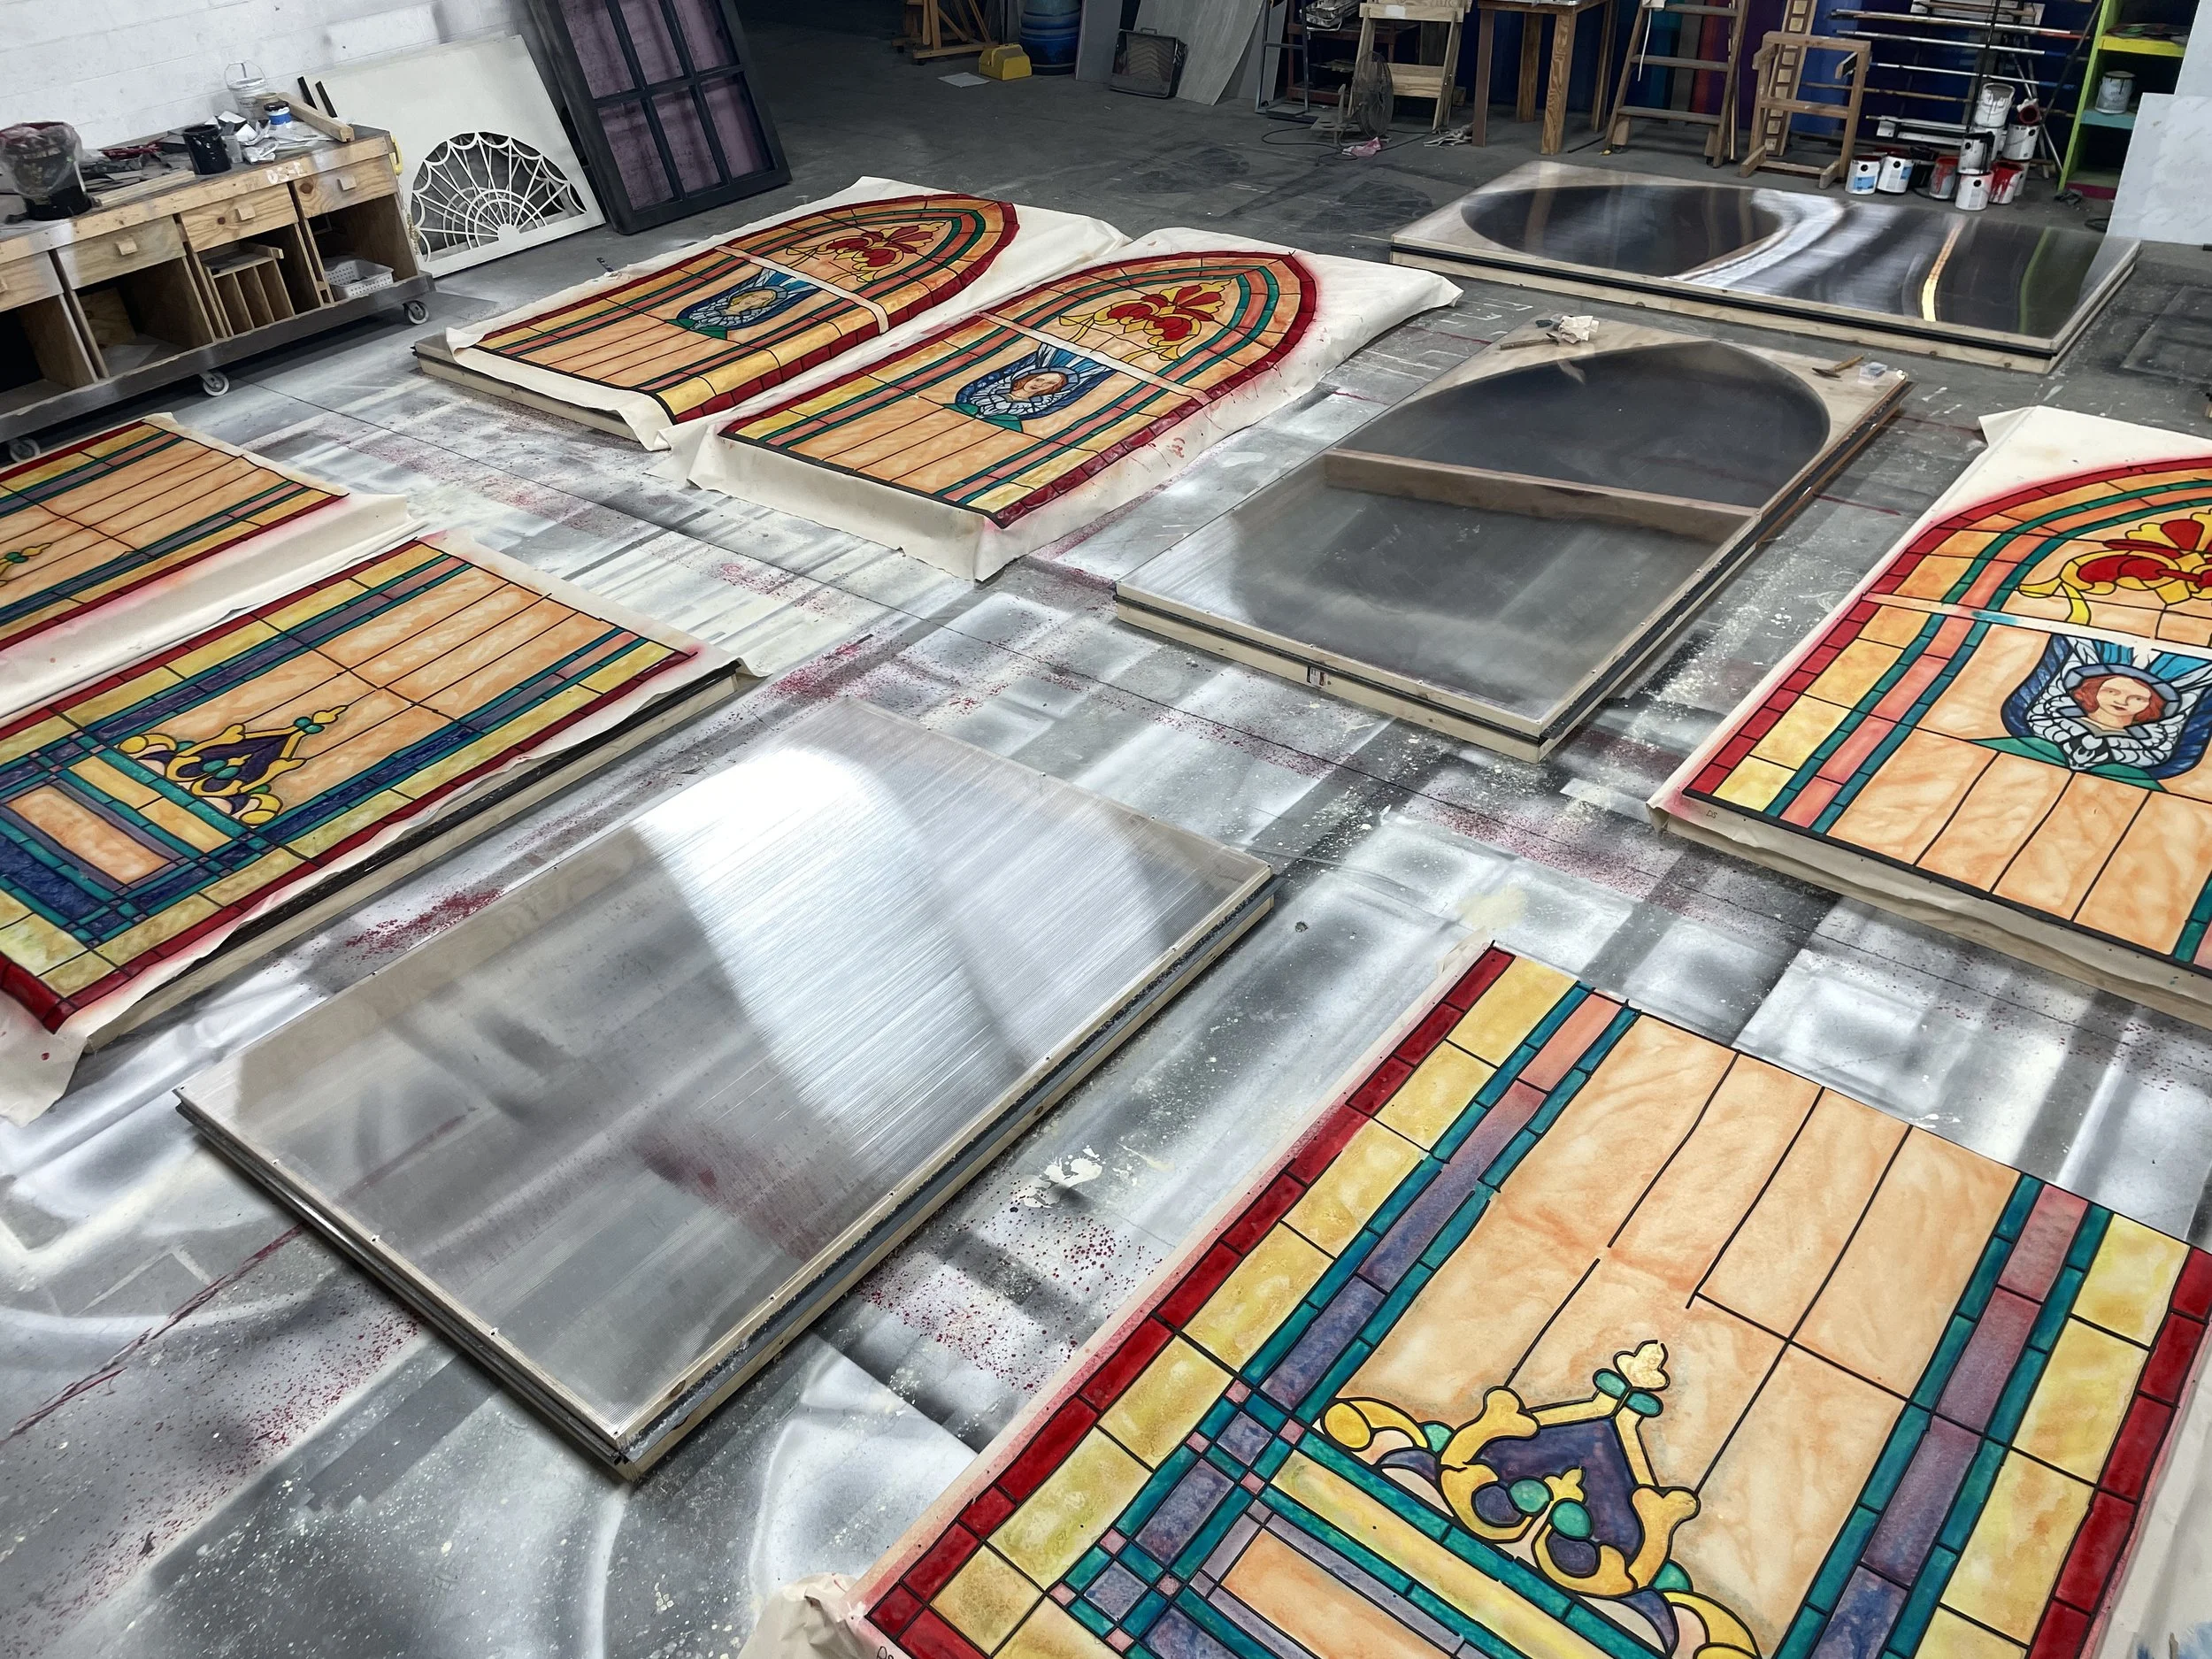
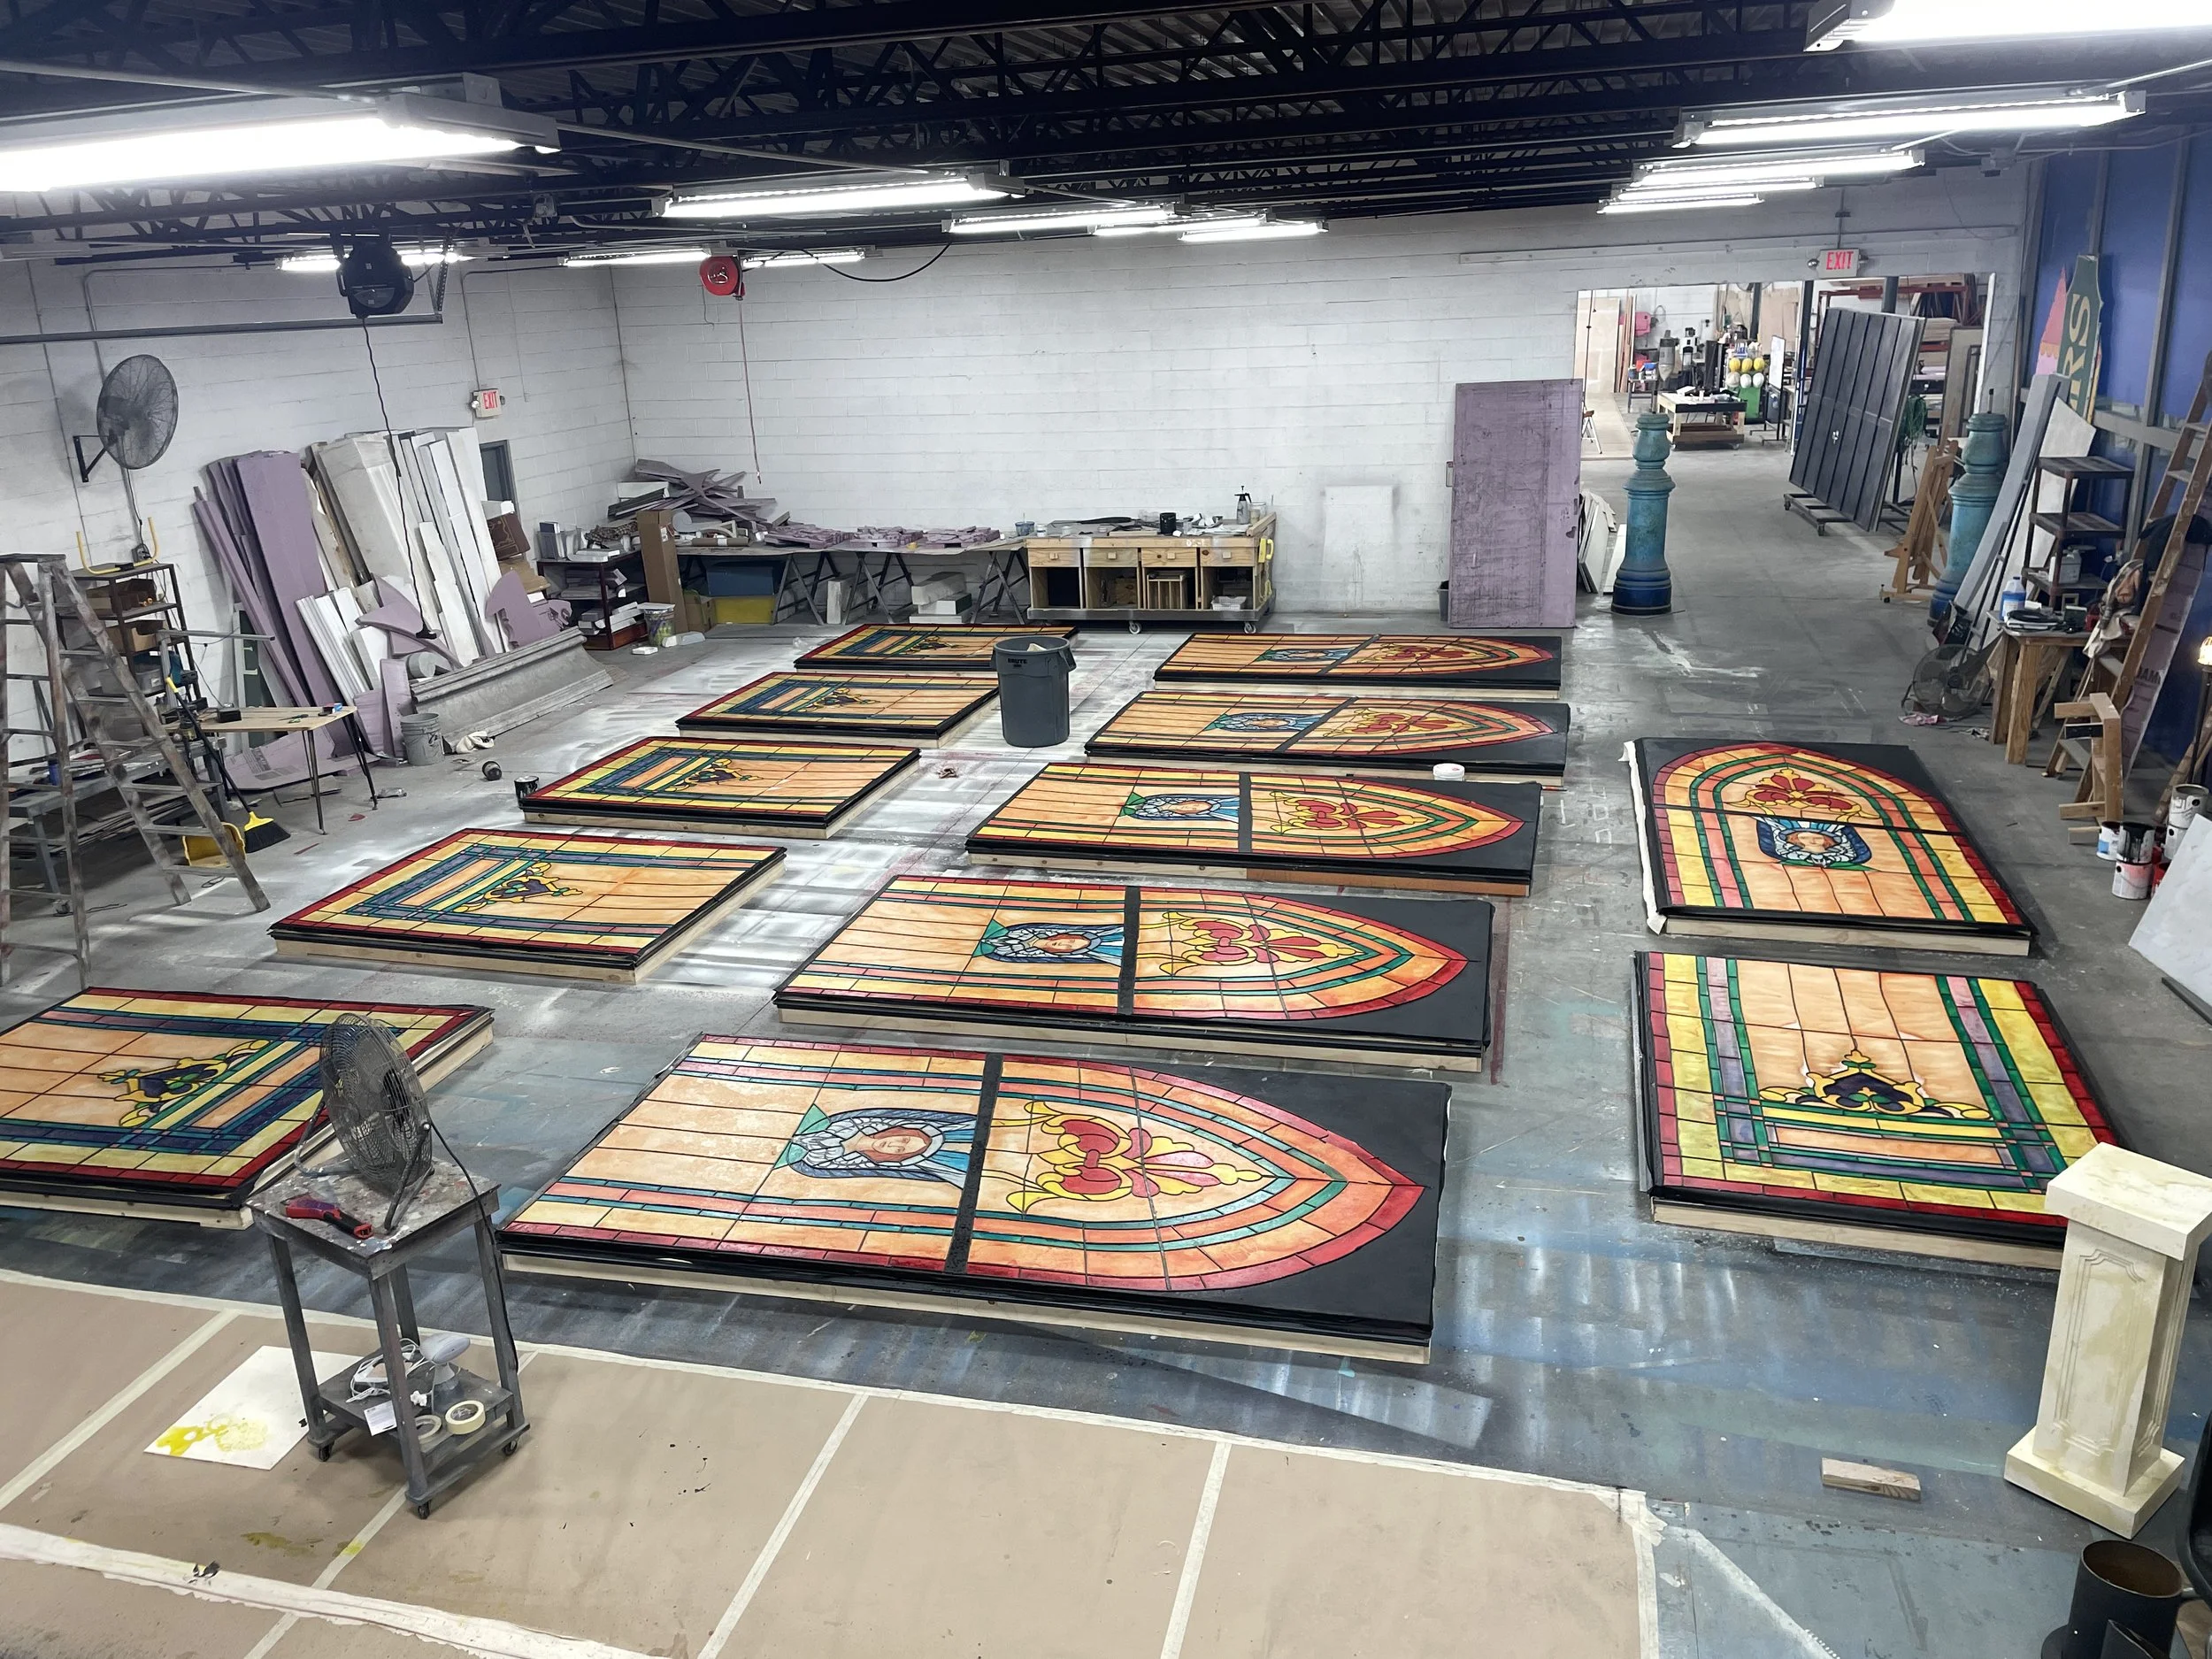
We screwed down Polygal diffusion plastic sheeting and draped the windows over them, tacking them down, then going in with a stapler to add more security. Once the windows were down, there were some ripples that we smoothed out with another spray of Rosco Clear Acrylic.
Step Five: Notes in the space


The leading needed a fair amount of love and the many panes needed to be darker or more dynamic.
Let there be light!
Lighting designer Helena Kuukka, Head Electrician Isabel Delgado, and their team made magic happen.






But wait, the 7th window!
A Translucent drop that I made many mistakes on.
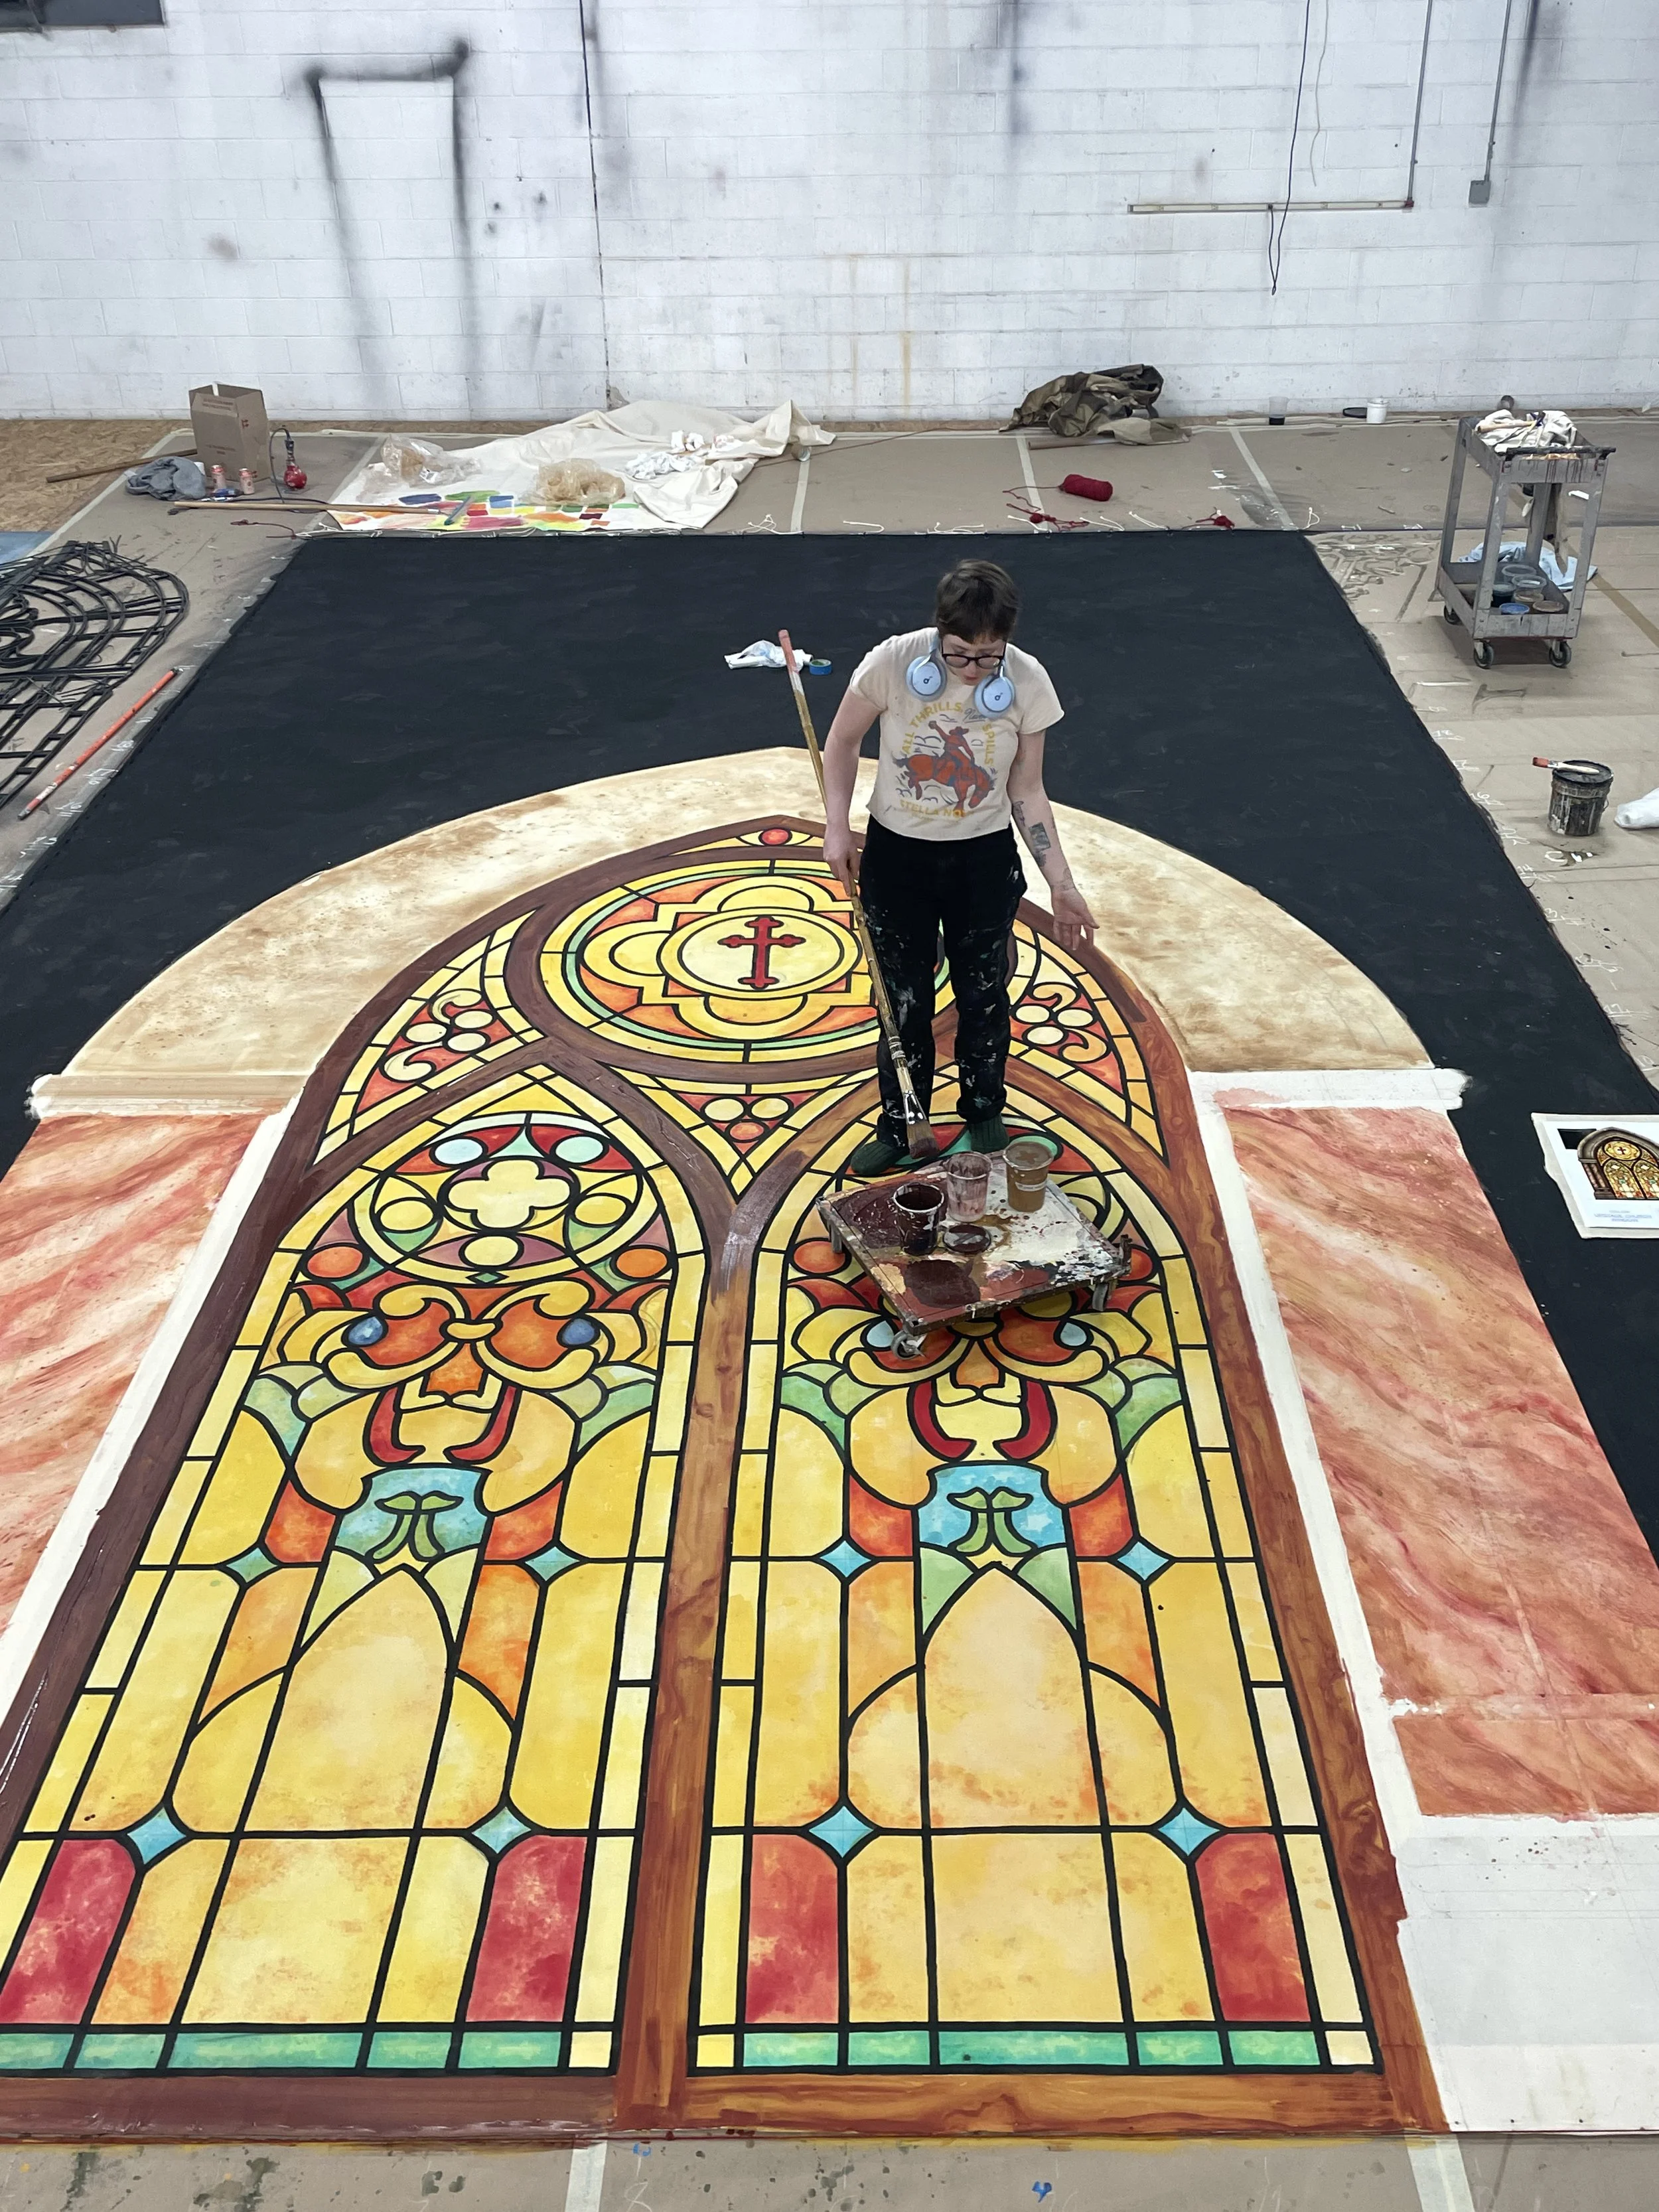
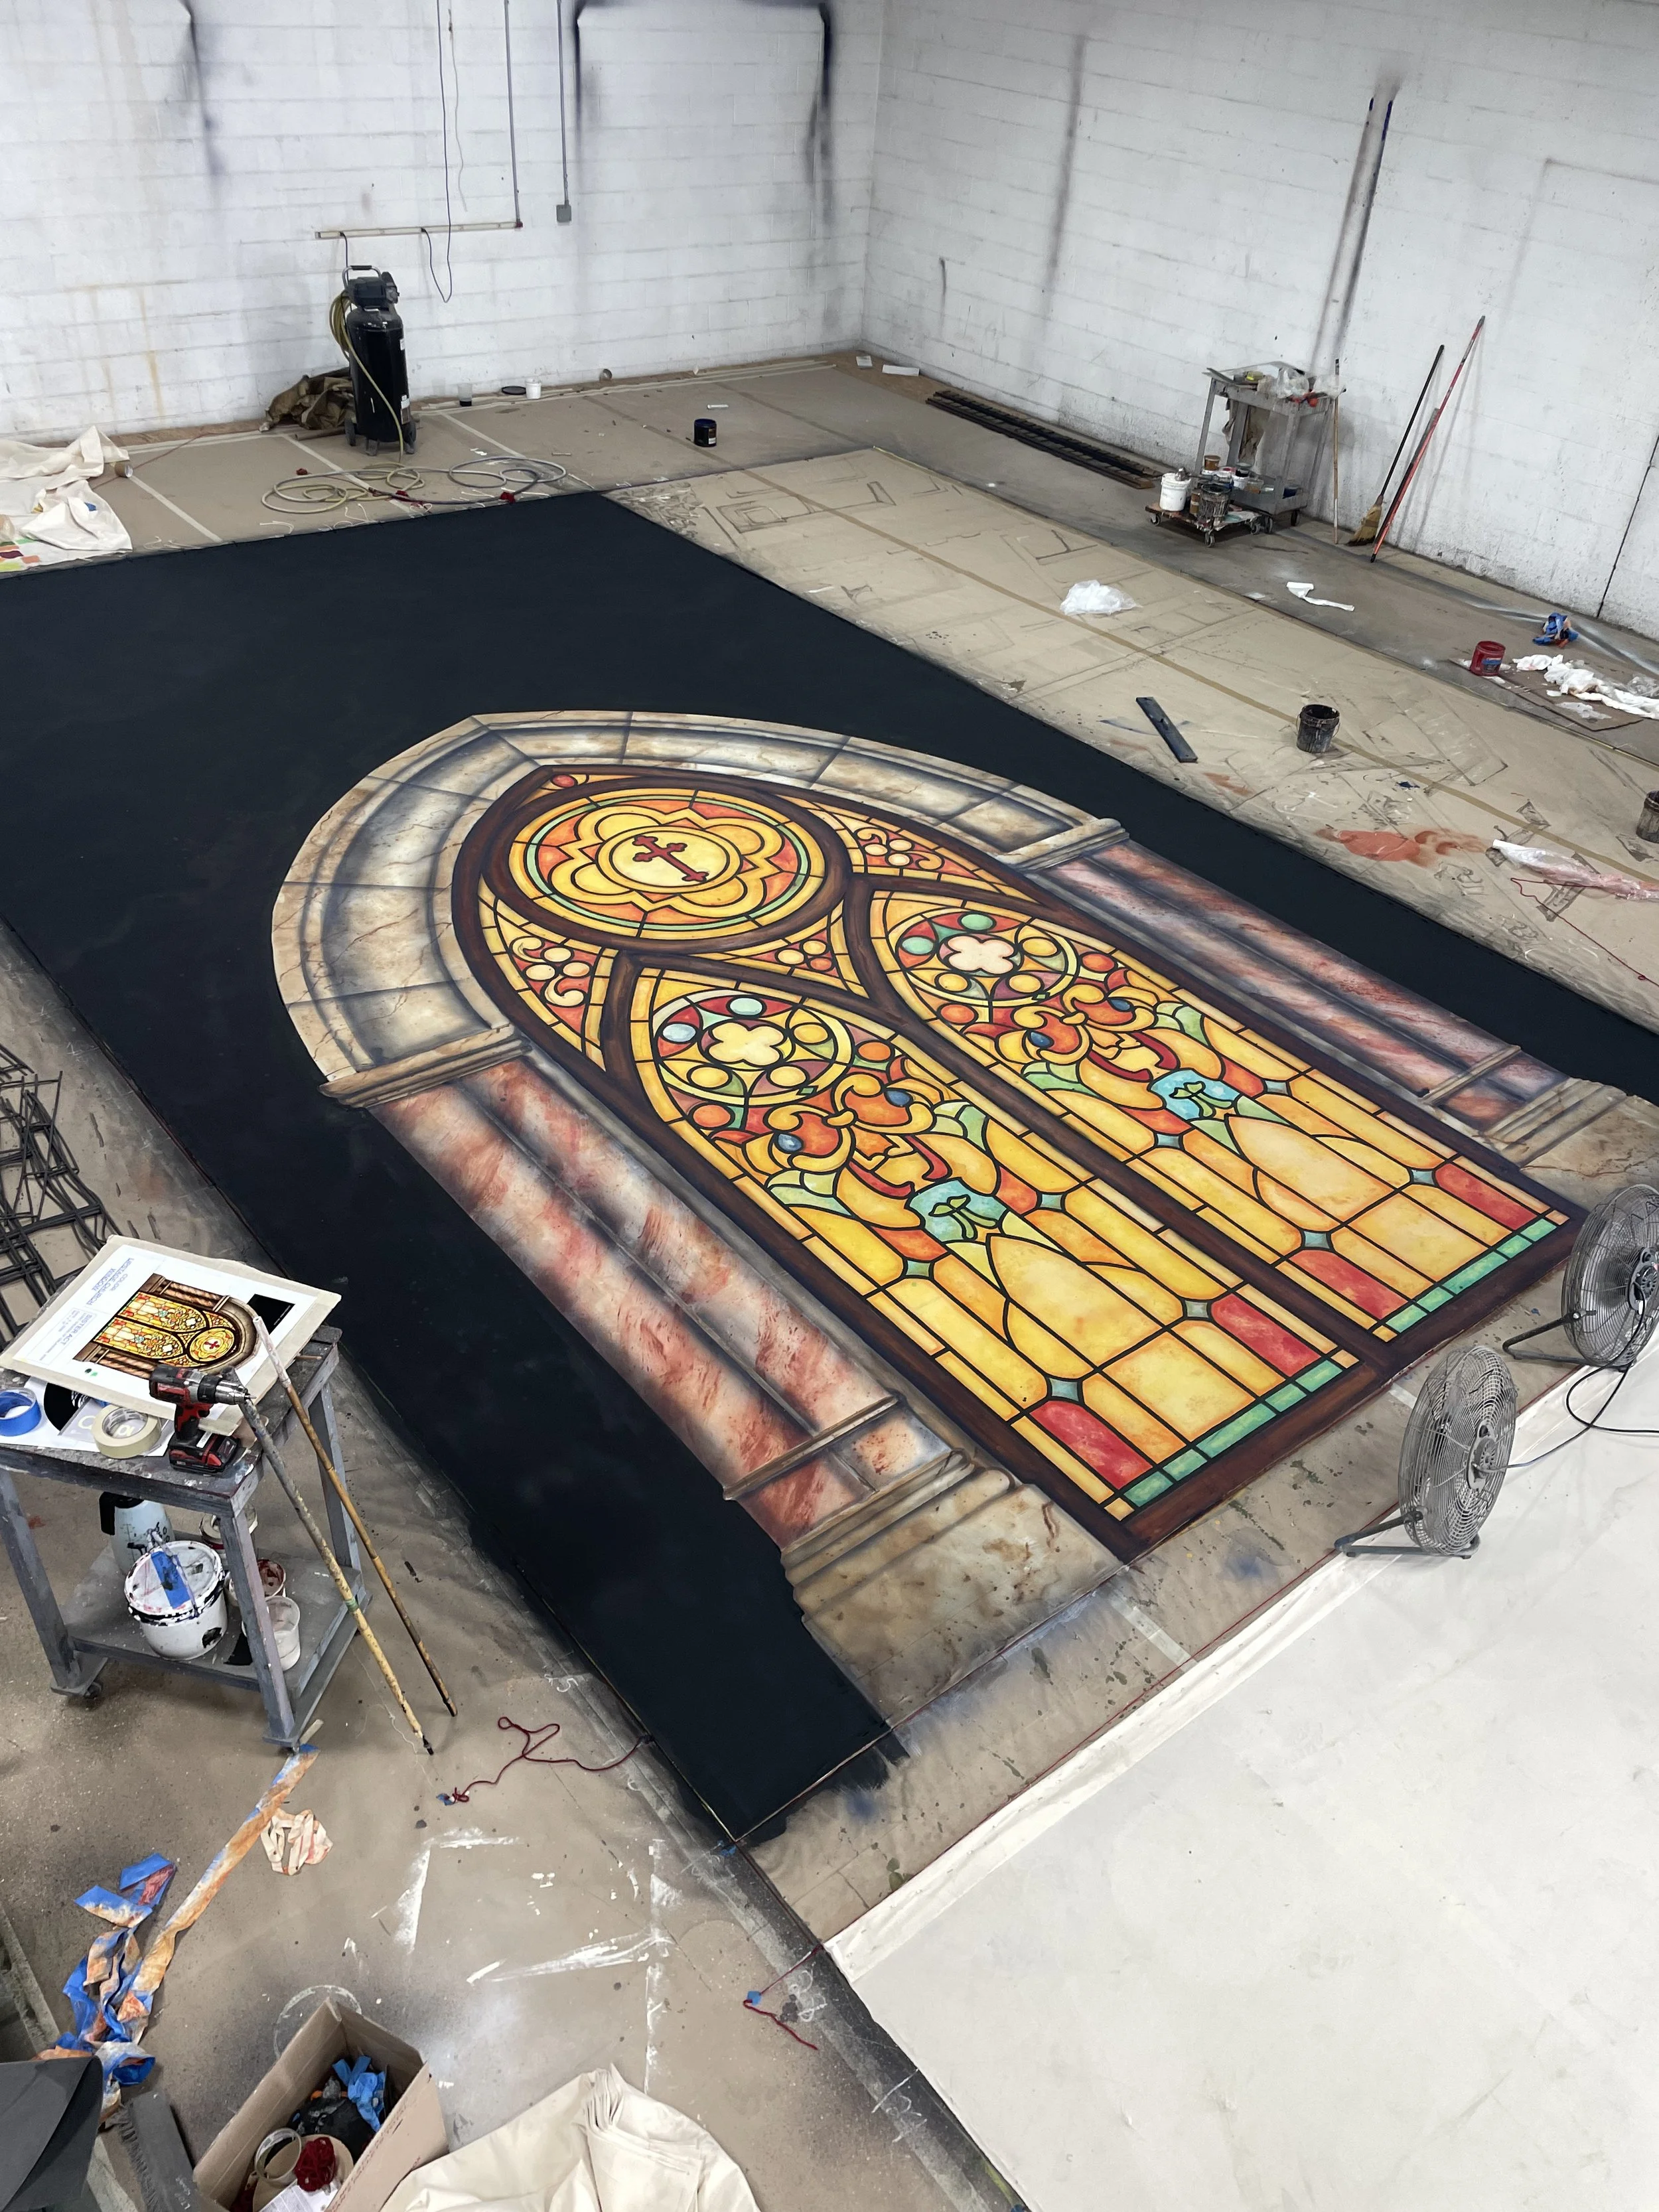
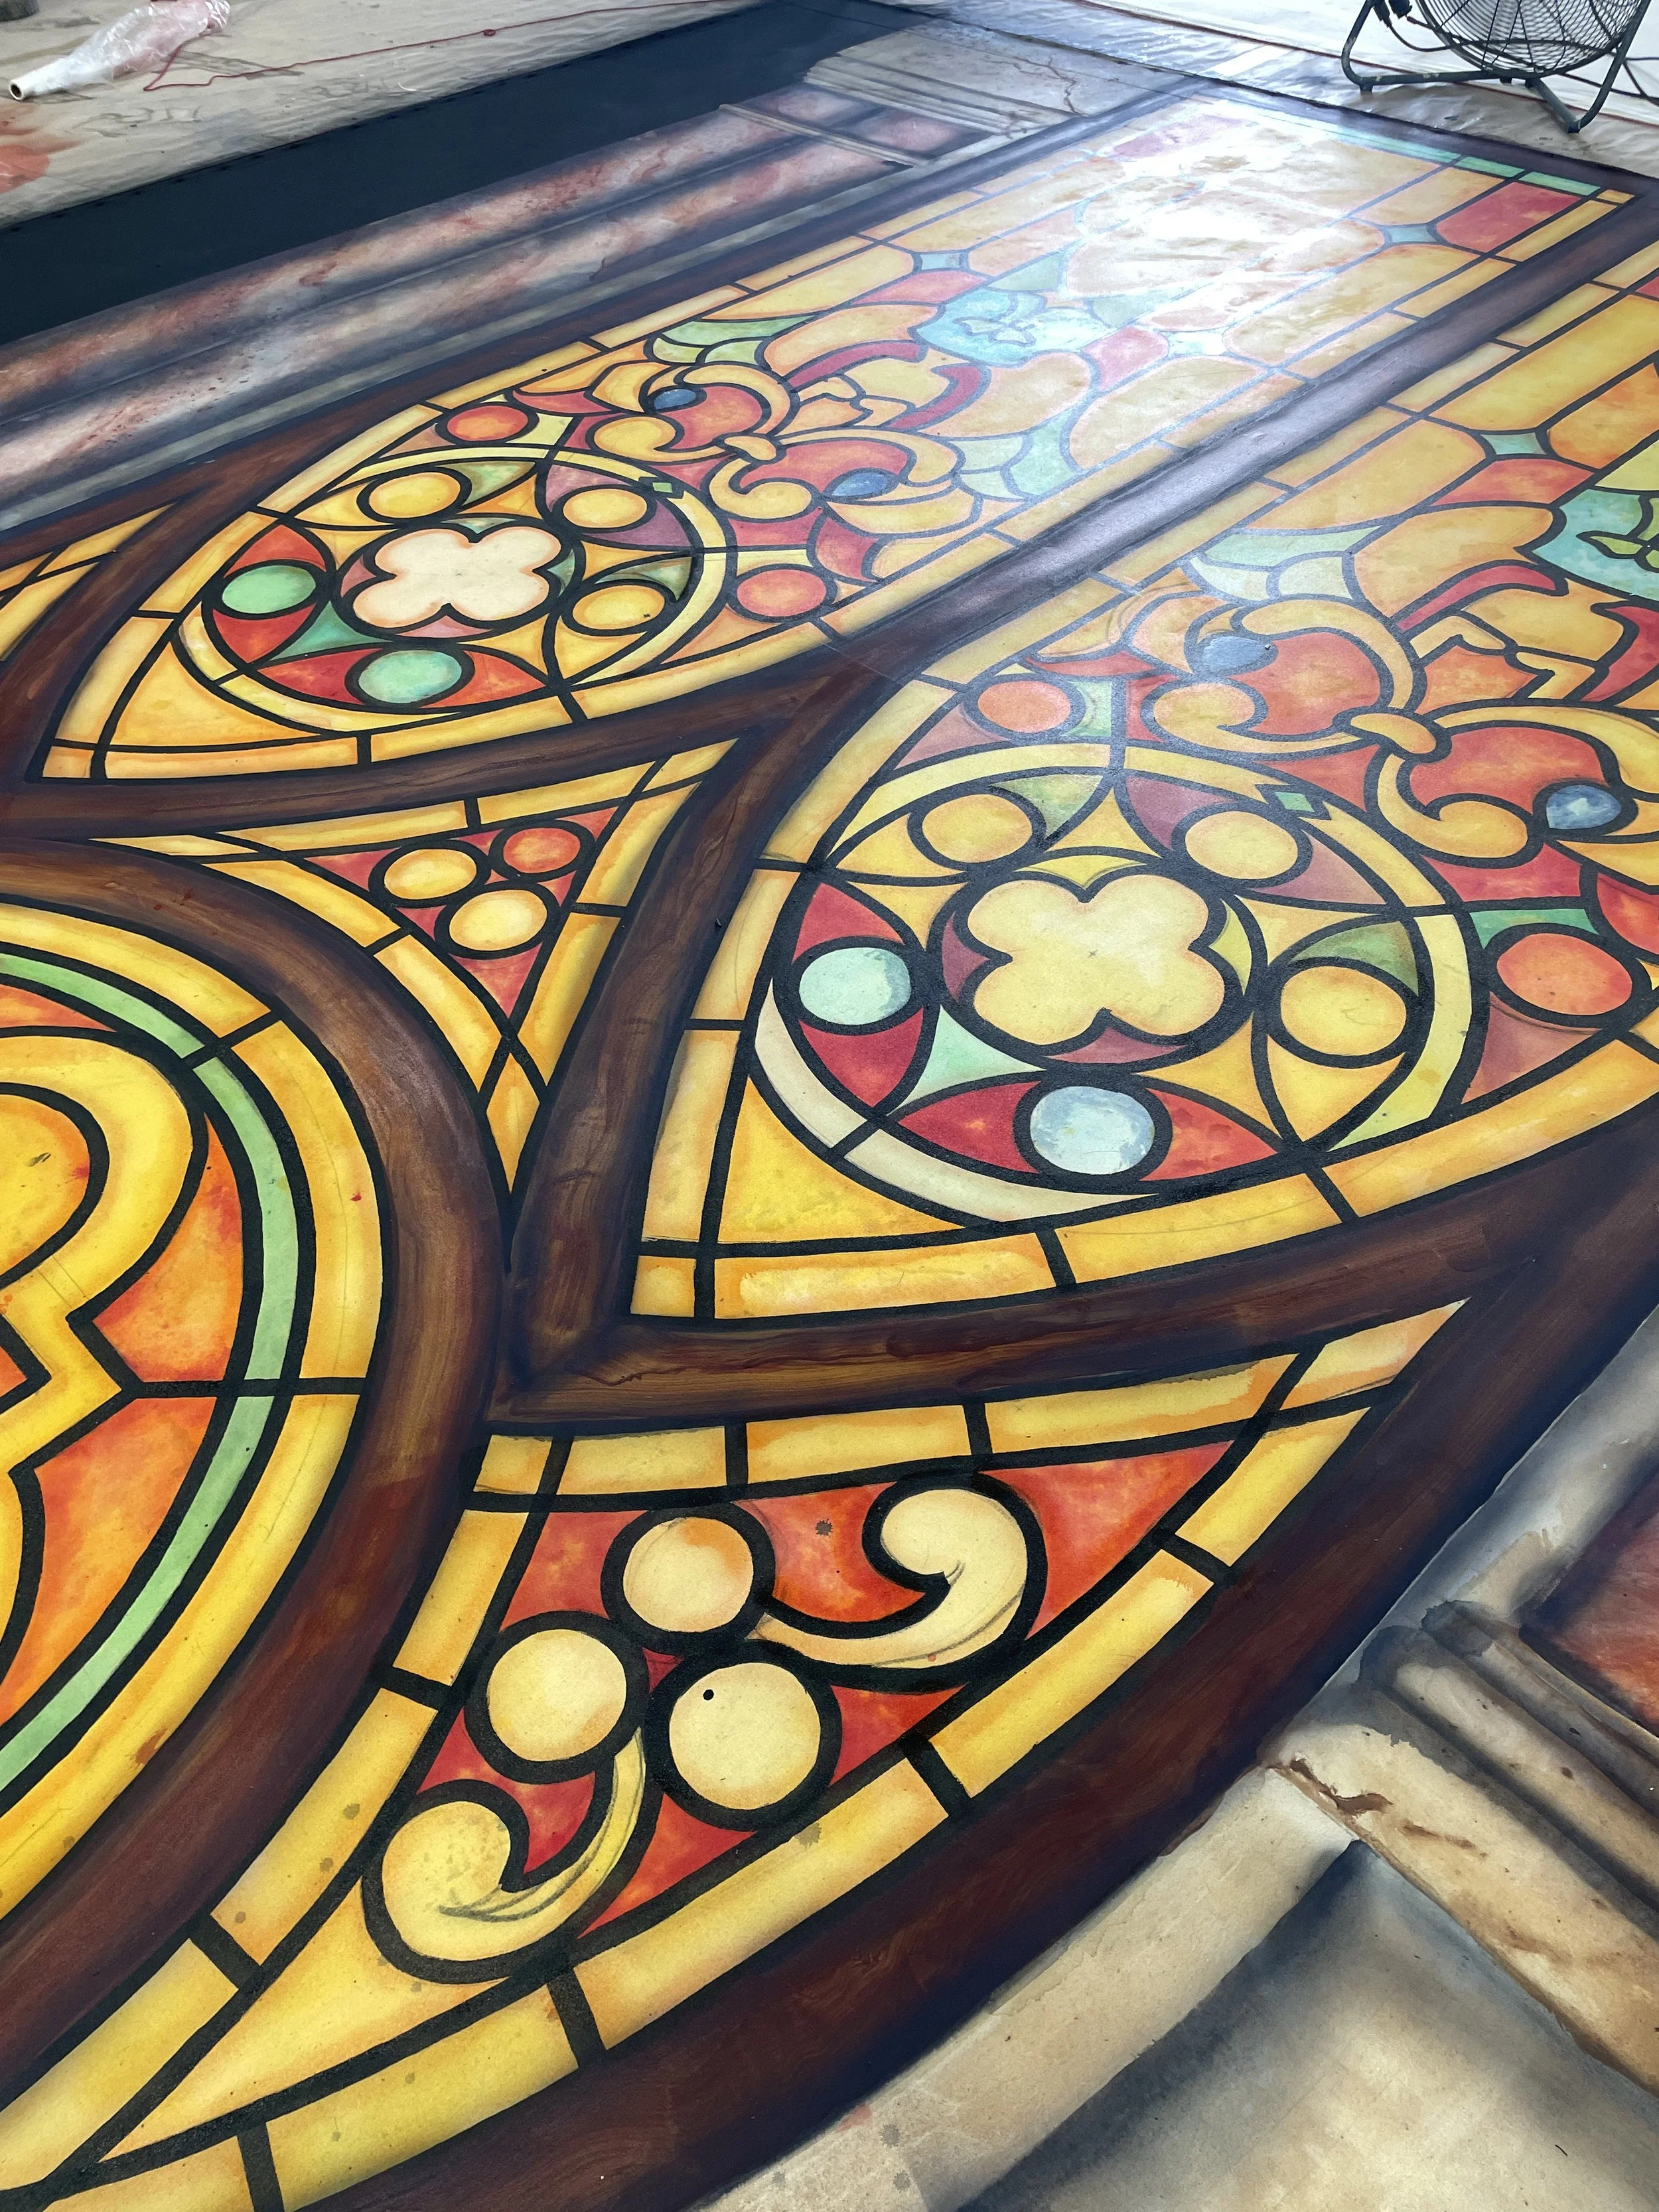
For one, I didn’t seal the fabric well enough and the paint stuck to the paper and pulled right up. There were specks on the glass and a couple of huge chunks behind the marble.
The drop looked lovely on the floor, but I didn’t black out the architecture and it was awkward when backlit. We ended up hanging duvetyne to mask the back.
I also used a fair amount of clear acrylic, hoping to increase flexibility, but I didn’t let it all cure for long enough and had the immensely disheartening experience of ripping paint off while I tried to unstick it in the space.
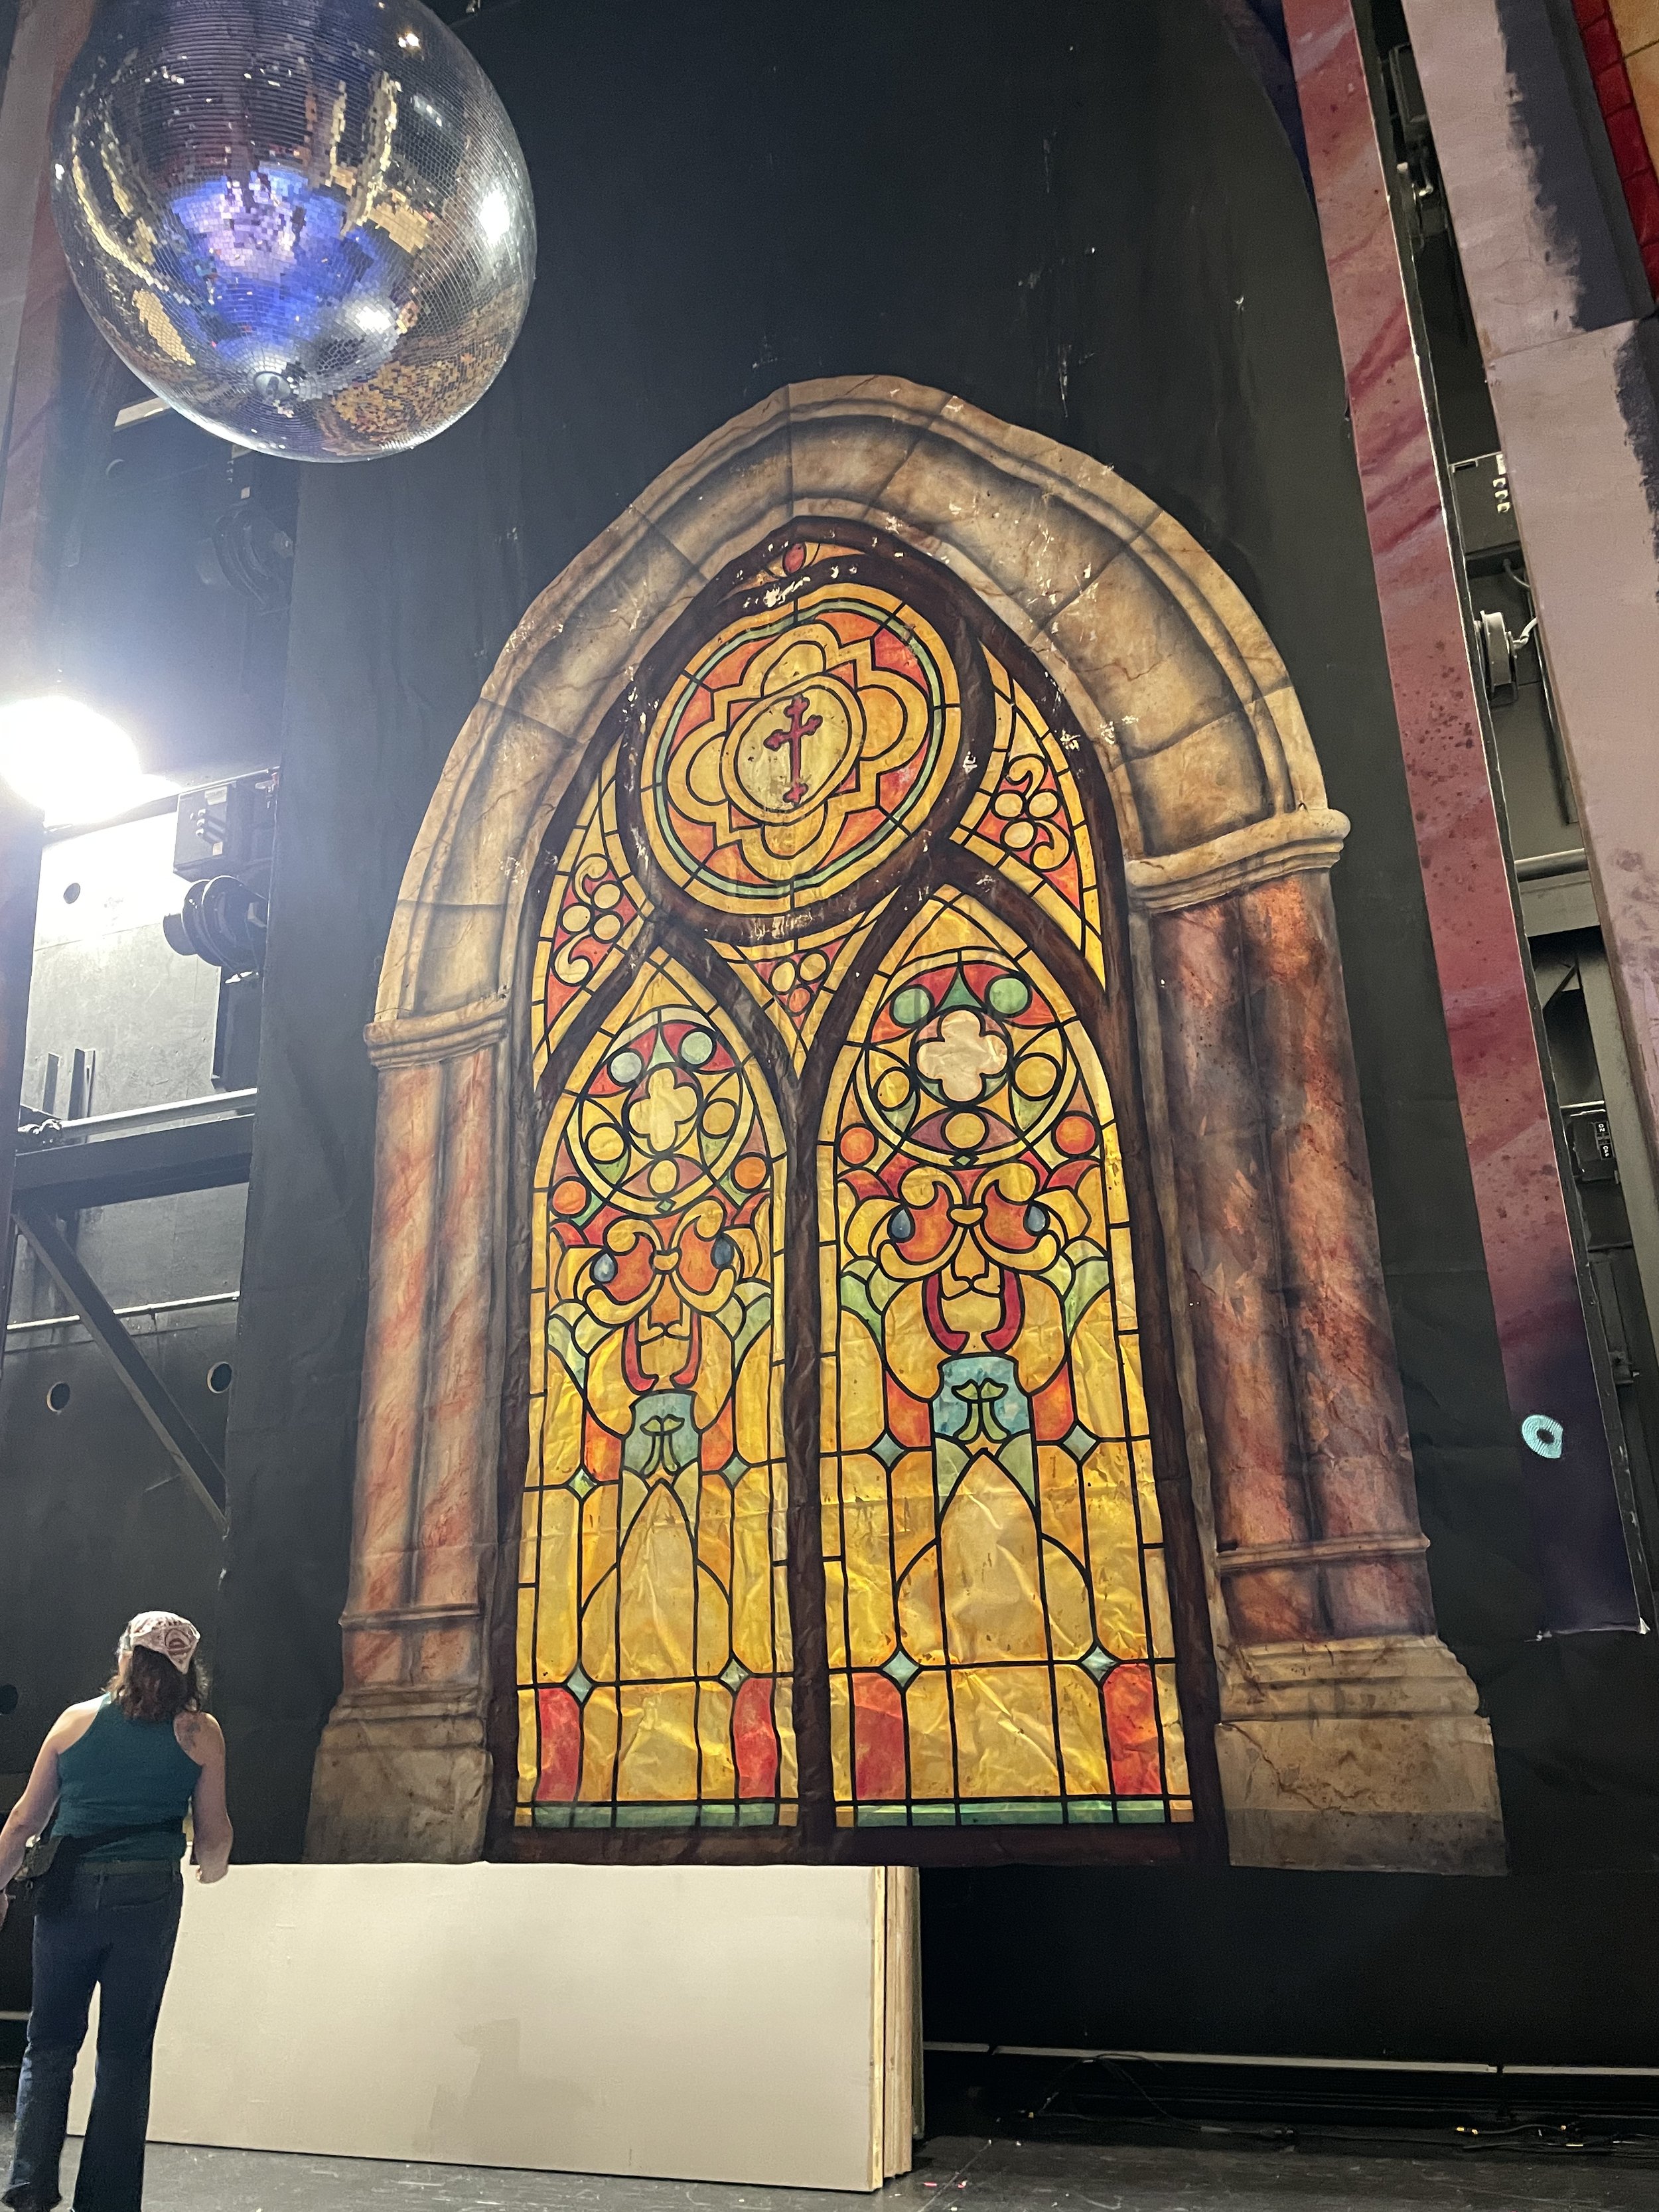

In the end, it was so far upstage and had so little play time that it worked great for the show, but it was a teachable moment in many ways.
Key Takeaways:
We should have cut two windows.
Make a pounce to trace or guide your foam tacking if you are making more than one identical window.
EVA is better than Minicell, and if you want to actually see the dimensional foam, you should get thicker than 1/8”.
Dye should be applied about a shade darker than you think it should be if it’s a translucency.
If you have time, cut strips of foam and puzzle them on rather than wasting a hundred rectangles of off cuts on the CNC.
It takes a lot of sealer to make fabric shiny, but clear craft glue is cheaper and thicker— it just can’t get too wet.