Basics of Foam
Foam is a pretty broad category and has a lot of uses in theatre. The big challenges here are shaping and protecting a piece of scenery that uses foam.
Let’s take a look at the specific types of materials and the processes used to make lovely foam scenery for theatre.
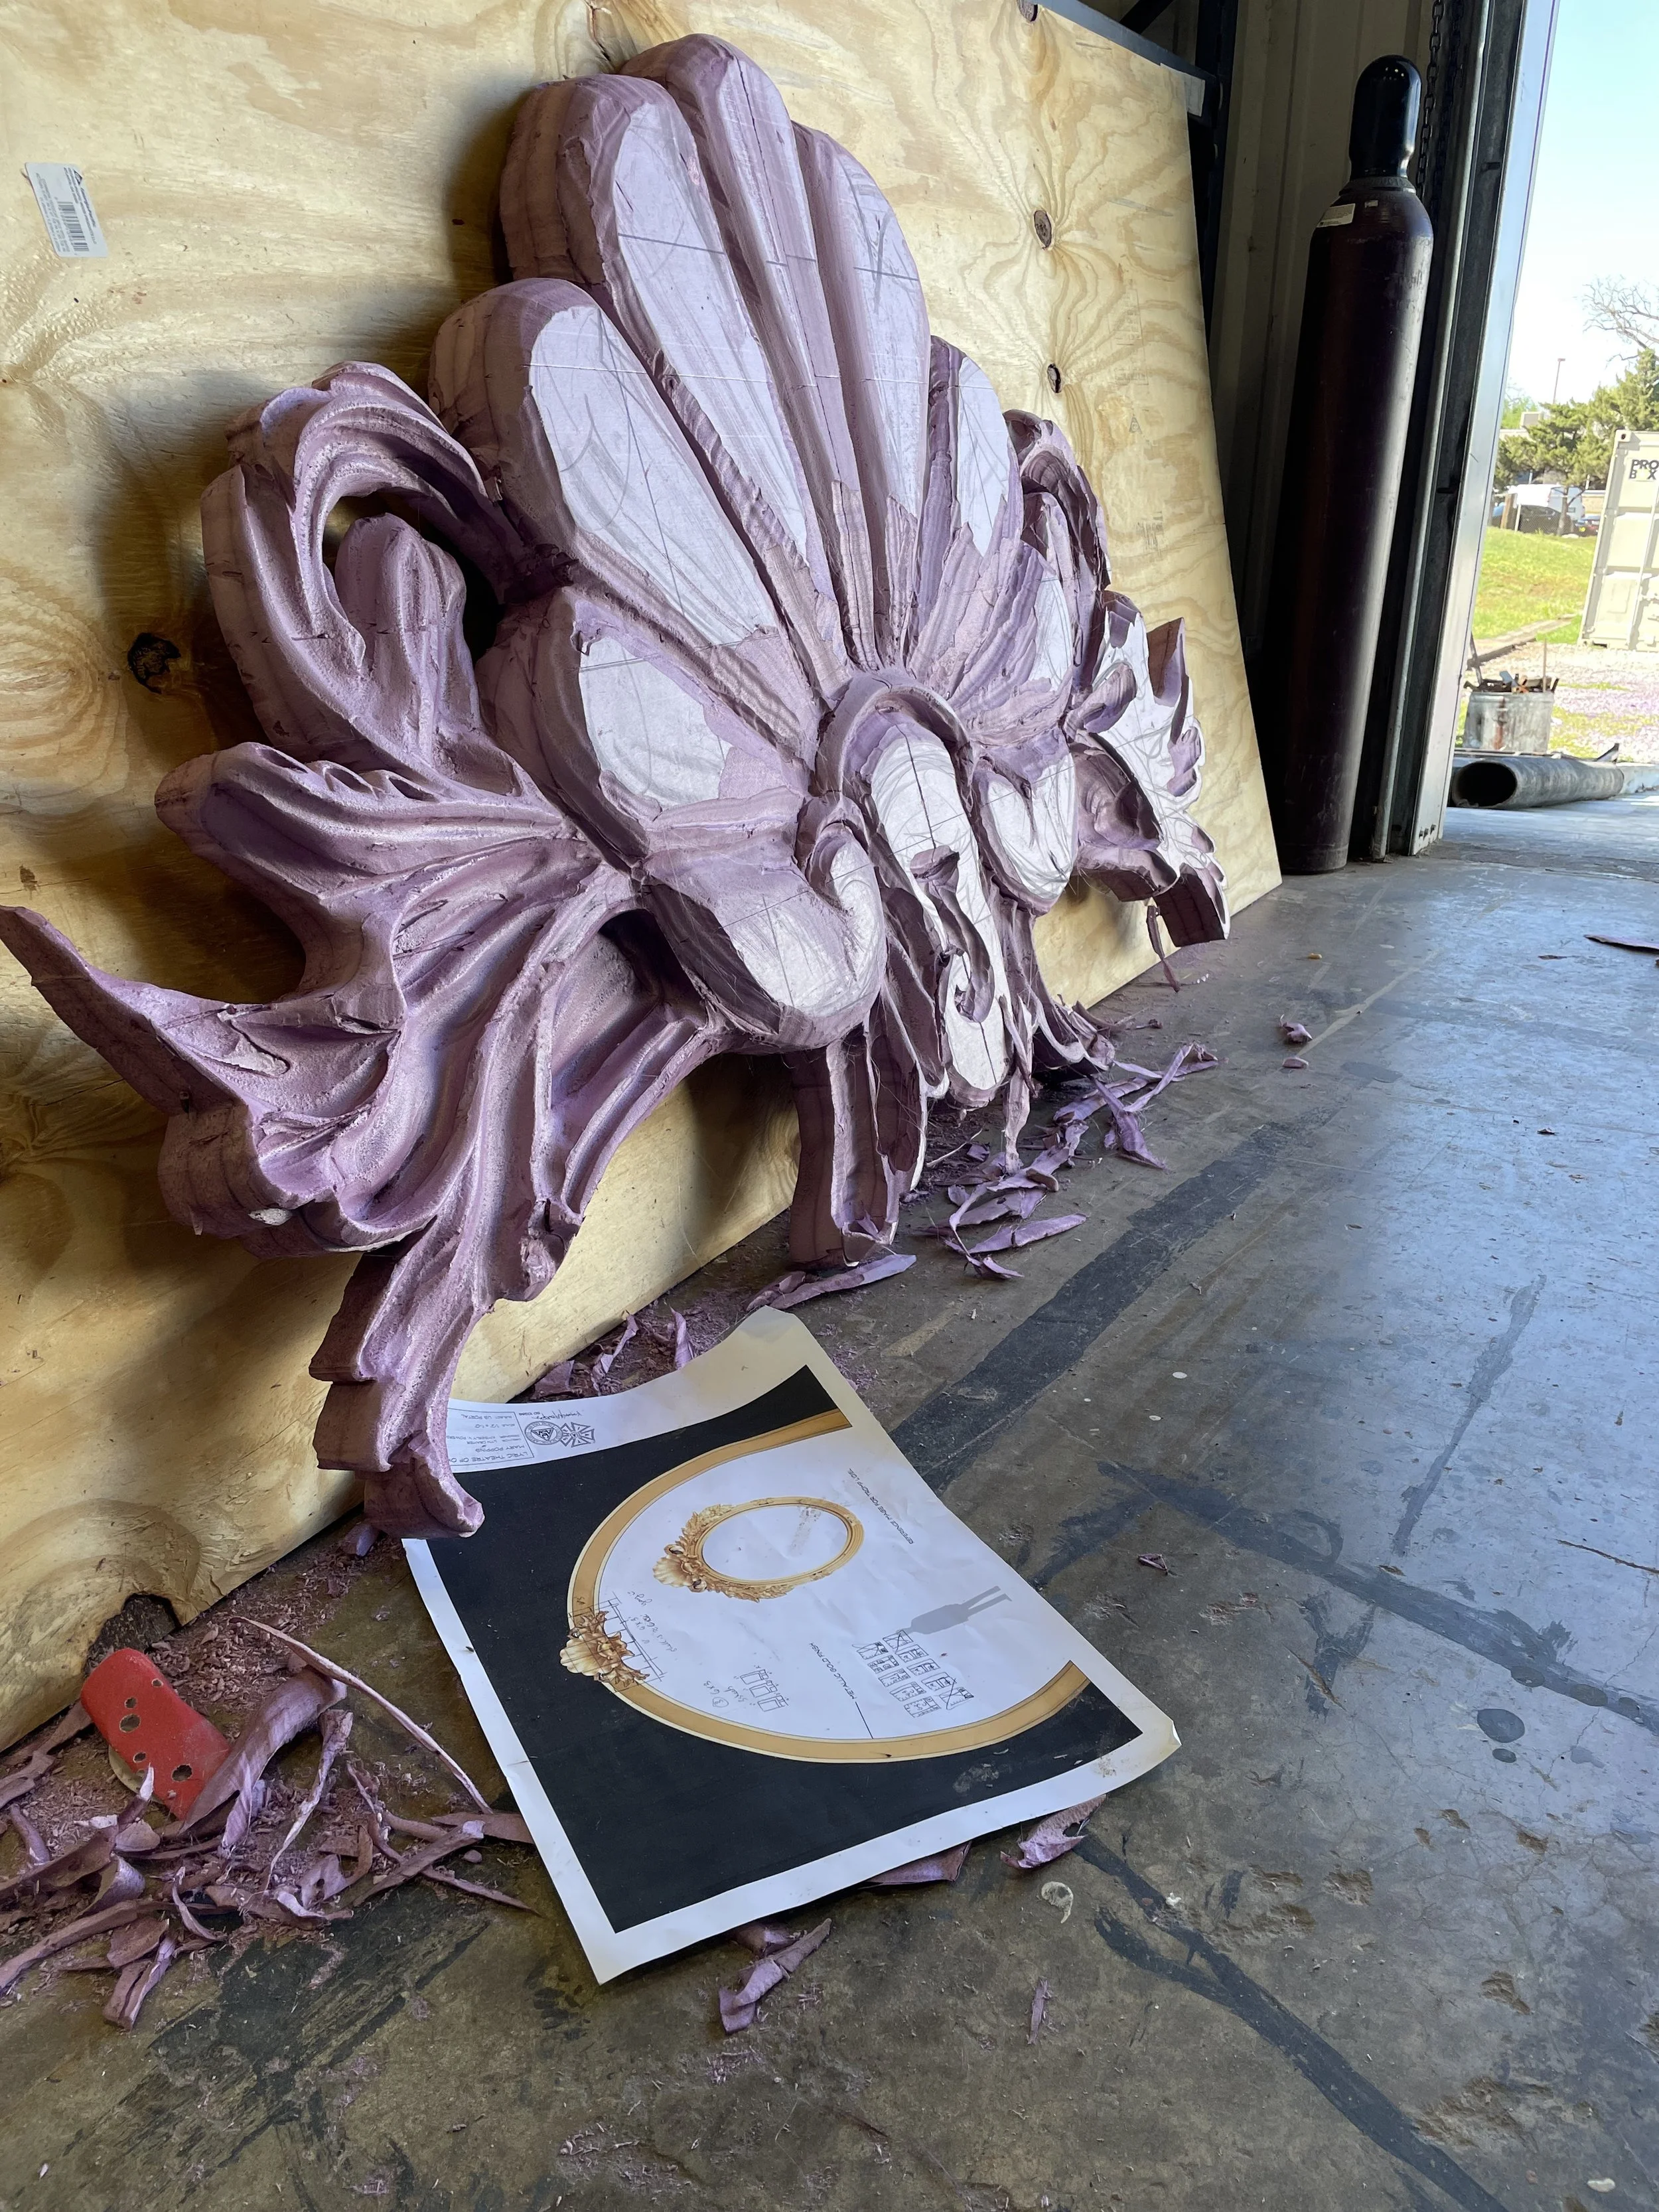
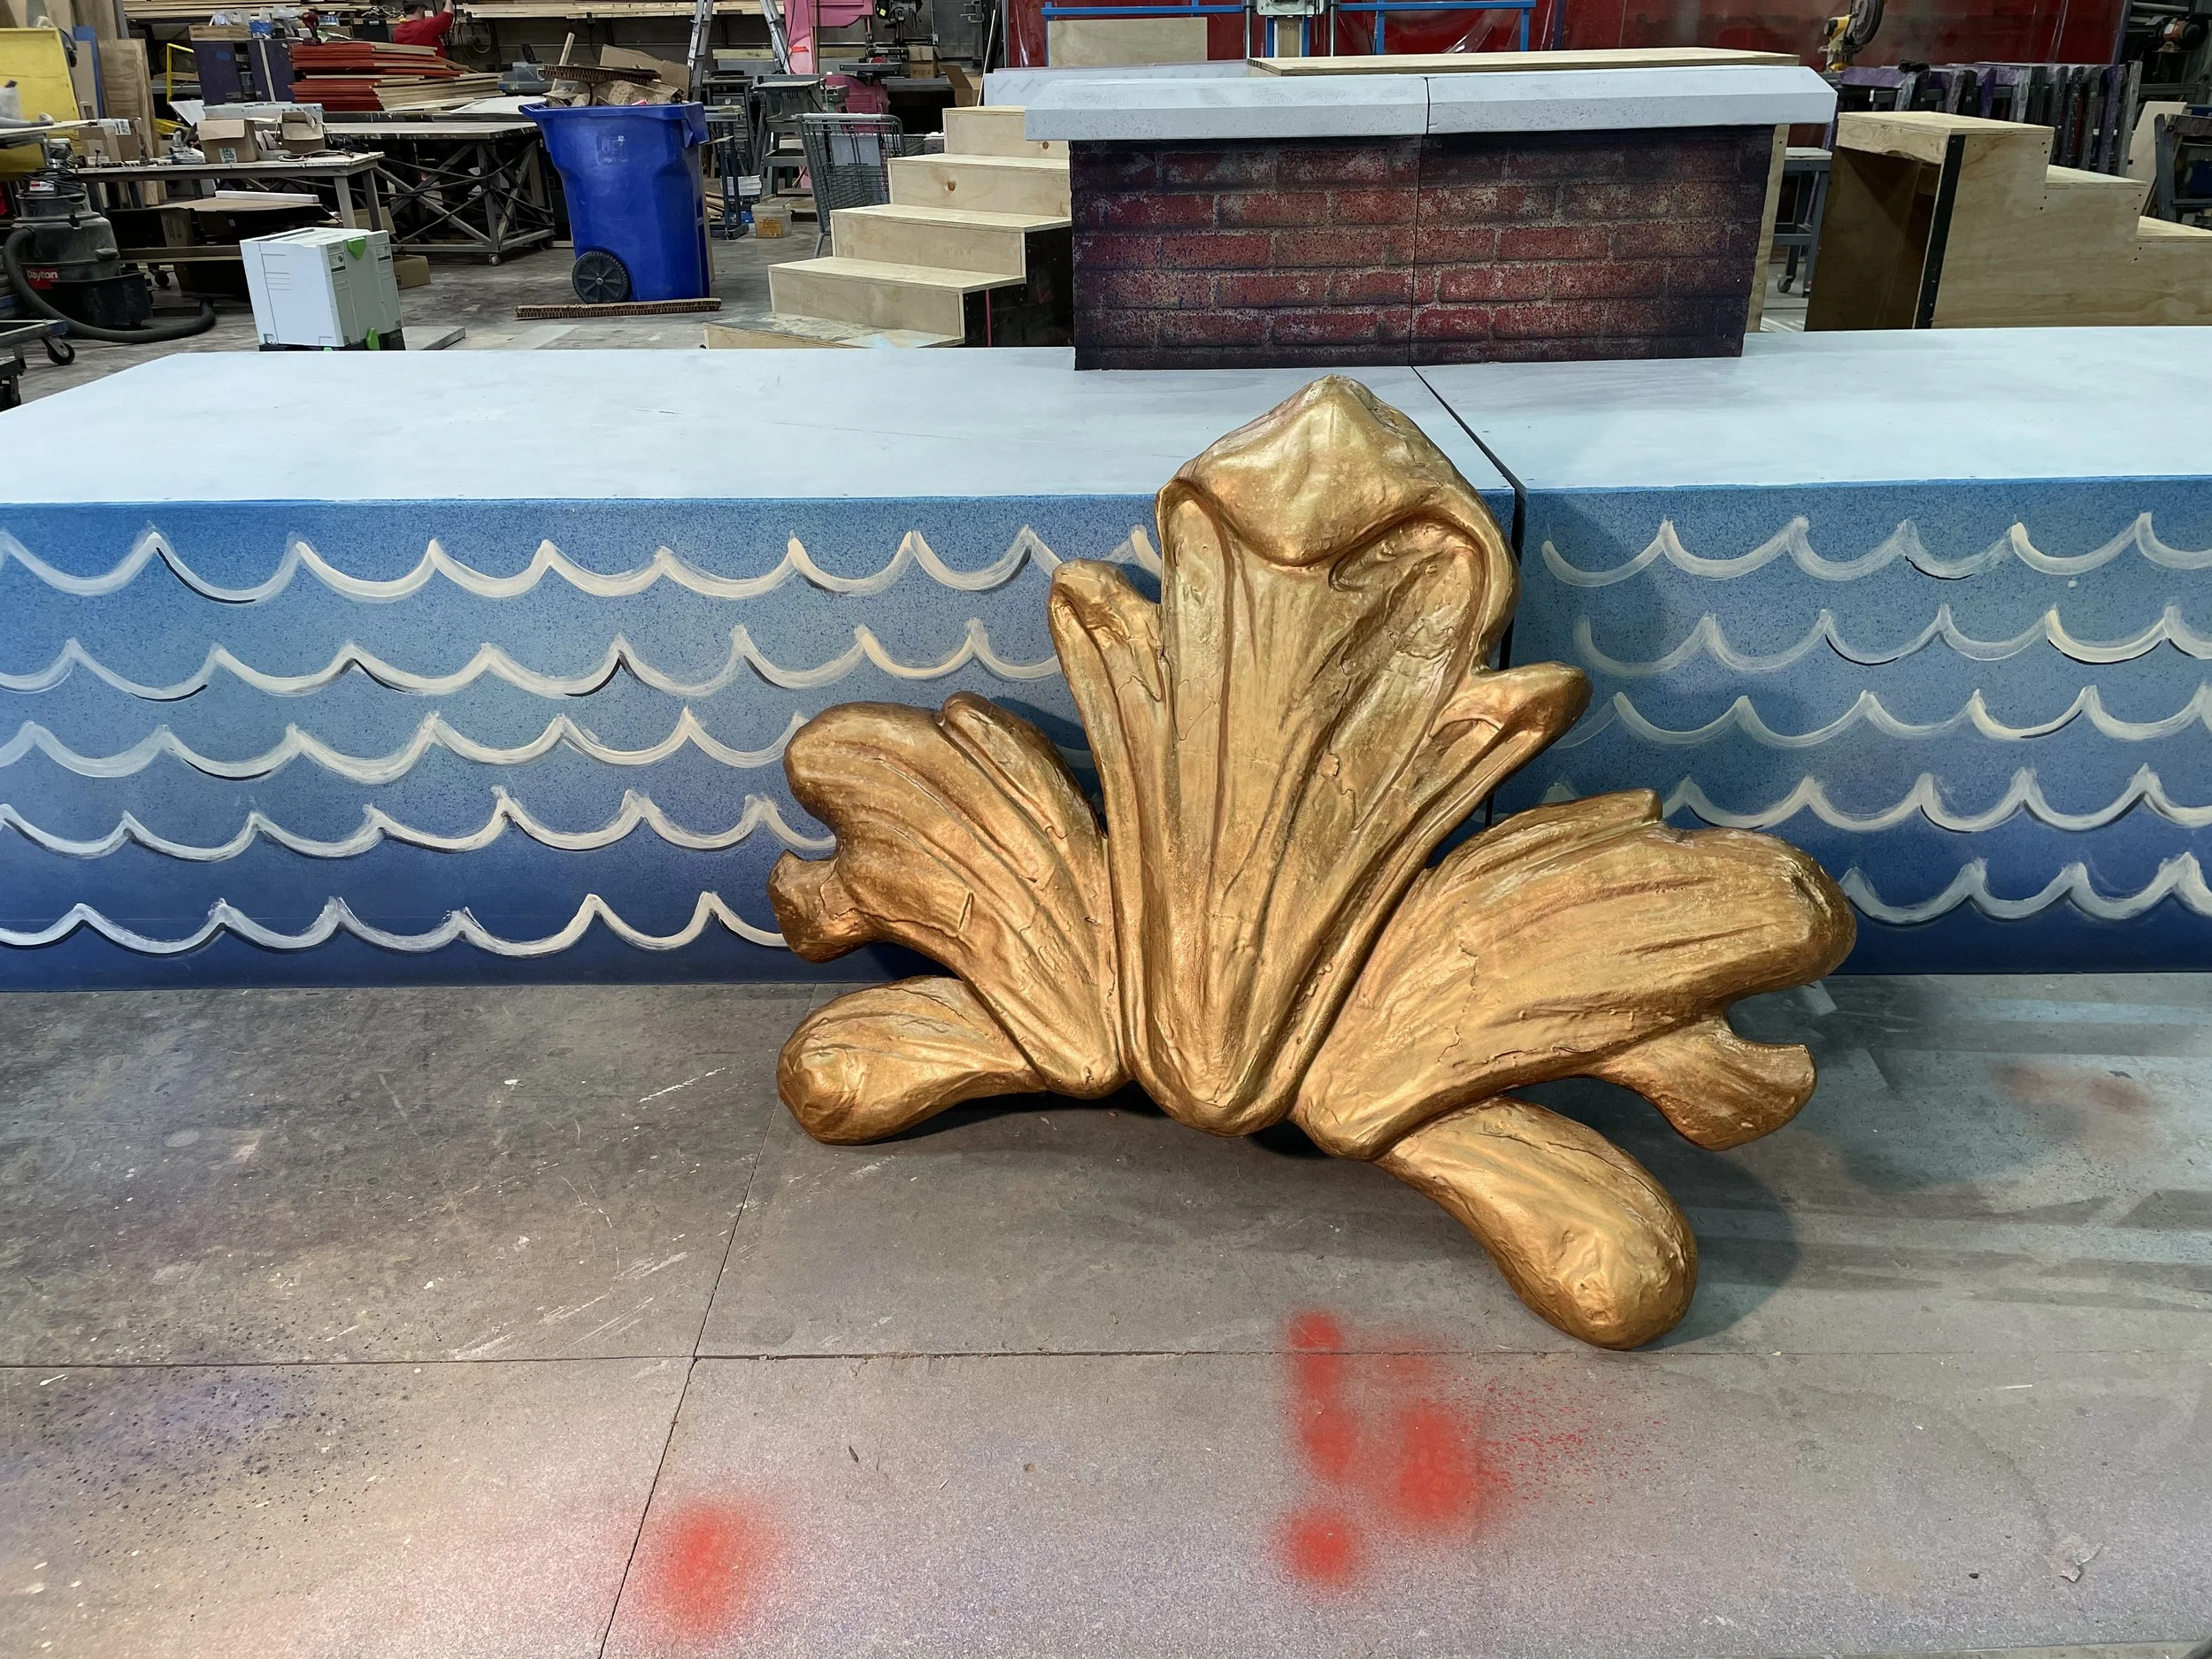
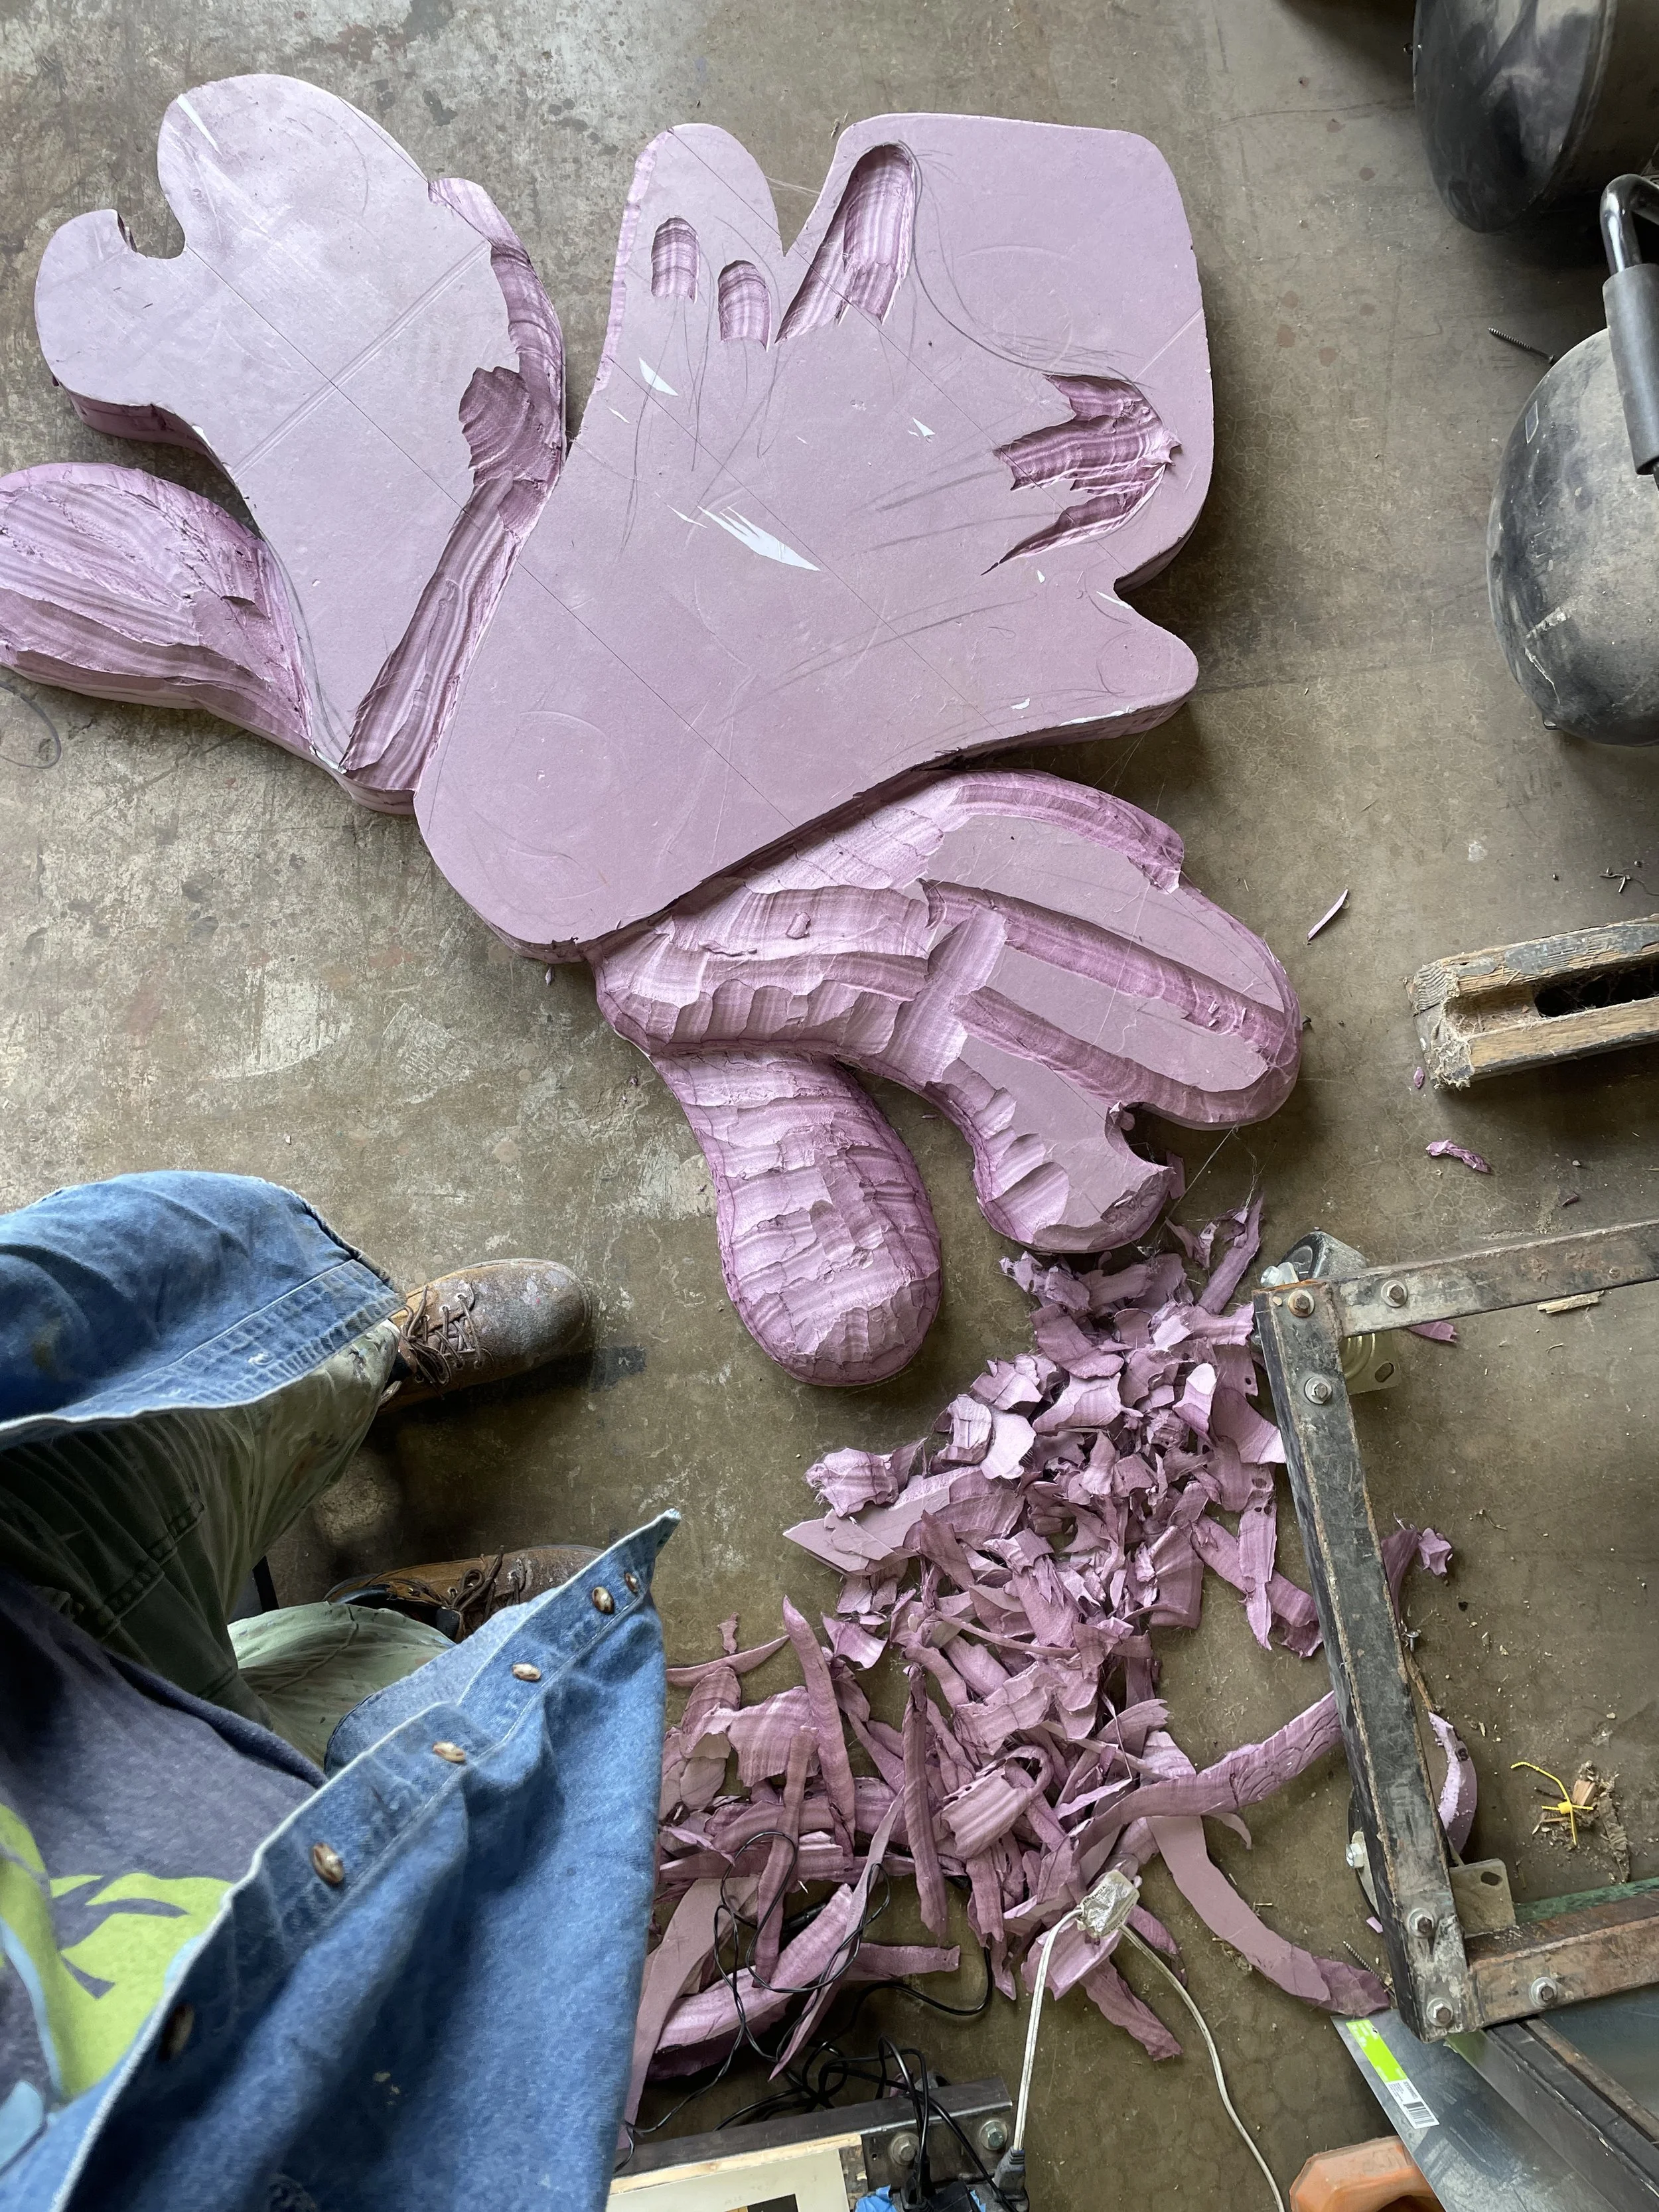
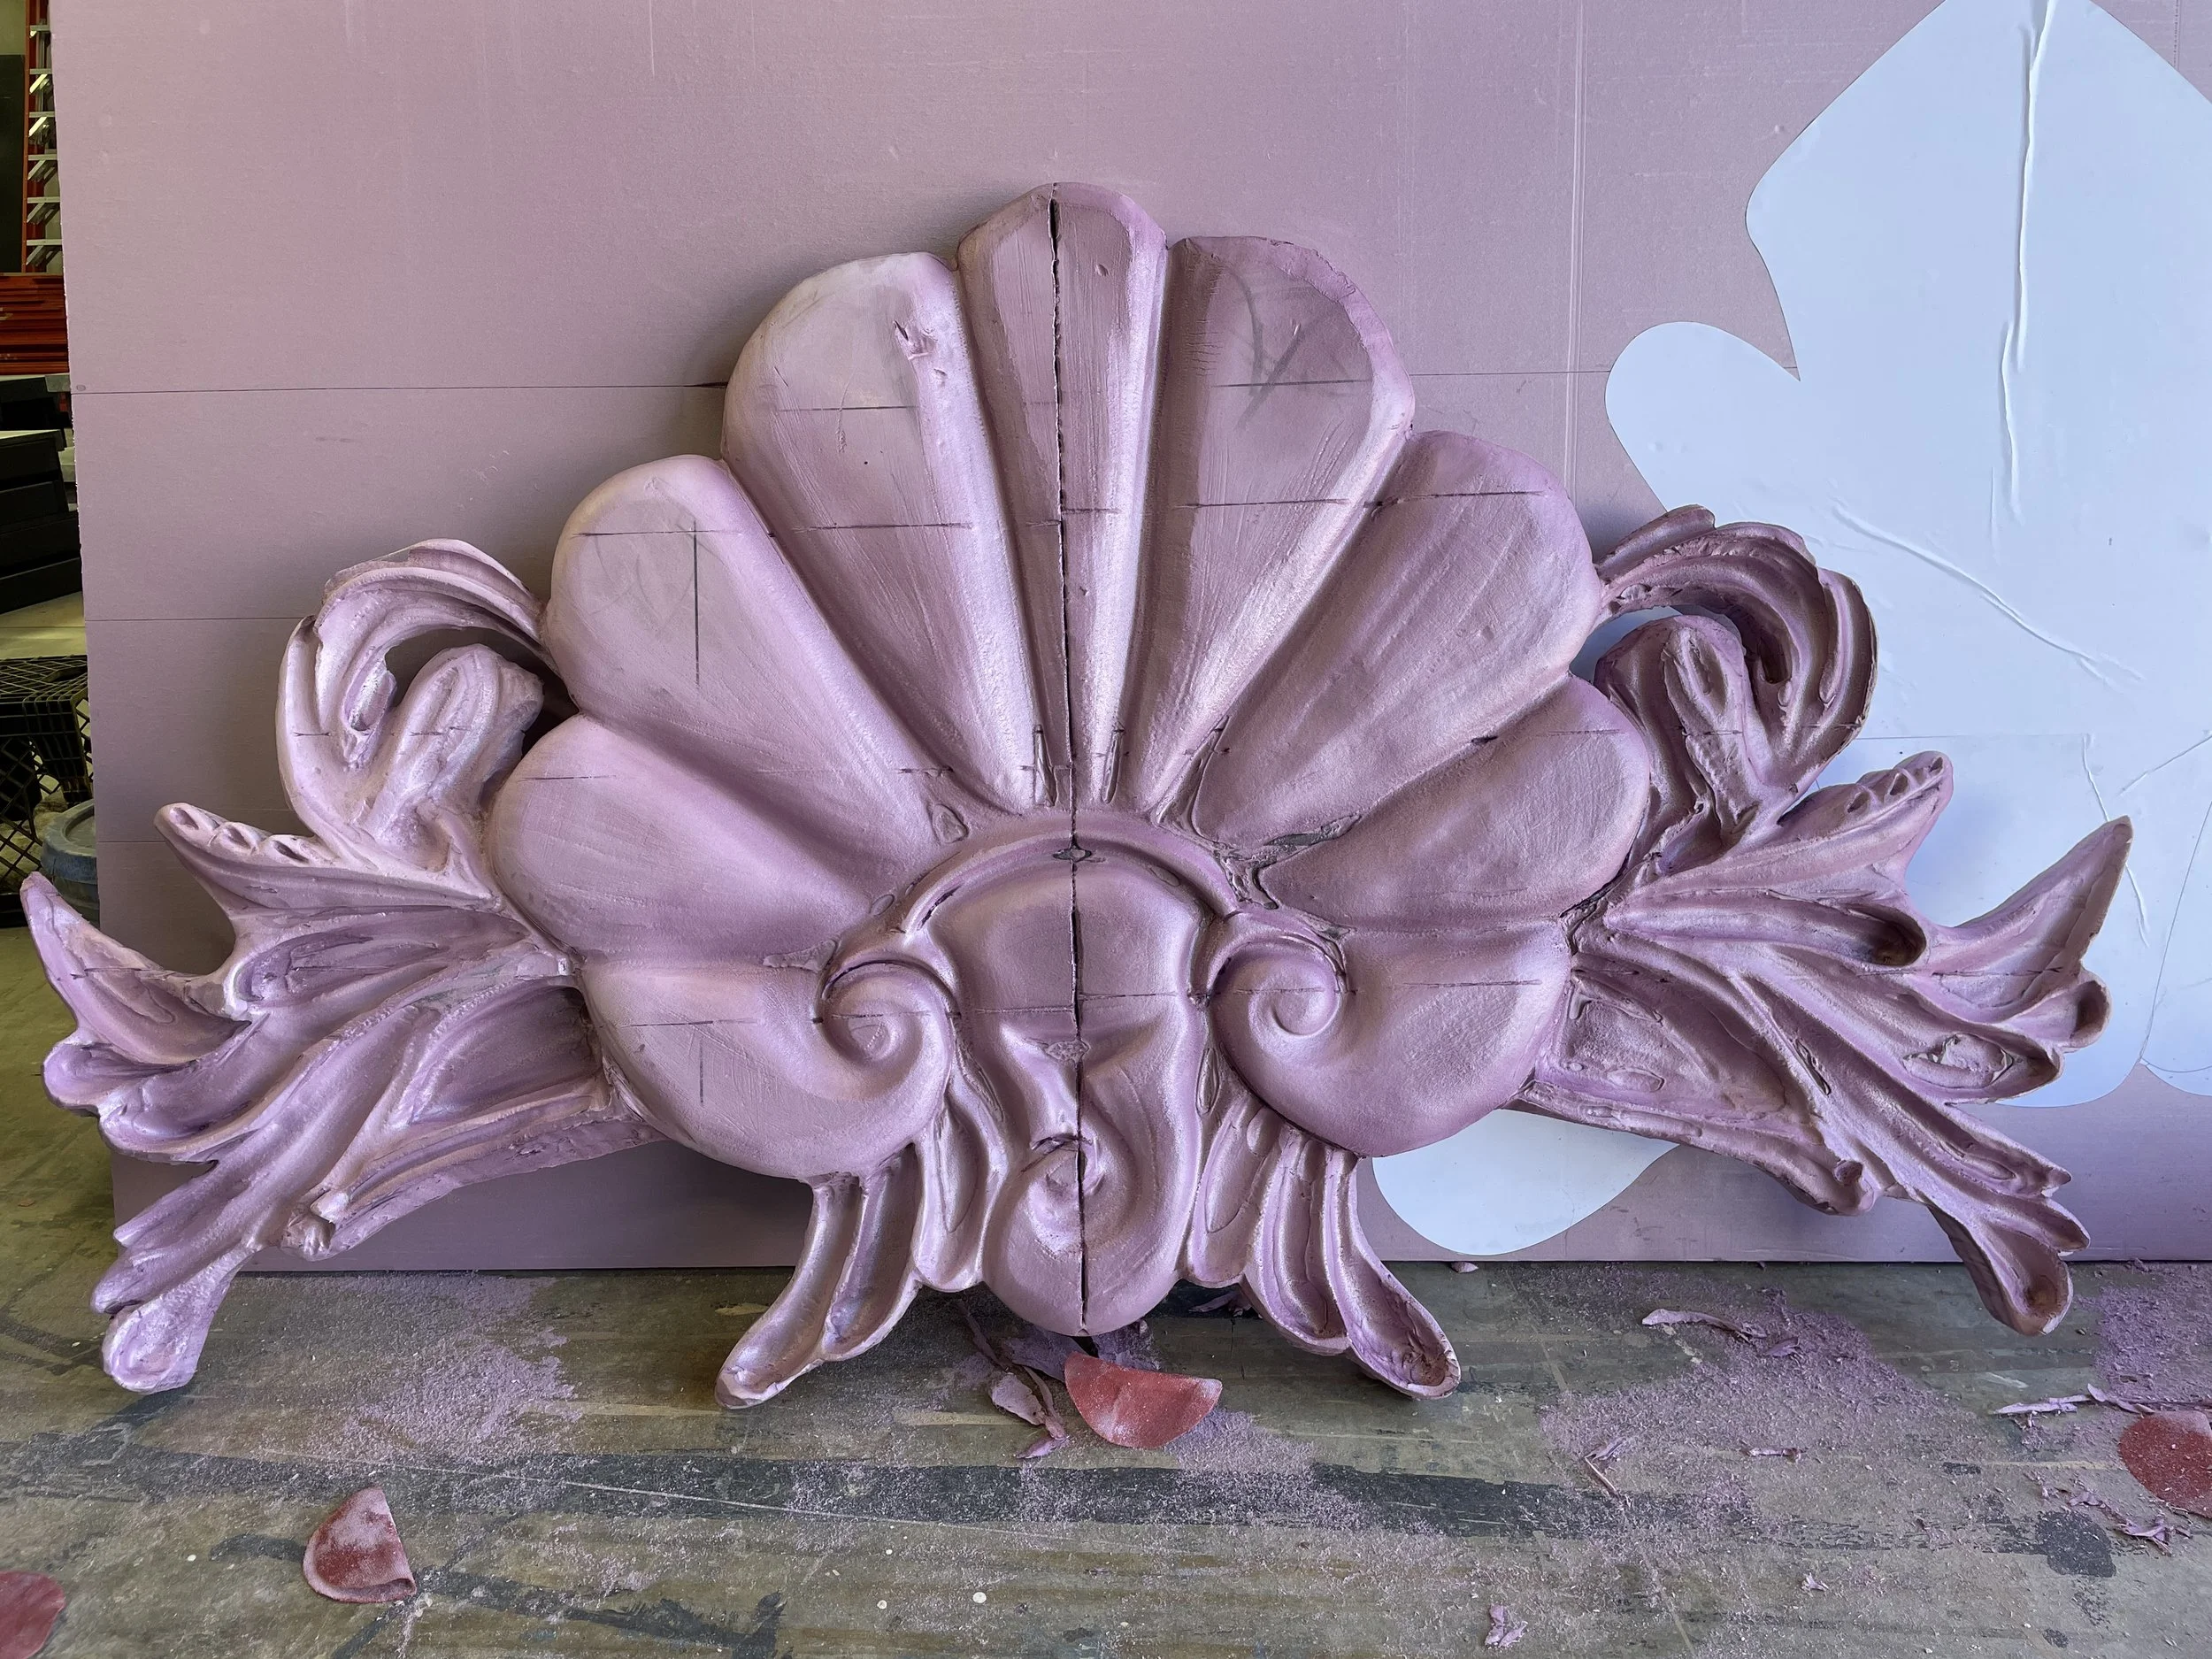
Process photo from an XPS foam applique for Lyric’s production of Mary Poppins
Types of foam
Extruded Polystyrene— XPS
Expanded Polystyrene— EPS
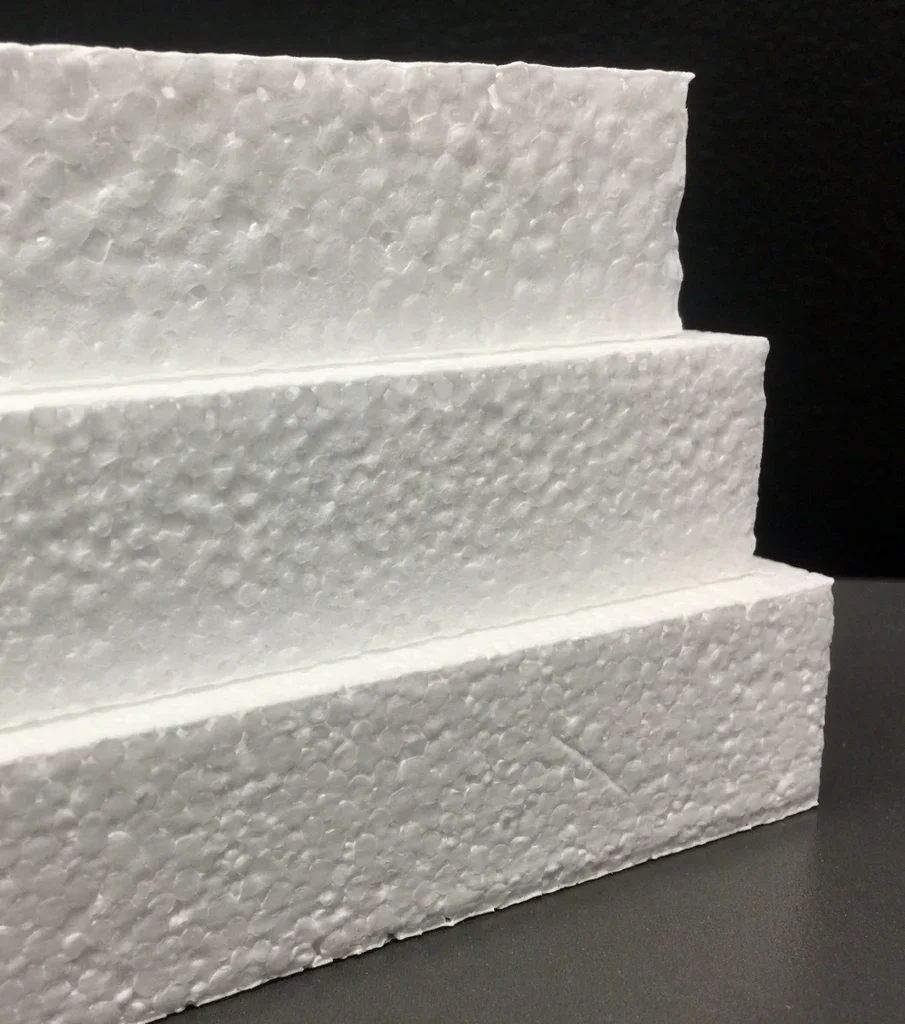
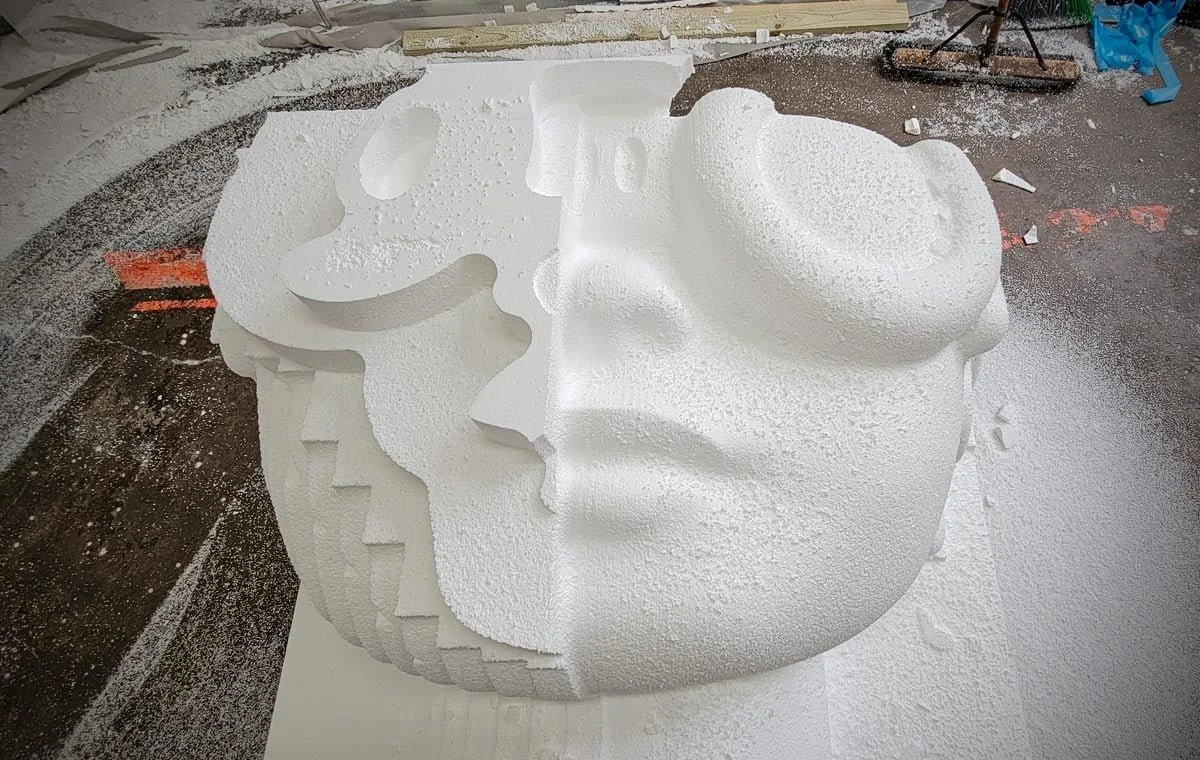
“Styrofoam”, bead foam, it’s white and messy when cut.
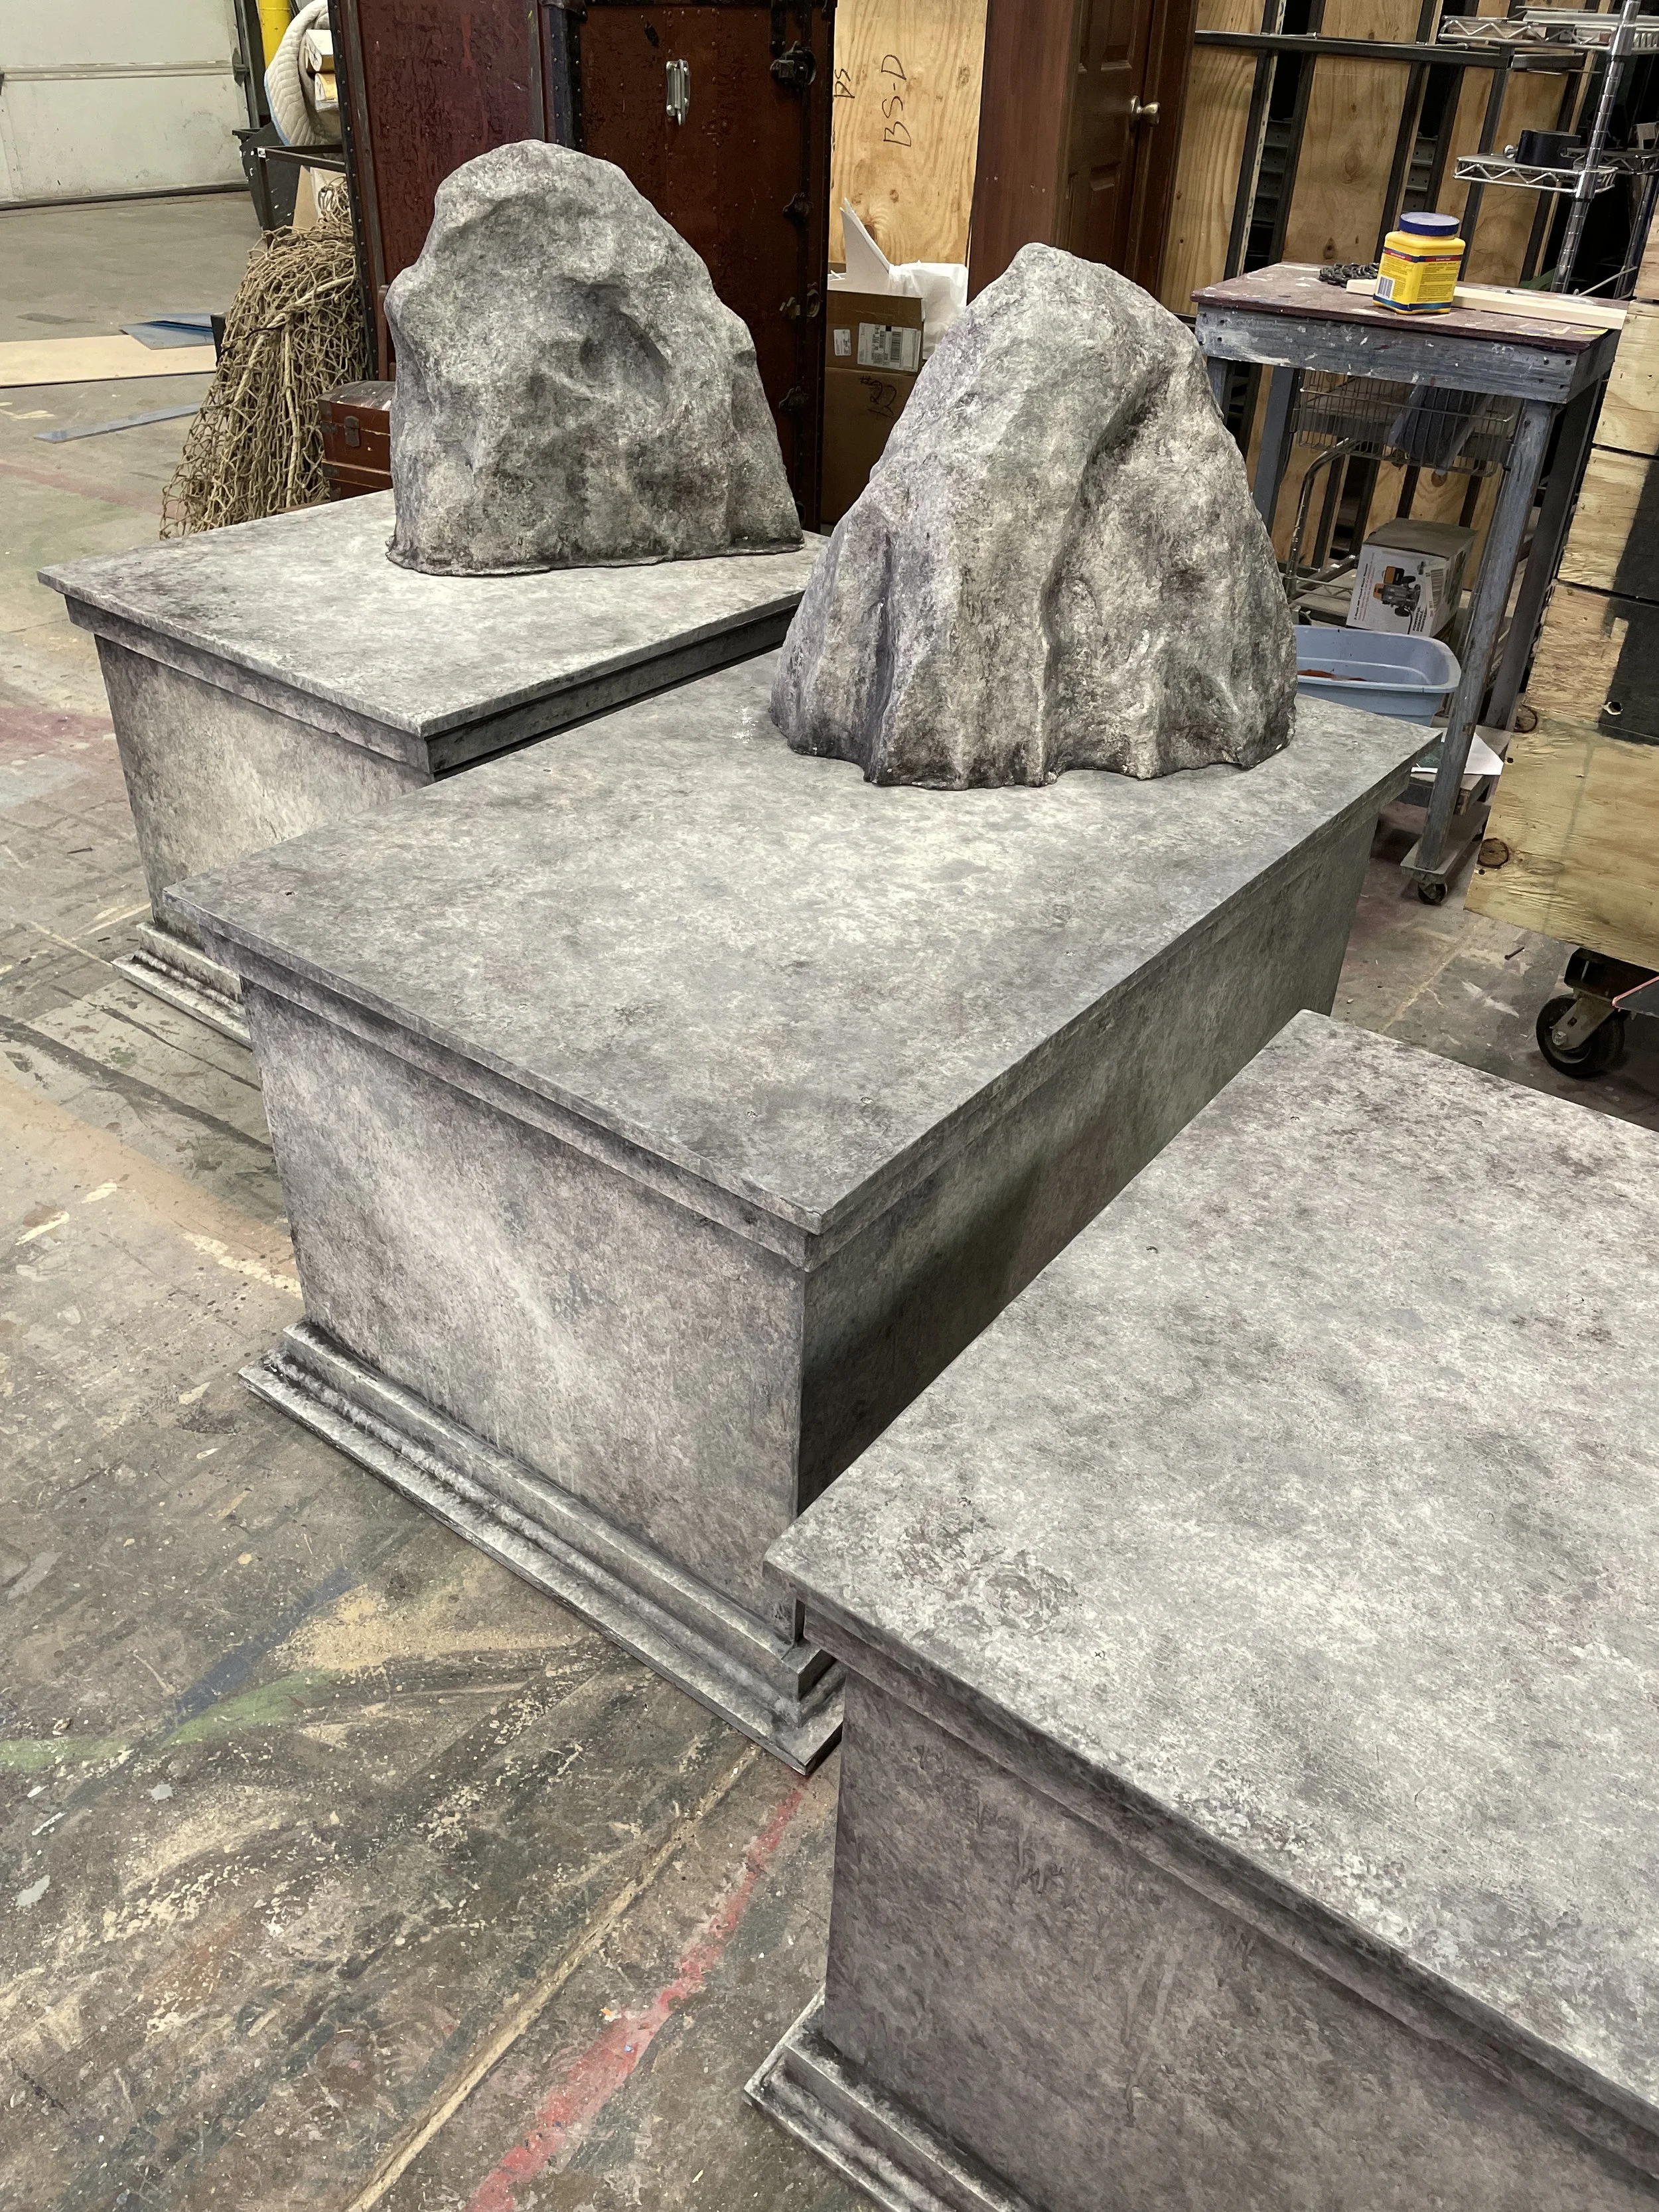
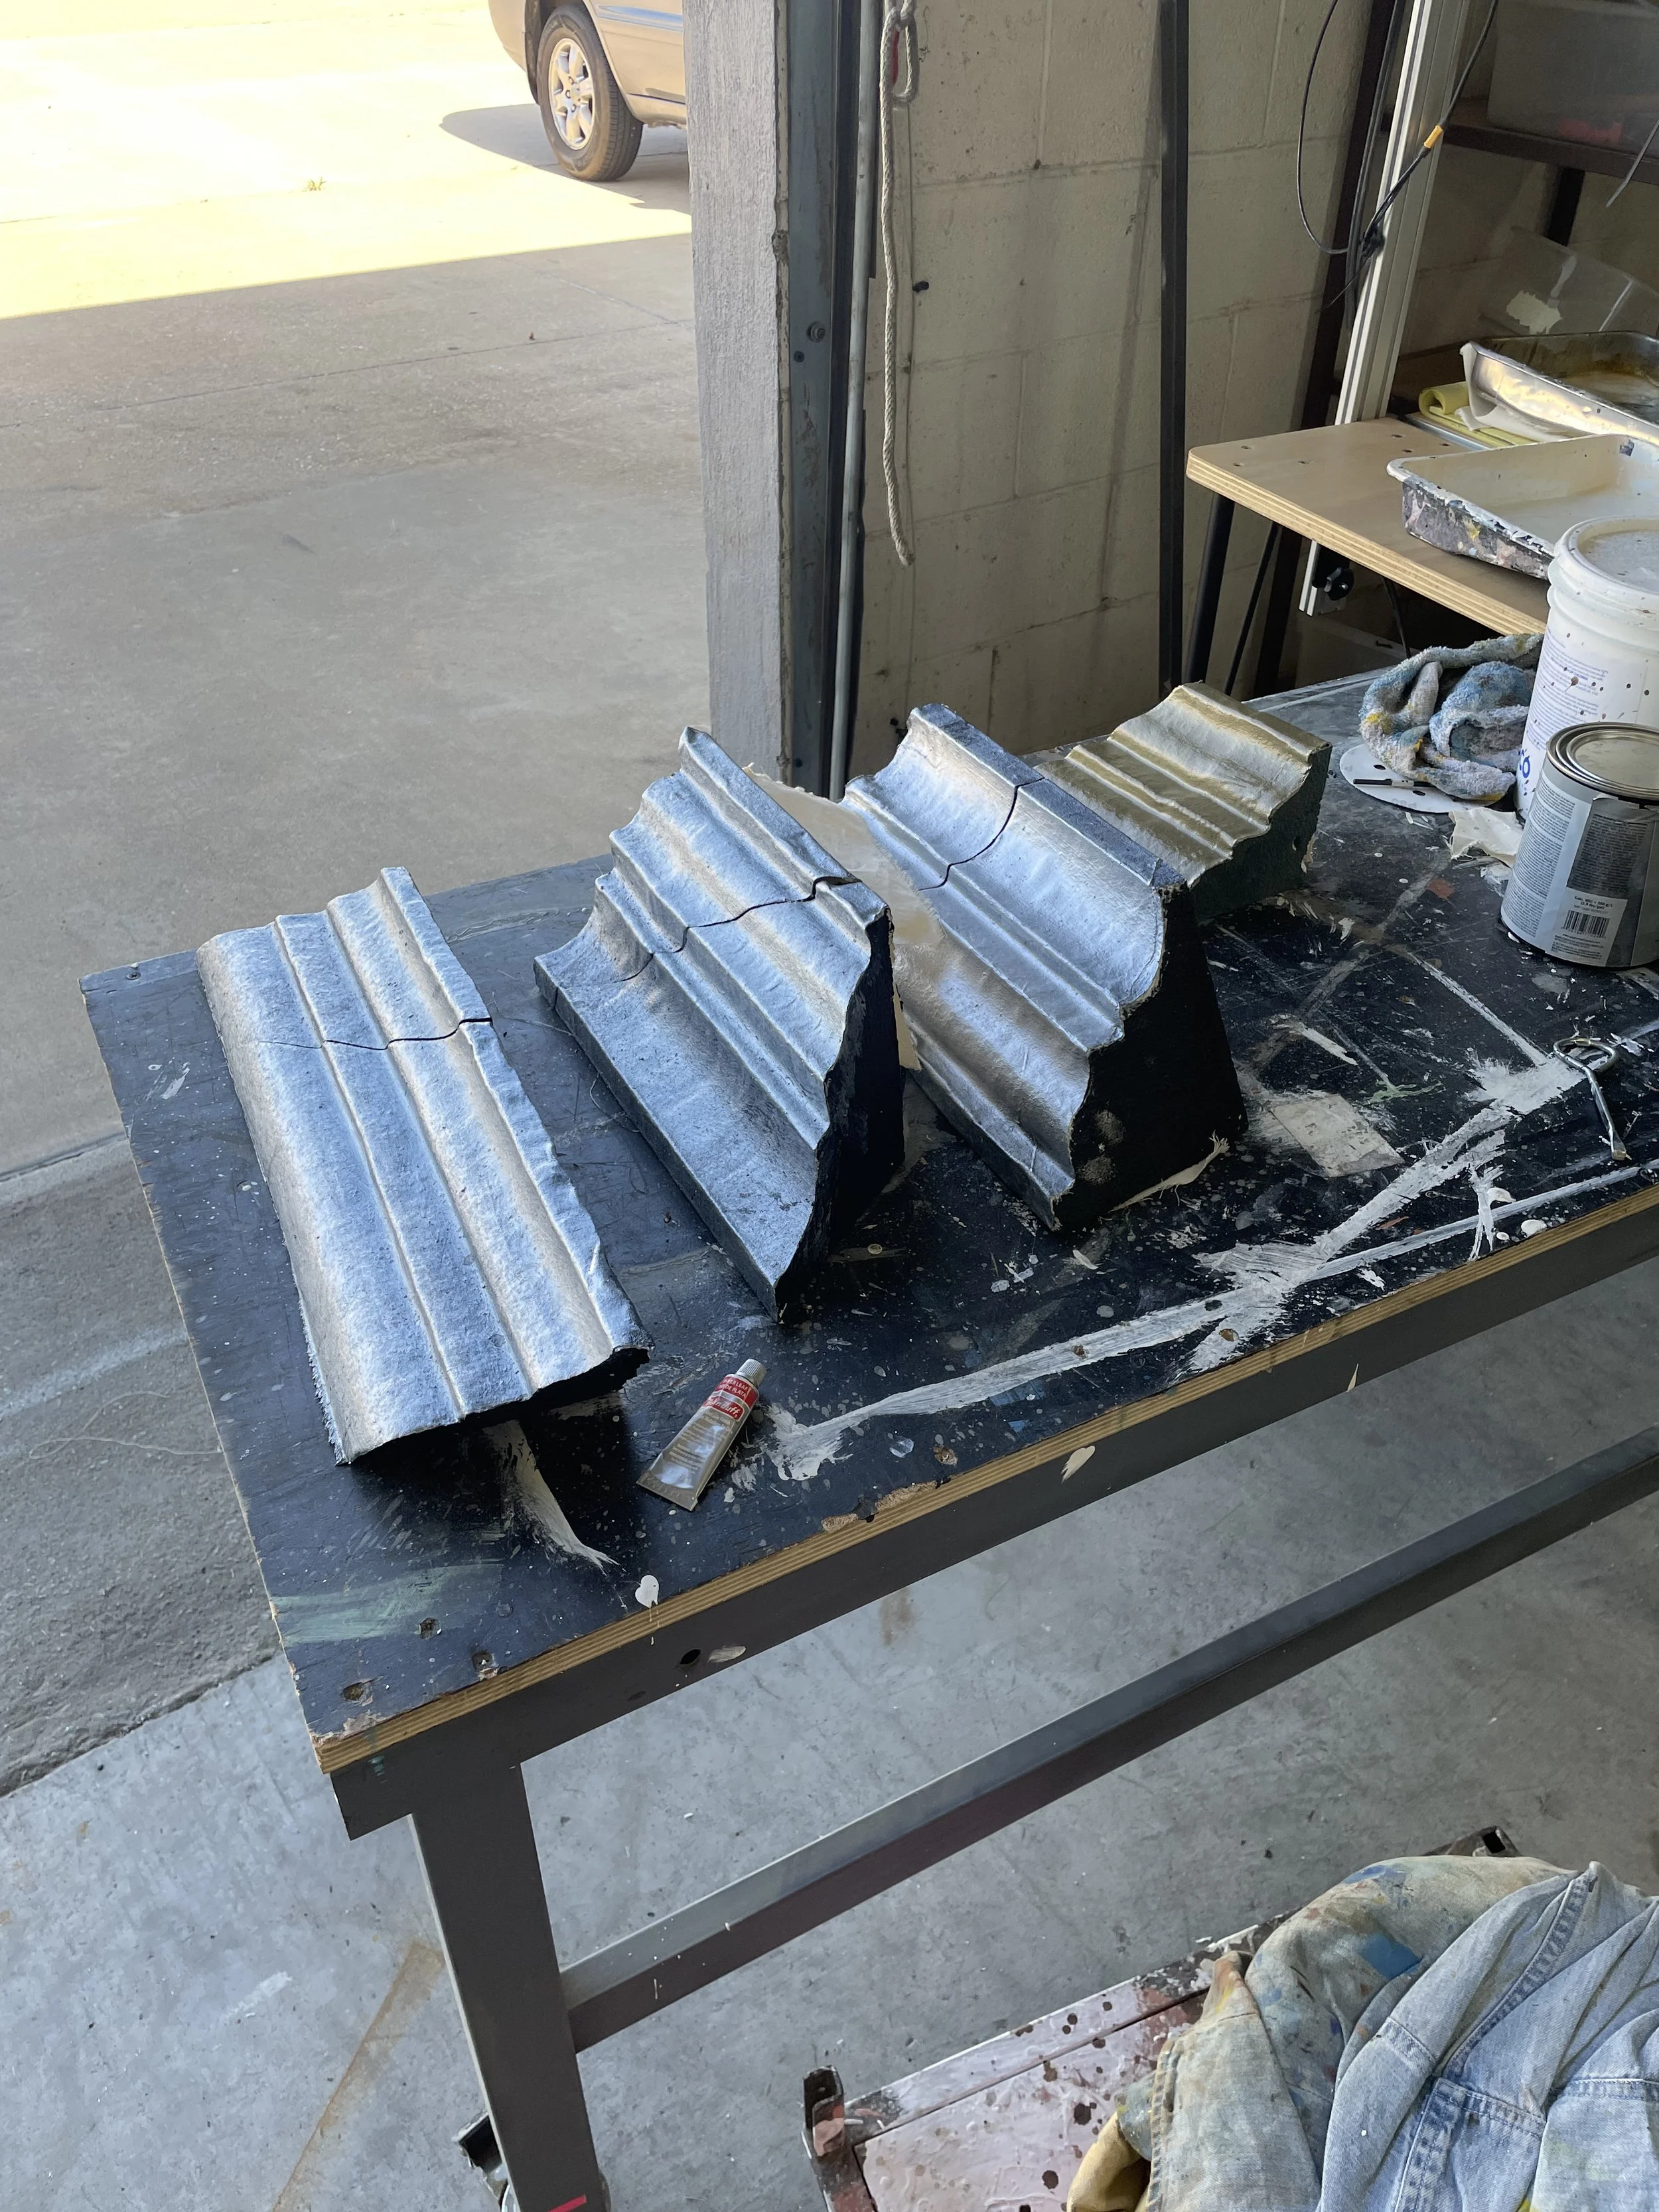
good for big projects like statues, crown molding, and rocks.
cuts easily enough with a variety of tools but I would recommend hot wires to avoid the bead mess everywhere.
Polyethylene— Ethafoam


Think pool noodle or packaging.
good for rounded, curving molding.
Has a bit of a lame texture and is very squishy so a thick flexible coating is ideal.
not easily carved, but can be cut easily with a knife.
Polyurethane Foam— Poly Foam

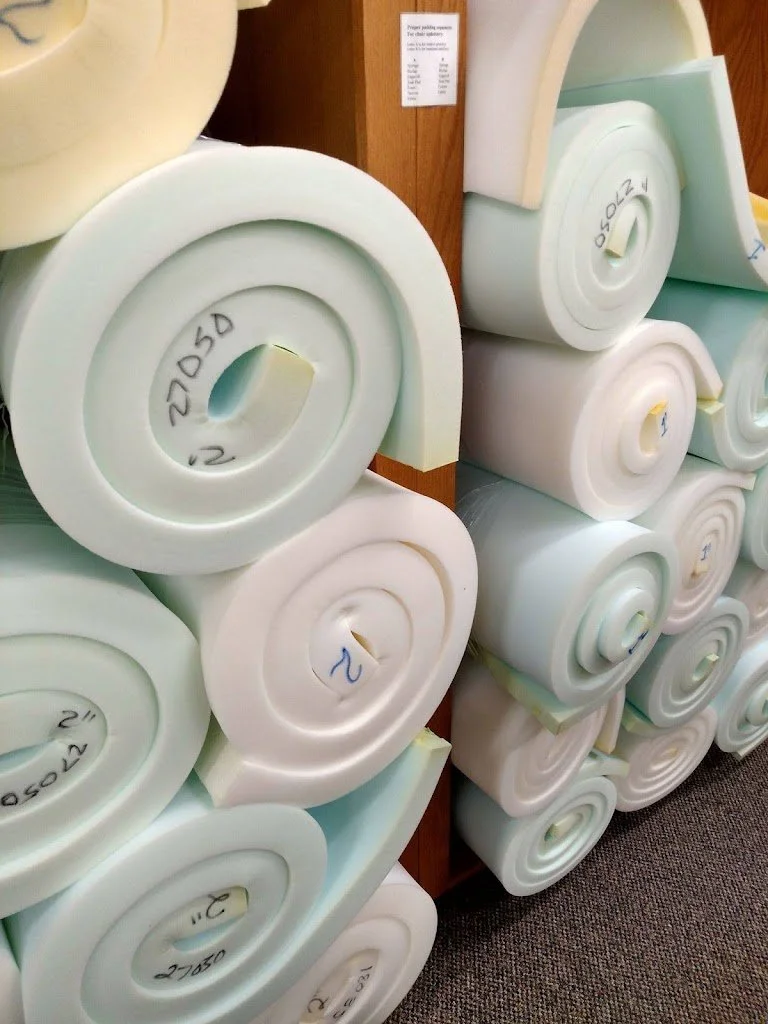
Most commonly seen in spray insulation and sheets of upholstery.
Comes in many many different forms and should not be cut with a hot wire.
Pour foam is a two part mixture that can have a near limitless number of densities and levels of rigidity.
Expands to fill whatever space it is pouring into, much like spray insulation foam.
great for making foam replicas of things, just make a mold and pour in the foam.
Canned spray foam is great for adding on to other sculptures. spray it where you want more mass, then sculpt it down or just spray it for it’s natural blobby texture.
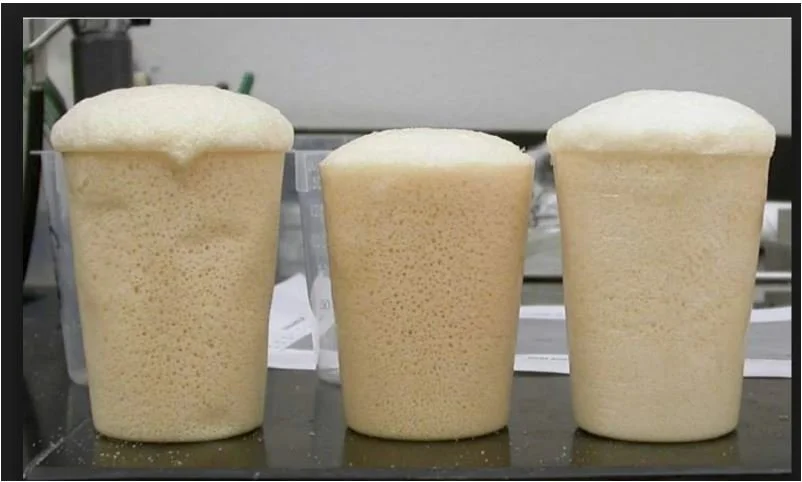
upholstery foam is great for squishy scenery, or for props, popular for making sandwich bread.
Popular insulation foam. Usually pink or blue and comes in thin sheets.
Great for small or detailed projects.
Cuts easily with knives and sands smoothly.
For scooping out material I would recommend hot wires
Ethylene-Vinyl Acetate— EVA
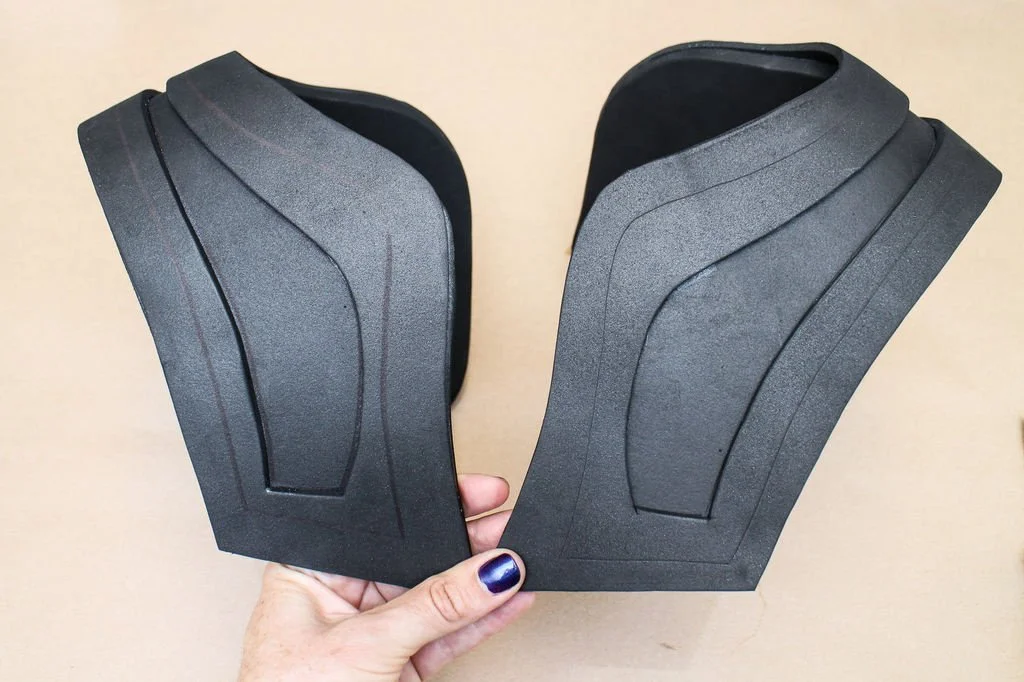
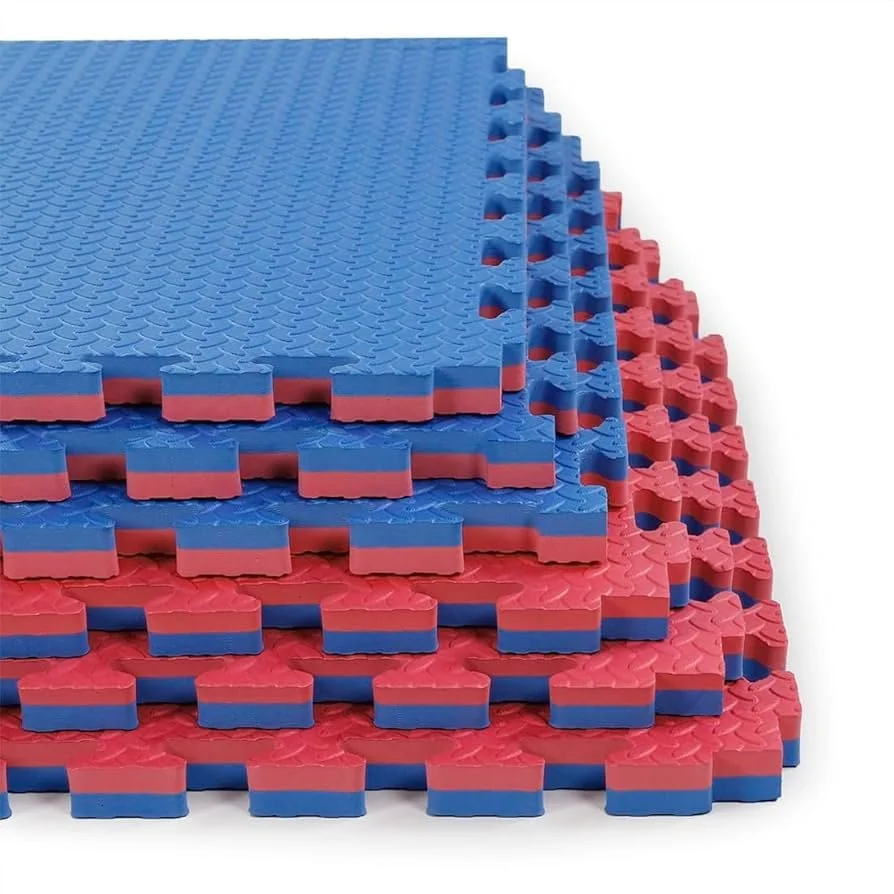
The stuff they make those puzzle floors out of.
very popular for cosplay because of it’s smooth sturdiness cuts easily with knives and can be manipulated by heating and bending. Once it’s cooled down it will retain shape.
They make an EVA foam clay as well that can be sculpted onto the material for more details.
Not especially structural, but very versatile.
Shaping
Carpentry Tools
Things like saws, rasps, sand paper. They are readily available and good for EPS, XPS and rigid polyfoam. The issue is that they are super messy, especially with EPS. Foam dust is lighter than saw dust, so it’s harder to sweep and stays in the air. It also clings statically to clothing. These tools are faster for large cuts, but less effective for details. Be sure to wear at least a dust mask if you’re shaping foam with carpentry tools, and have a plan for containing the particles. Hand sanding fine details is very effective, even on the more porous EPS.
Hotwire Tools
Hot wire tools are a hot button issue, because of their fumes. When working with them, do so in a well ventilated area with respiratory protection, and avoid keeping the wire so hot that it smokes. Hot wire tools work well on EPS and XPS and are my favored method for shaping because there is no dust. I just keep a trash can nearby and toss the off cuts in as I go. They make hot wire tables and bow cutters to help with extended cuts, a very steady hand is needed if you want straight lines. Hot wire tables are great for long lengths of crown molding. The smaller tools are great for random shaping for rocks as well as very detailed cuts. scooping out material with a loop wire is great.
Knives
Like Olfa blades and x-acto. They work well on XPS, EVA, Polyfoam and Ethafoam. Cleaner than a saw and better for details. Careful not to cut yourself, always cut away from your body.
Protecting
Methods of protecting foam can be very budget dependent. Wood glue, to modified concrete to foam safe epoxy resin there are really no limits. Here are some that I’ve used and my feelings towards them.
Fabric:
Muslin is good for smoothing a surface and giving it an impact resistant finish. I like it for seams; I’ll adhere the fabric to the foam and stiffen it, then cut the muslin into a very clean seam and add more backing to the muslin to keep it stiff. machined edges of foam are rarely clean, so the muslin helps a lot.
Cheese cloth is good for giving a coating something to hold onto. Thinner coatings tend to pool and drip, but cheesecloth can help keep it in place. It also helps with impact resistance.
2 part epoxy:
There are foam safe epoxies, I have had good experience with Epsilon Pro used with and without cheese cloth. These are corrosive and vaporous, but I still prefer them to powders. If you spill one part, it will never cure and will stay sticky forever. It will need to be cleaned with solvents. These are great for retaining tiny details and for giving a nice plastic shell coating with no texture. Working time varies but is usually pretty short. For large pieces, I have mixed a gallon quickly and poured it. Only brush it on if the project is small or very detailed.
Powder mixes:
Scenic dopes and modified cement coatings involve mixing powders with water (and glue, or paint and whatever else). The working time is typically pretty short with powder mixes, especially if there is plaster or modified cement involved.
There are countless “scenic dope” recipes out there and their effectiveness varies. I would only recommend a scenic dope for shows that don’t need to travel and aren’t interacted with much.
Hot Wire Foam Factory sells a number of modified concrete powders. The exterior coat works very well in conjunction with cheesecloth for lightweight, somewhat load bearing rocks, but otherwise their products are too much trouble to use to be worth it. The dust gets everywhere. It’s bad for air quality, it irritates skin and is generally a big mess.
Pre-Mixed:
Rosco has a pre-mixed foam coat that works well. It isn’t a holy grail, but it’s reliable.
A lot of people use elastomeric, specifically Jaxan 6000, and I’ve found that it and Rosco’s FlexCoat are very similar. Both are lovely but Jaxan is more affordable and can be bought in a trowelable consistency that is wonderful for filling voids and remaining flexible. For tough seams, I prefer this over joint compound or bondo.
In general, a coating is going to need to be pretty thick to be effective. Be sure to check the coverage on a product and whether it needs multiple coats. Adding fabric really helps add thickness without having to splurge on expensive coatings. On a tight budget PVA glue and fabric work just fine. Cheese cloth is better for projects with a lot of curves because it drapes well.
Adhesives
PVA Glue
Elmer’s Glue All, Mod Podge, FlexBond. These PVA glues vary wildly in quality, but attempt to do essentially the same things. Rosco’s FlexBond is my holy grail, it sticks to anything with no fumes or degradation.
Solvent Glue
Like Gorilla Glue Liquid Nail or Spray 77. They don’t work especially well in the long run. Gorilla Glue is the best of them, but degrades the foam and doesn’t cut well with a hot wire. Spray 77 is gummy and expensive. Also super toxic.